
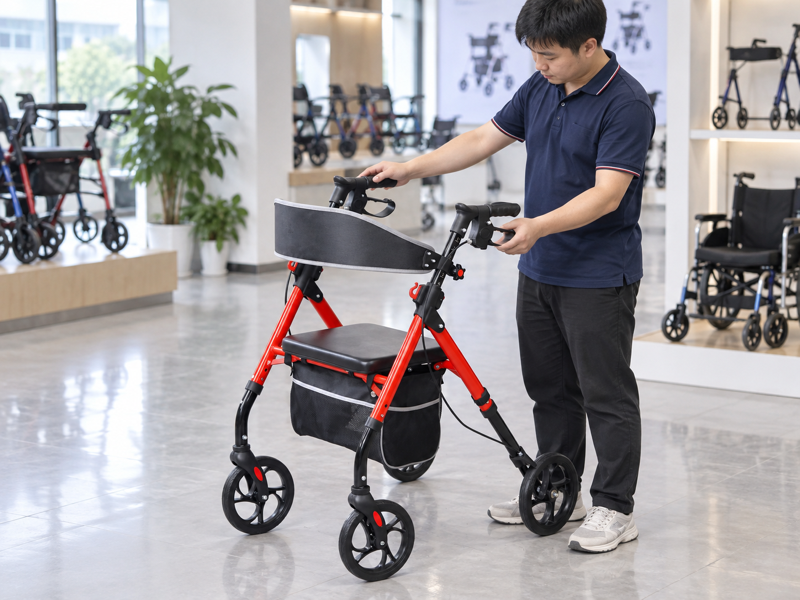
Choose rollator handle height through a trained fit check with the user standing in normal footwear and the exact device fully opened. A tempting shortcut is to set both grips from a catalogue range, then discover that the user strains to reach a brake lever or leans into the frame. Match the person, permitted handle positions and braking reach before the aid is handed over.
What does rollator handle height describe?
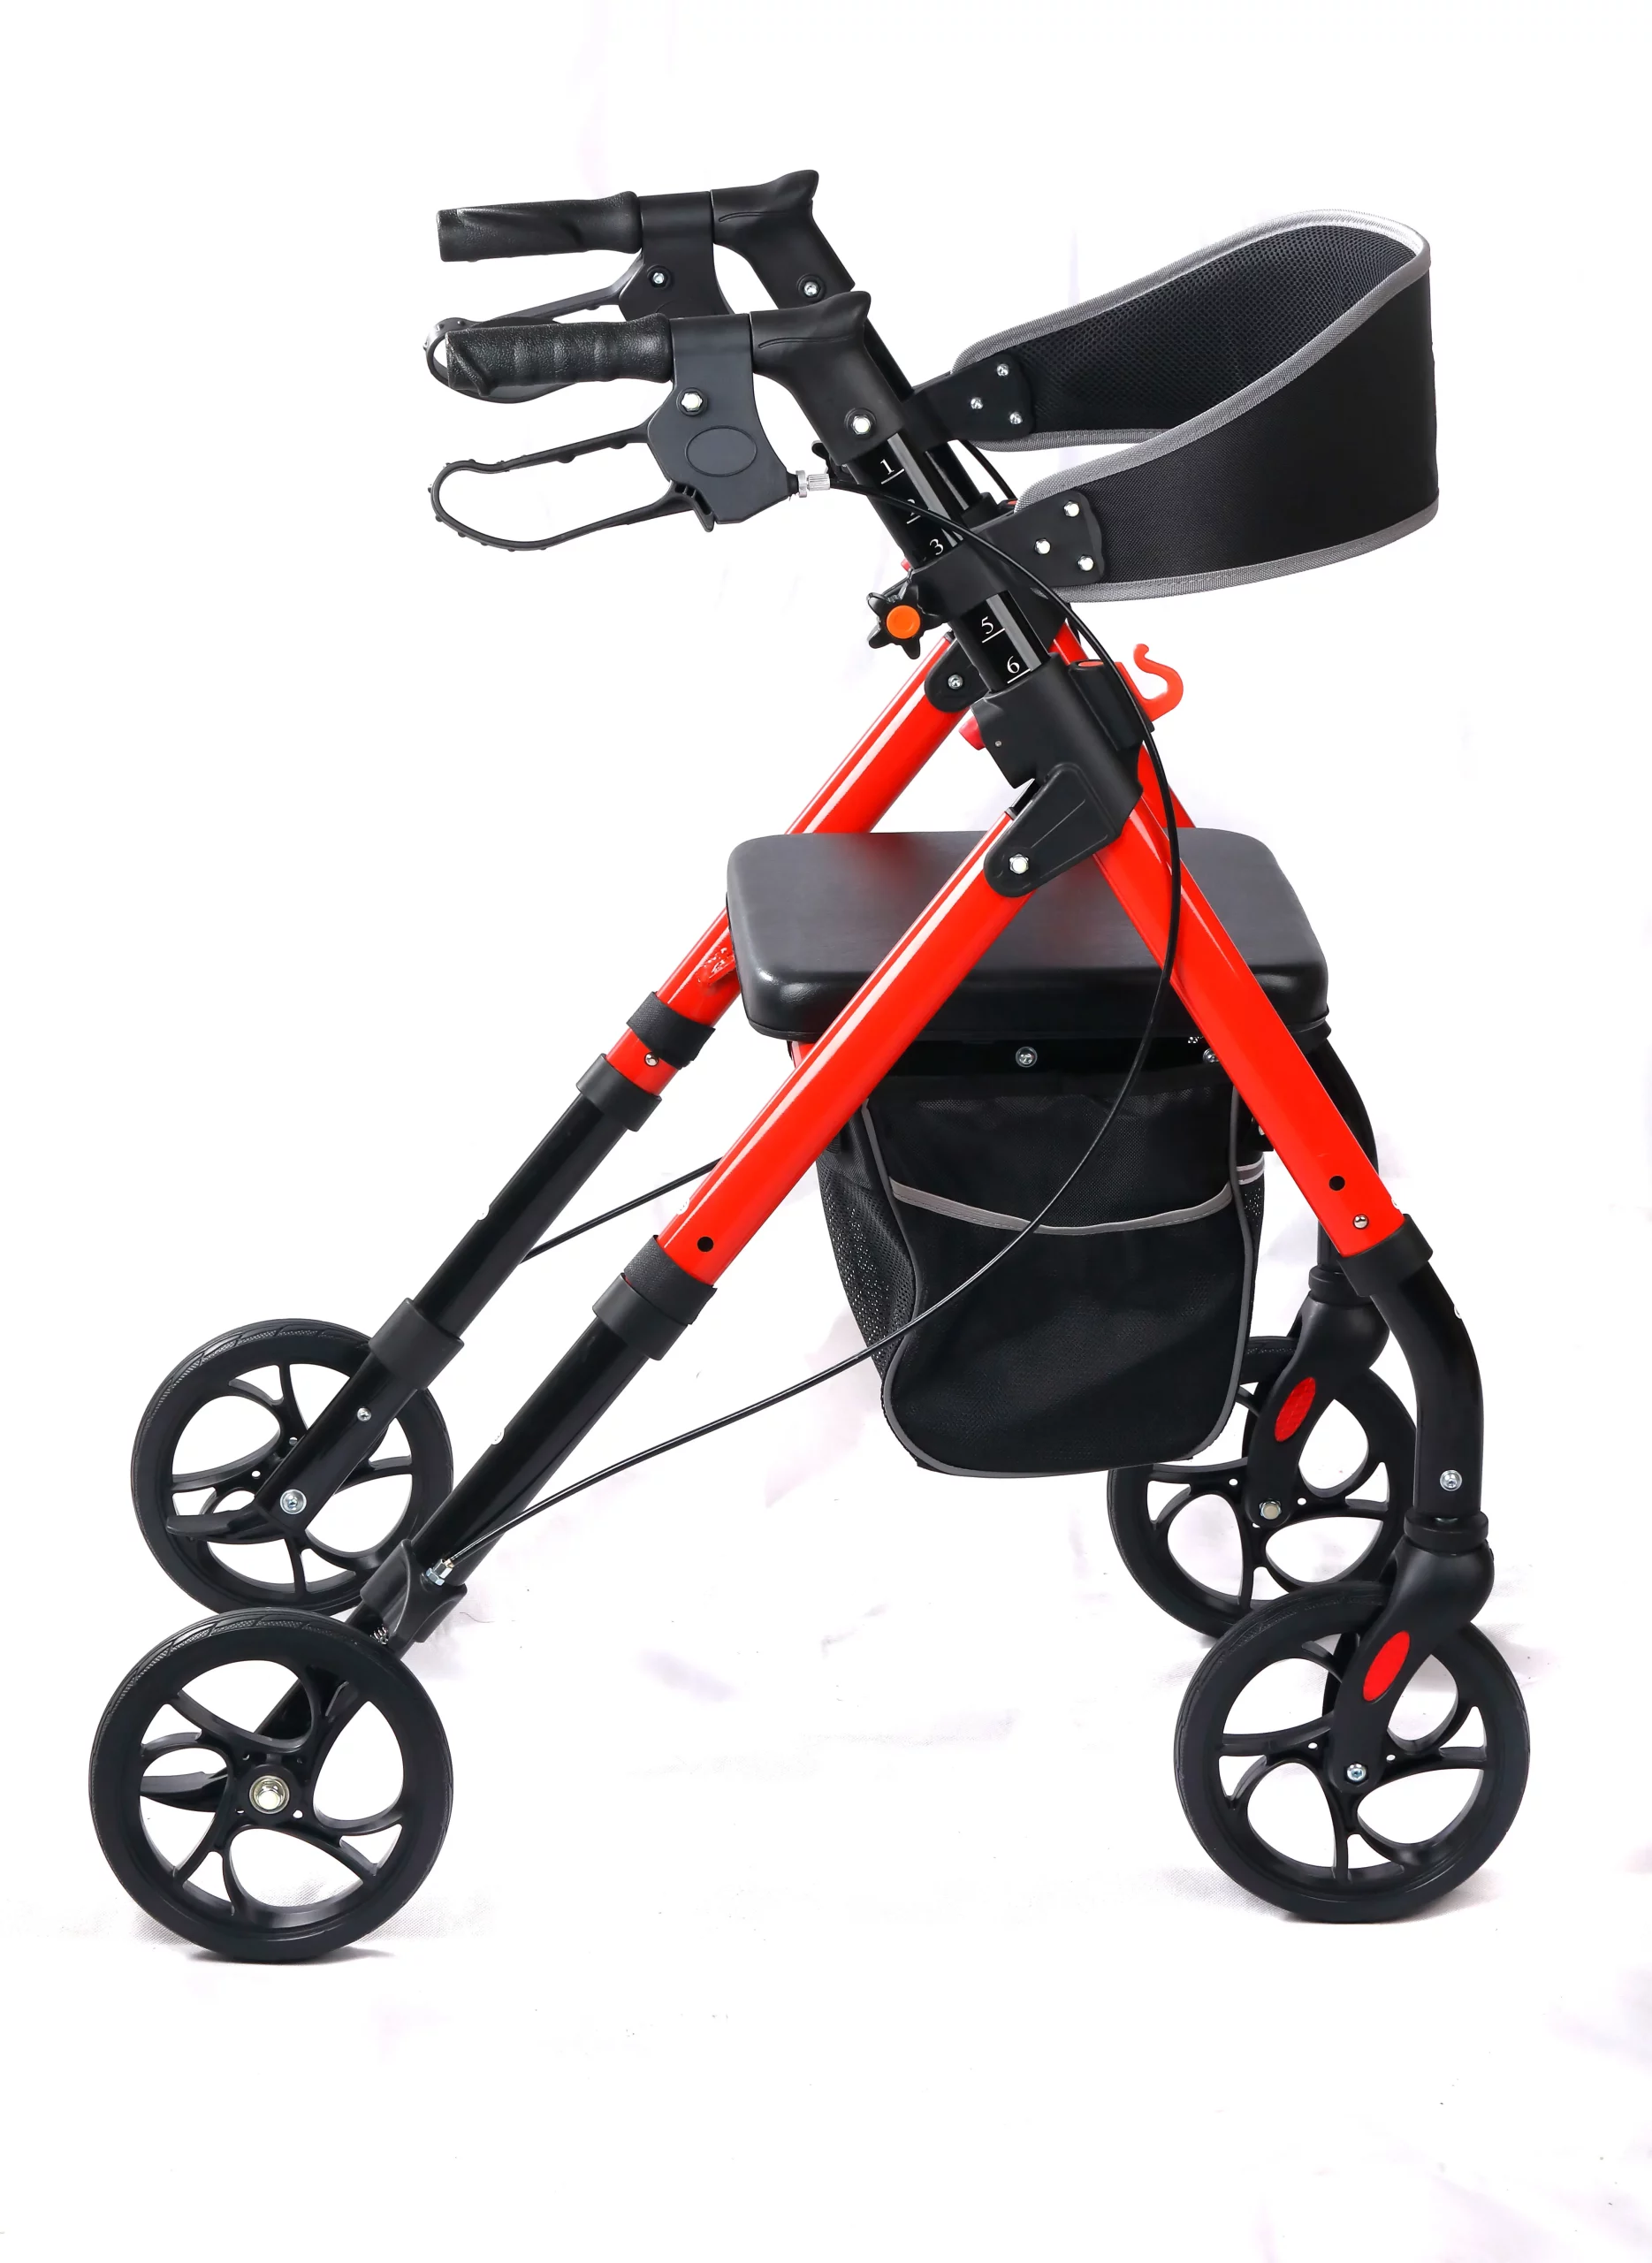
Rollator handle height describes the grip position on a fully opened aid under a stated measurement method. The pictured Shopping Walker has two separate upper posts and paired hand grips. A catalogue range does not show which setting suits one person.
What belongs in a product comparison?
Define the grip reference point. Ask for the available model positions and where each height is measured. Use the product range to compare actual configurations without treating one photo as a dimension drawing.
- Name the model and opened configuration.
- Request the permitted grip-height range and method.
- Keep the choice linked to an individual fitting.
| Product fact | Buyer question |
|---|---|
| Grip reference | Where is height measured? |
| Adjustment steps | Which positions are approved? |
A number without a reference point is hard to compare. Key Takeaway: Your team can request usable dimensions rather than a vague adjustable claim.
Who should set rollator handle height for a user?
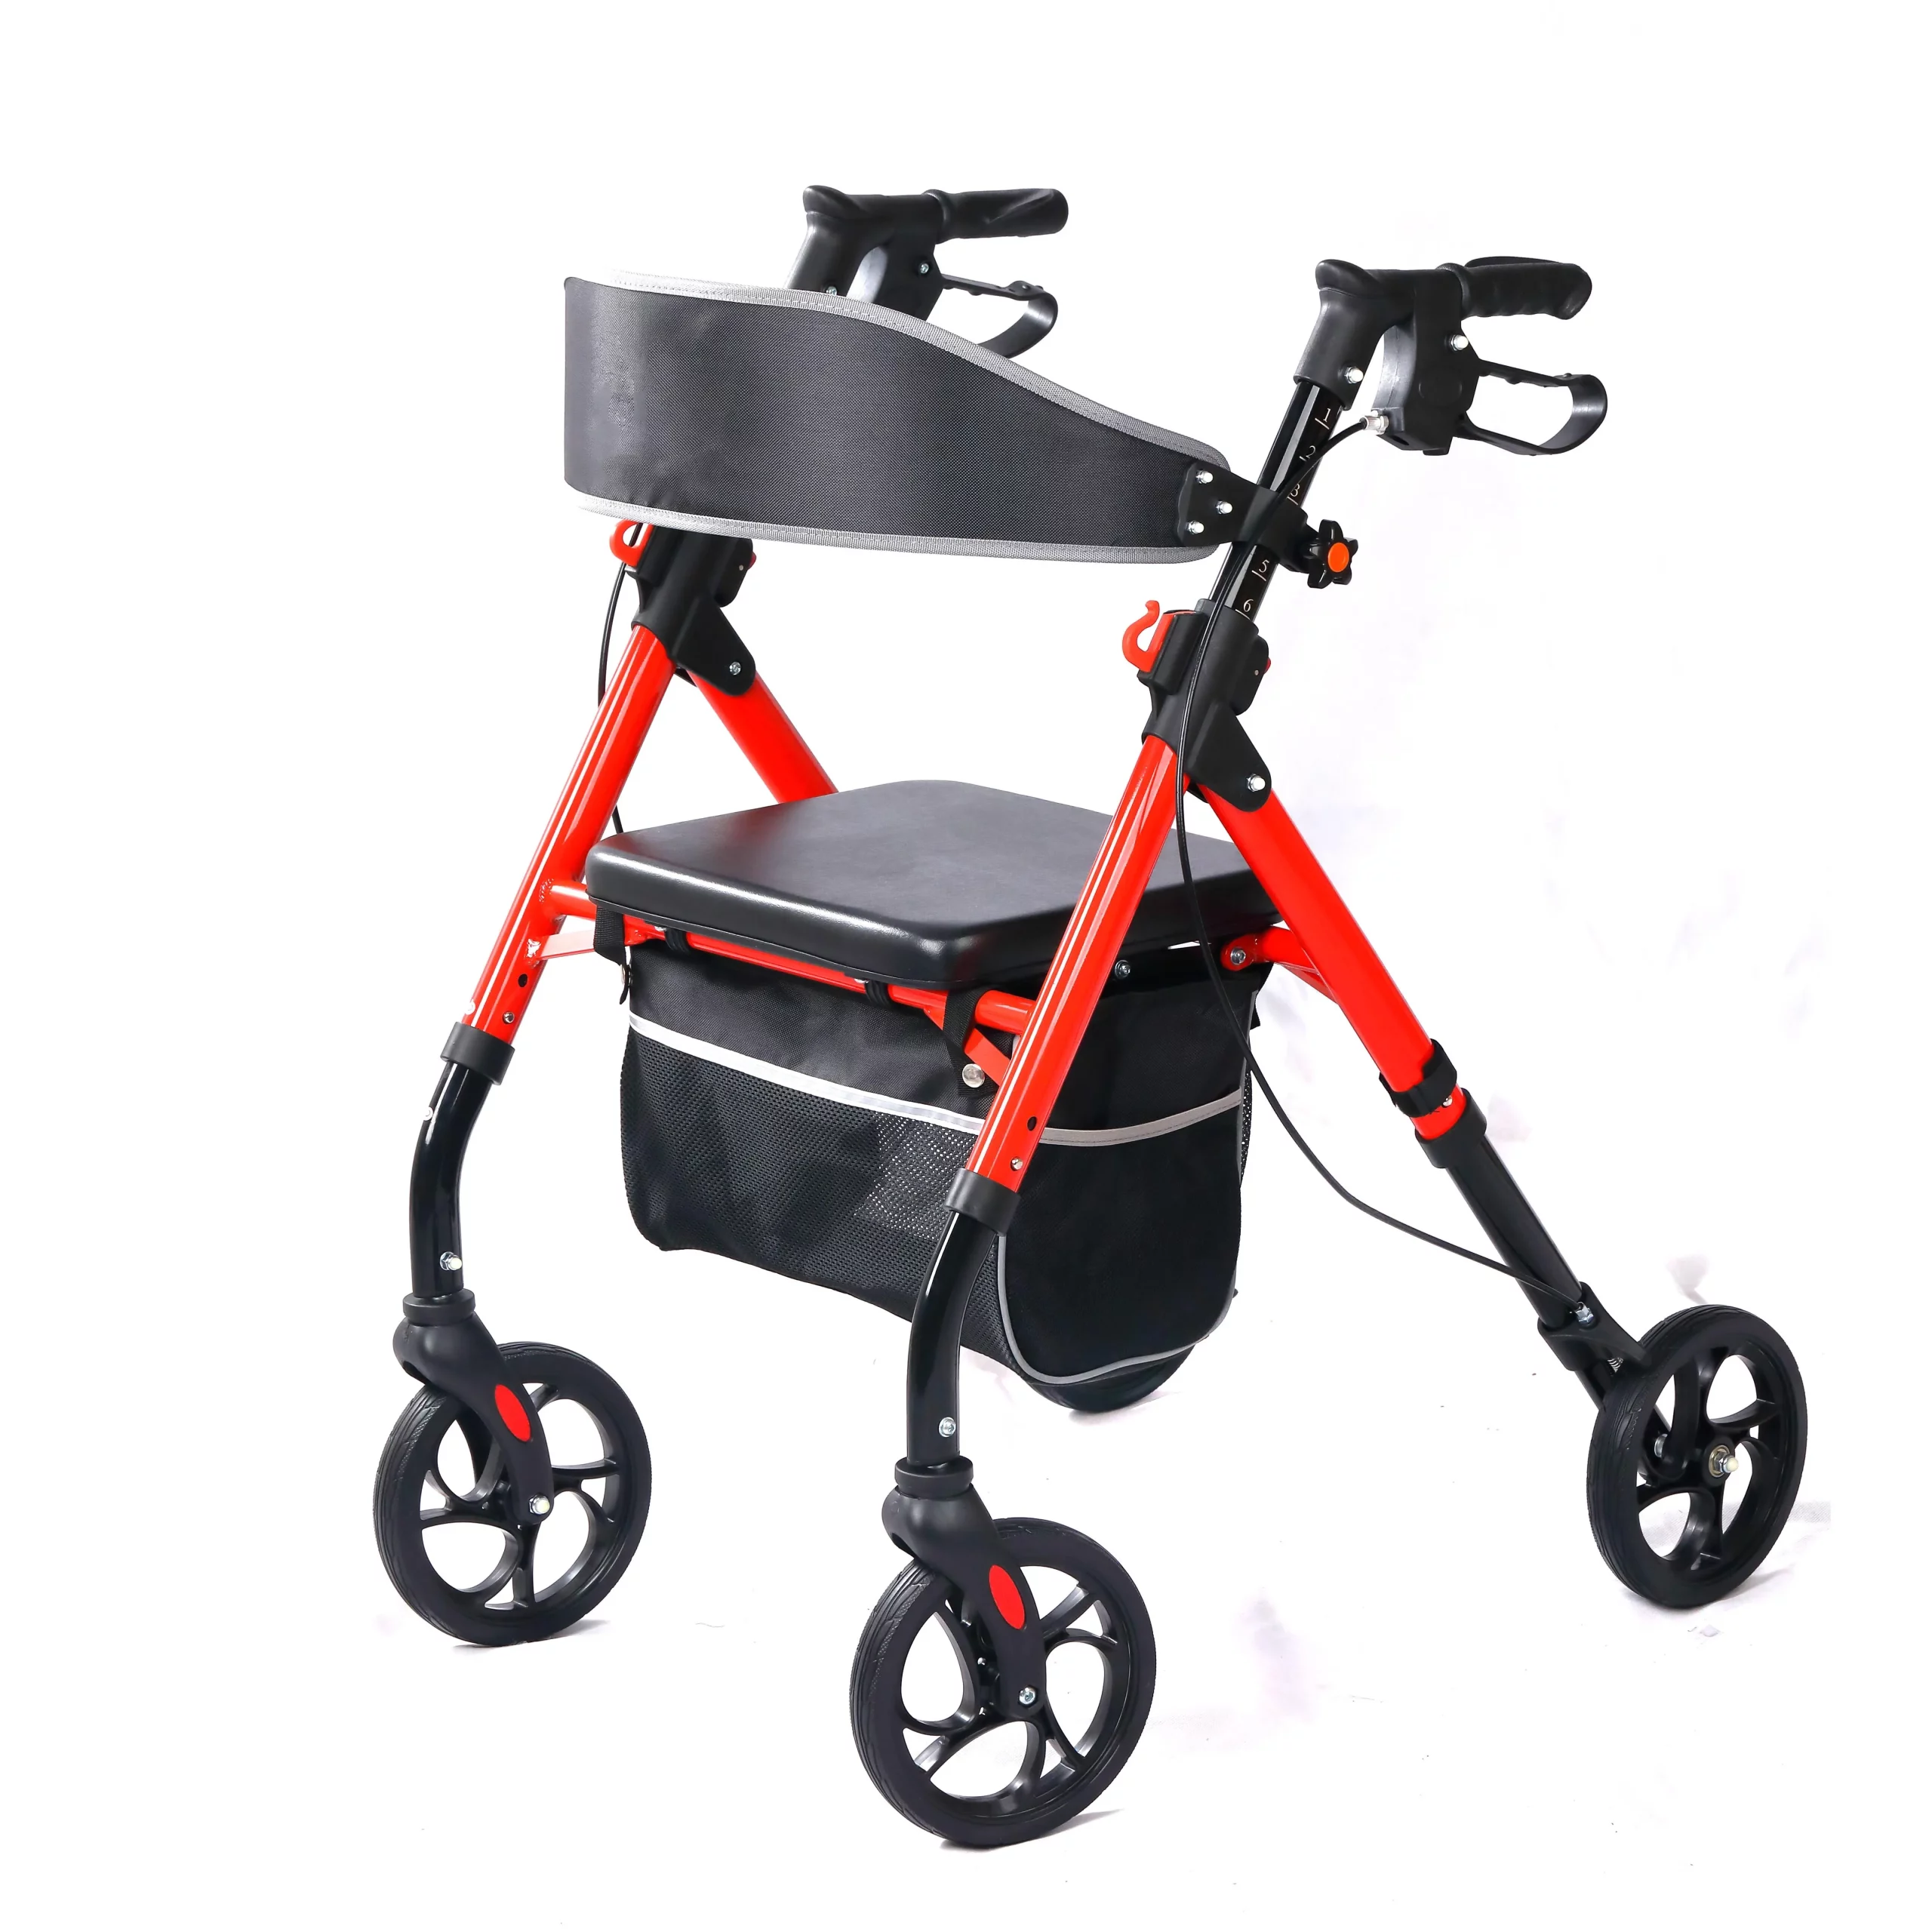
Rollator handle height should be set through an individual review by appropriately trained personnel. The person's abilities, shoes and intended route matter alongside the model's available positions. Avoid assigning a grip setting from body height alone.
What should the fit note contain?
Put the user ahead of the numbered post. WHO describes trained assessment, fitting and follow-up for assistive products. Record the person, selected model and reviewer rather than copying another user's handle mark.
- Identify the user's walking and grip needs.
- Use the real aid and normal footwear.
- Record approved settings and reassessment triggers.
| Fit input | Why it matters |
|---|---|
| Person and tasks | Defines the walking need |
| Model position | Shows what was actually reviewed |
The same post mark may serve two people differently. Key Takeaway: A later handover can repeat the assessed setup.
Is wrist level enough for rollator handle height?
Rollator handle height at wrist level can be a starting check, not a final prescription for every person. An individual review must also consider grip, arm position and safe control of the aid. Confirm the setting with trained personnel.
How should a rule of thumb be used?
Use it as a cue, then observe function. Guy's and St Thomas' NHS walking-aid guidance refers to the wrist crease when arms hang at the side. Oxford Health's rollator leaflet also describes a slight elbow bend; neither source validates a specific setting for this model or user.
- Start with a trained visual fit check.
- Review grip and brake-lever access.
- Record the agreed position, not only a body measurement.
| Starting cue | Follow-up |
|---|---|
| Wrist region | Check individual walking control |
| Slight elbow bend | Confirm comfort and brake reach |
A cue is useful only when followed by a functional review. Key Takeaway: You can avoid turning a general guide into a rigid rule.
Should both rollator handle height posts match?
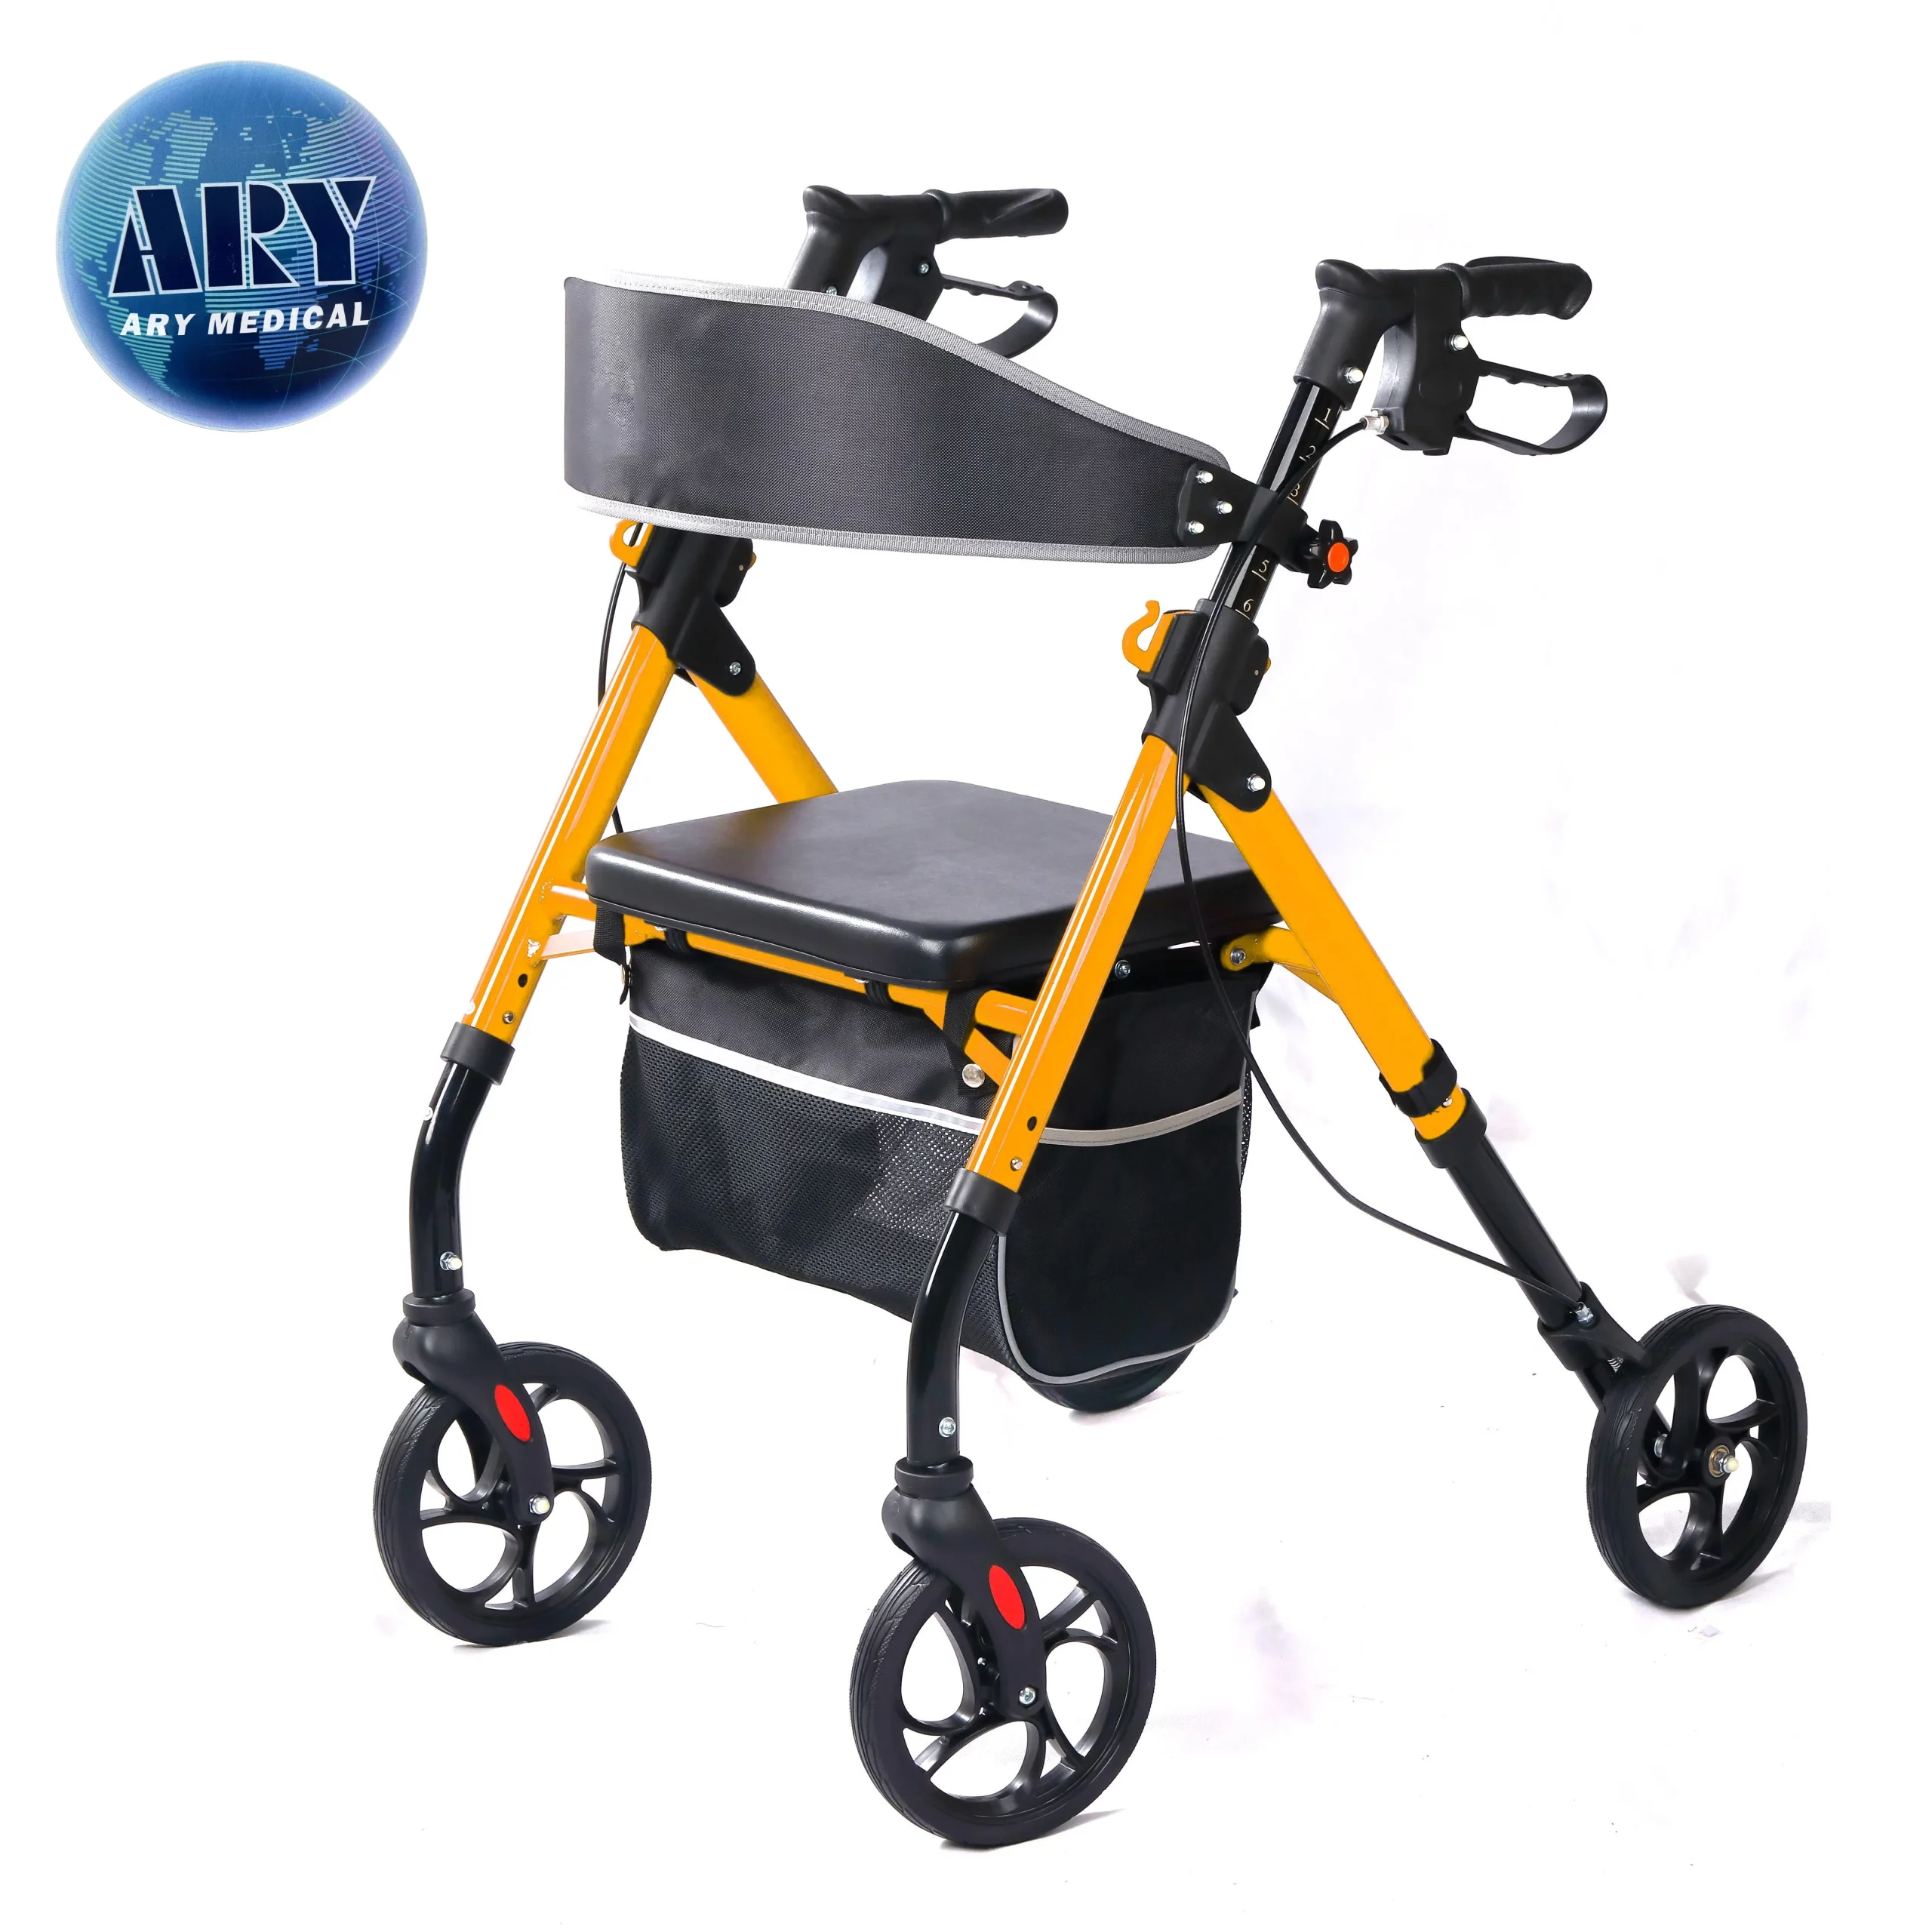
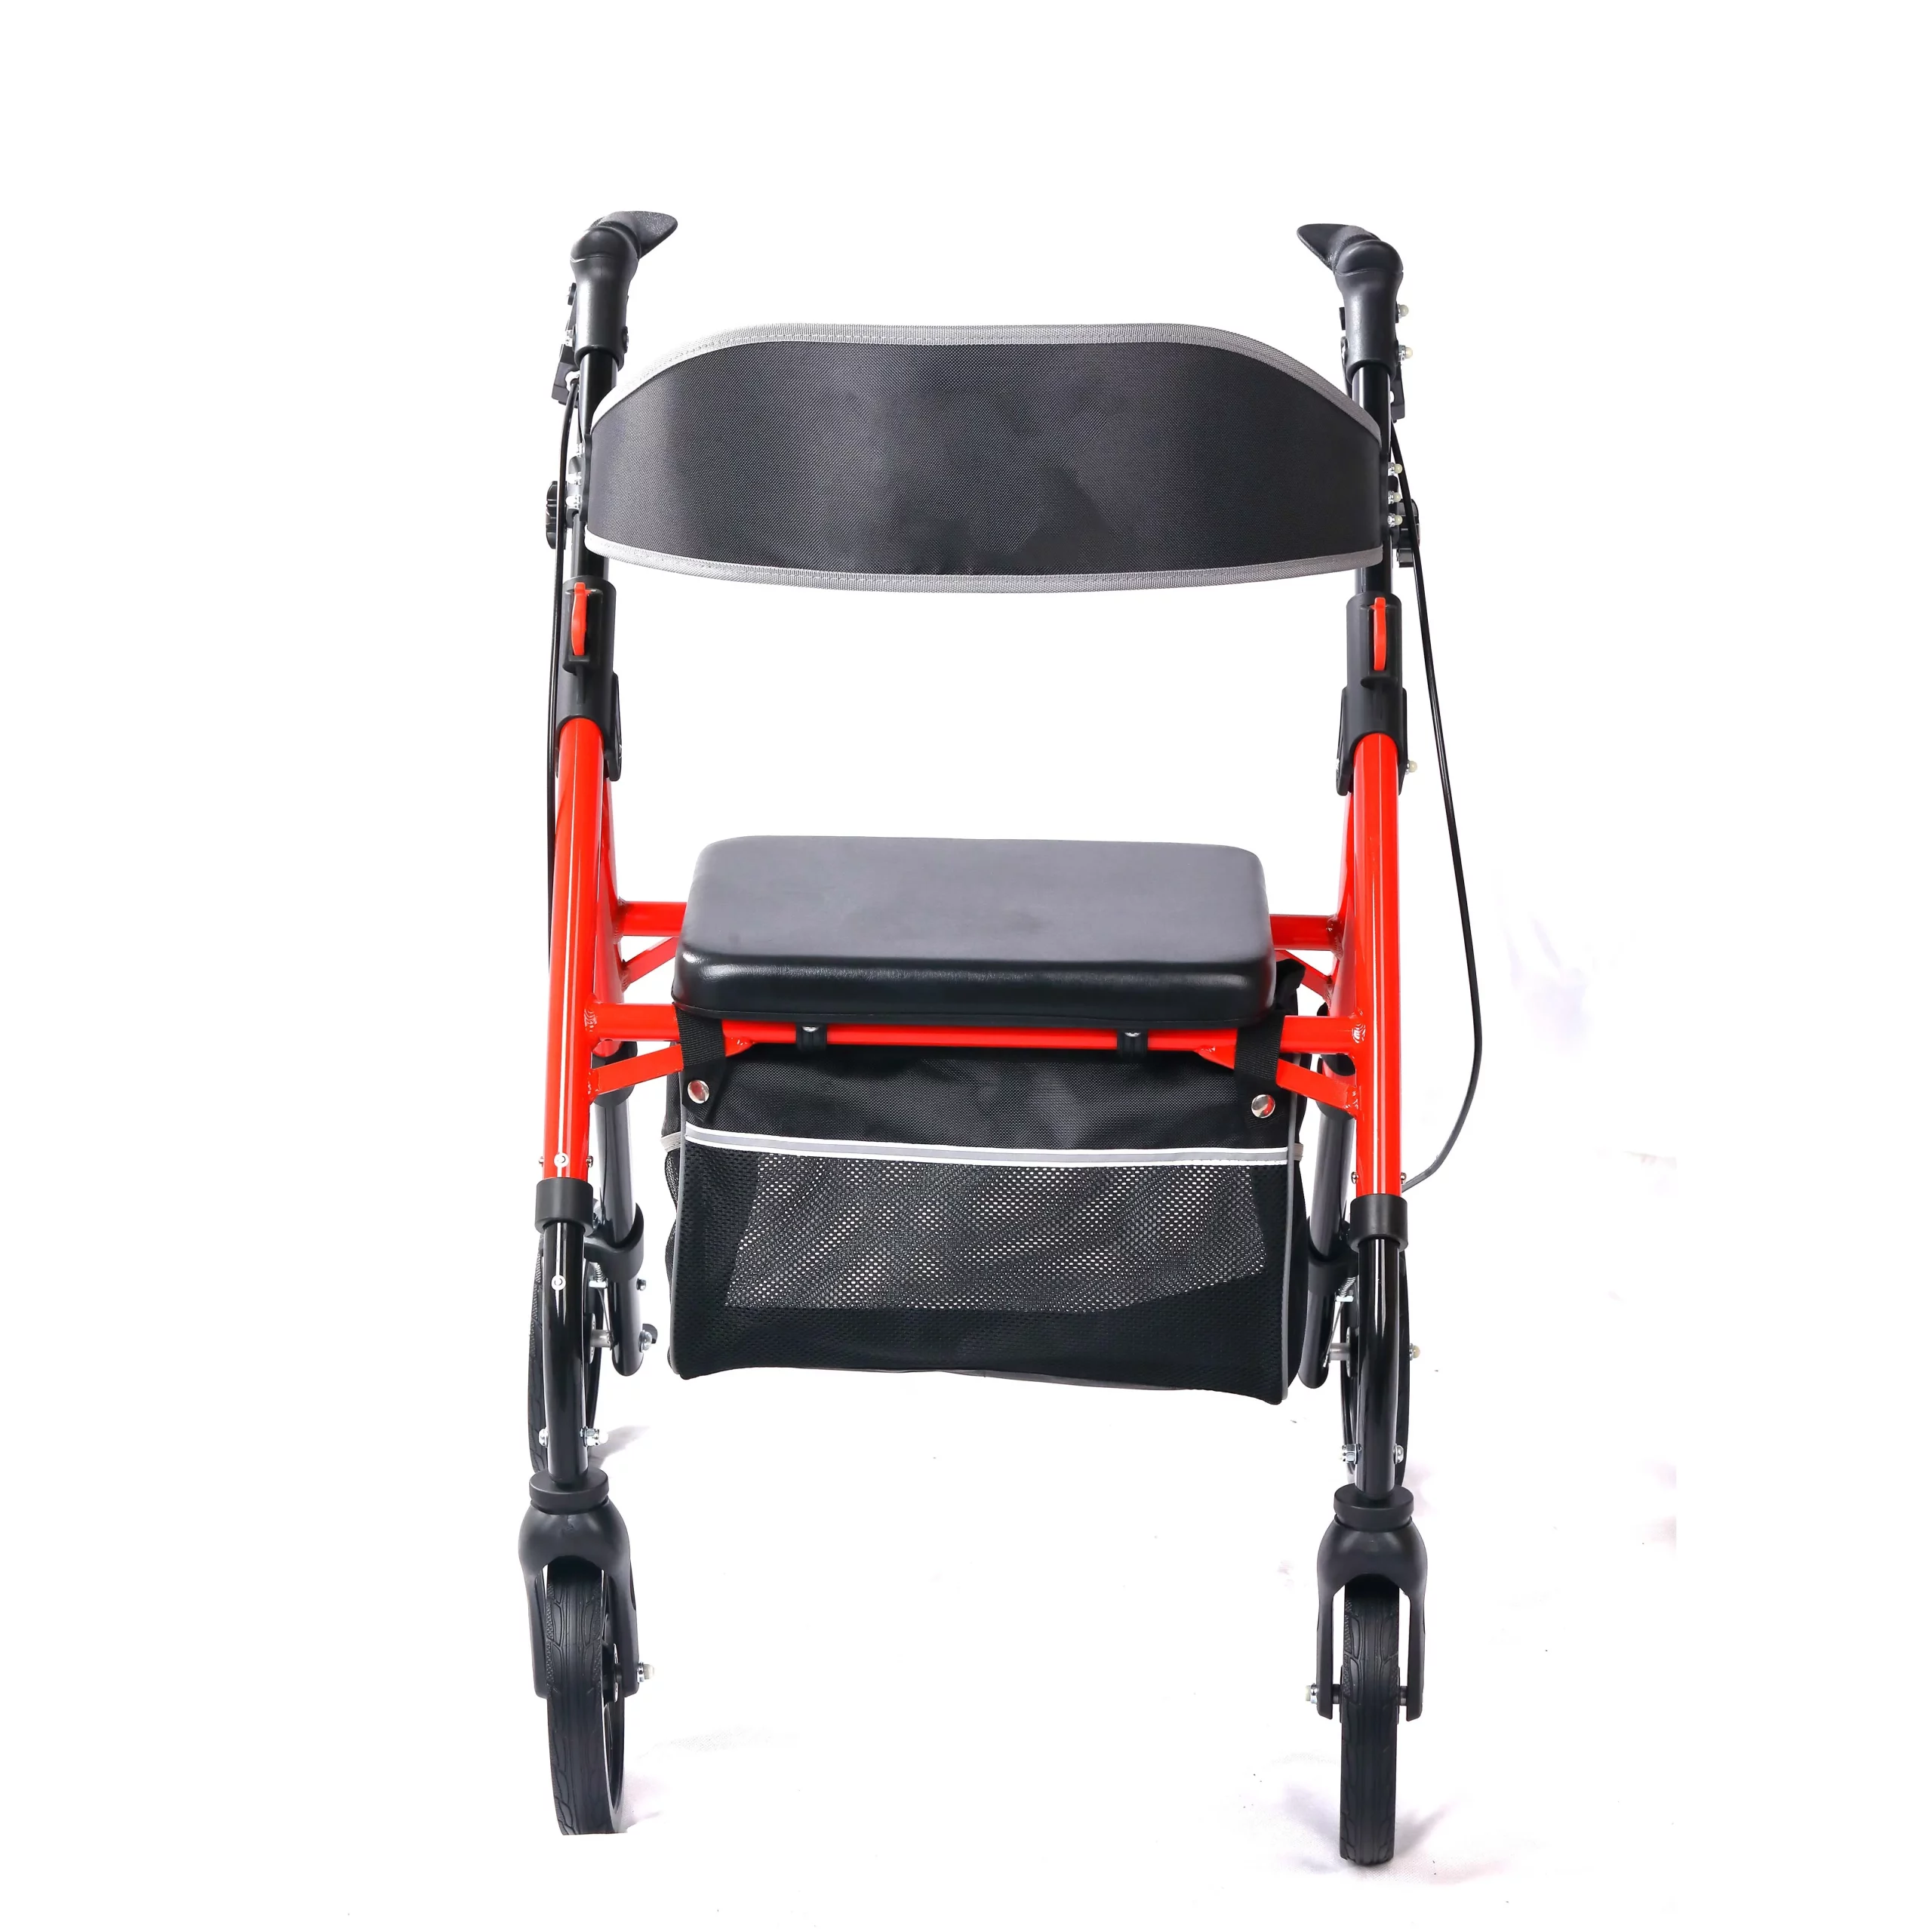
Rollator handle height settings on paired posts should follow the exact model instructions and the individual's approved fit. Uneven posts may change how the frame is held, but the photographs alone cannot set a correction. Ask the fitter to document each side.
What should a two-sided record show?
Check left and right as a pair. Inspect visible alignment under the product's setup guide, then have the responsible professional review the grip arrangement. The walking-aids range includes different designs, so carry no setting across models.
- Identify each side's approved position.
- Confirm locking parts under the model guide.
- Record any assessed reason for a different setup.
| Post | Record |
|---|---|
| Left | Approved position and lock check |
| Right | Approved position and lock check |
Side-specific notes make later reassembly less uncertain. Key Takeaway: The handler can restore the documented pair.
What locks a rollator handle height adjustment?
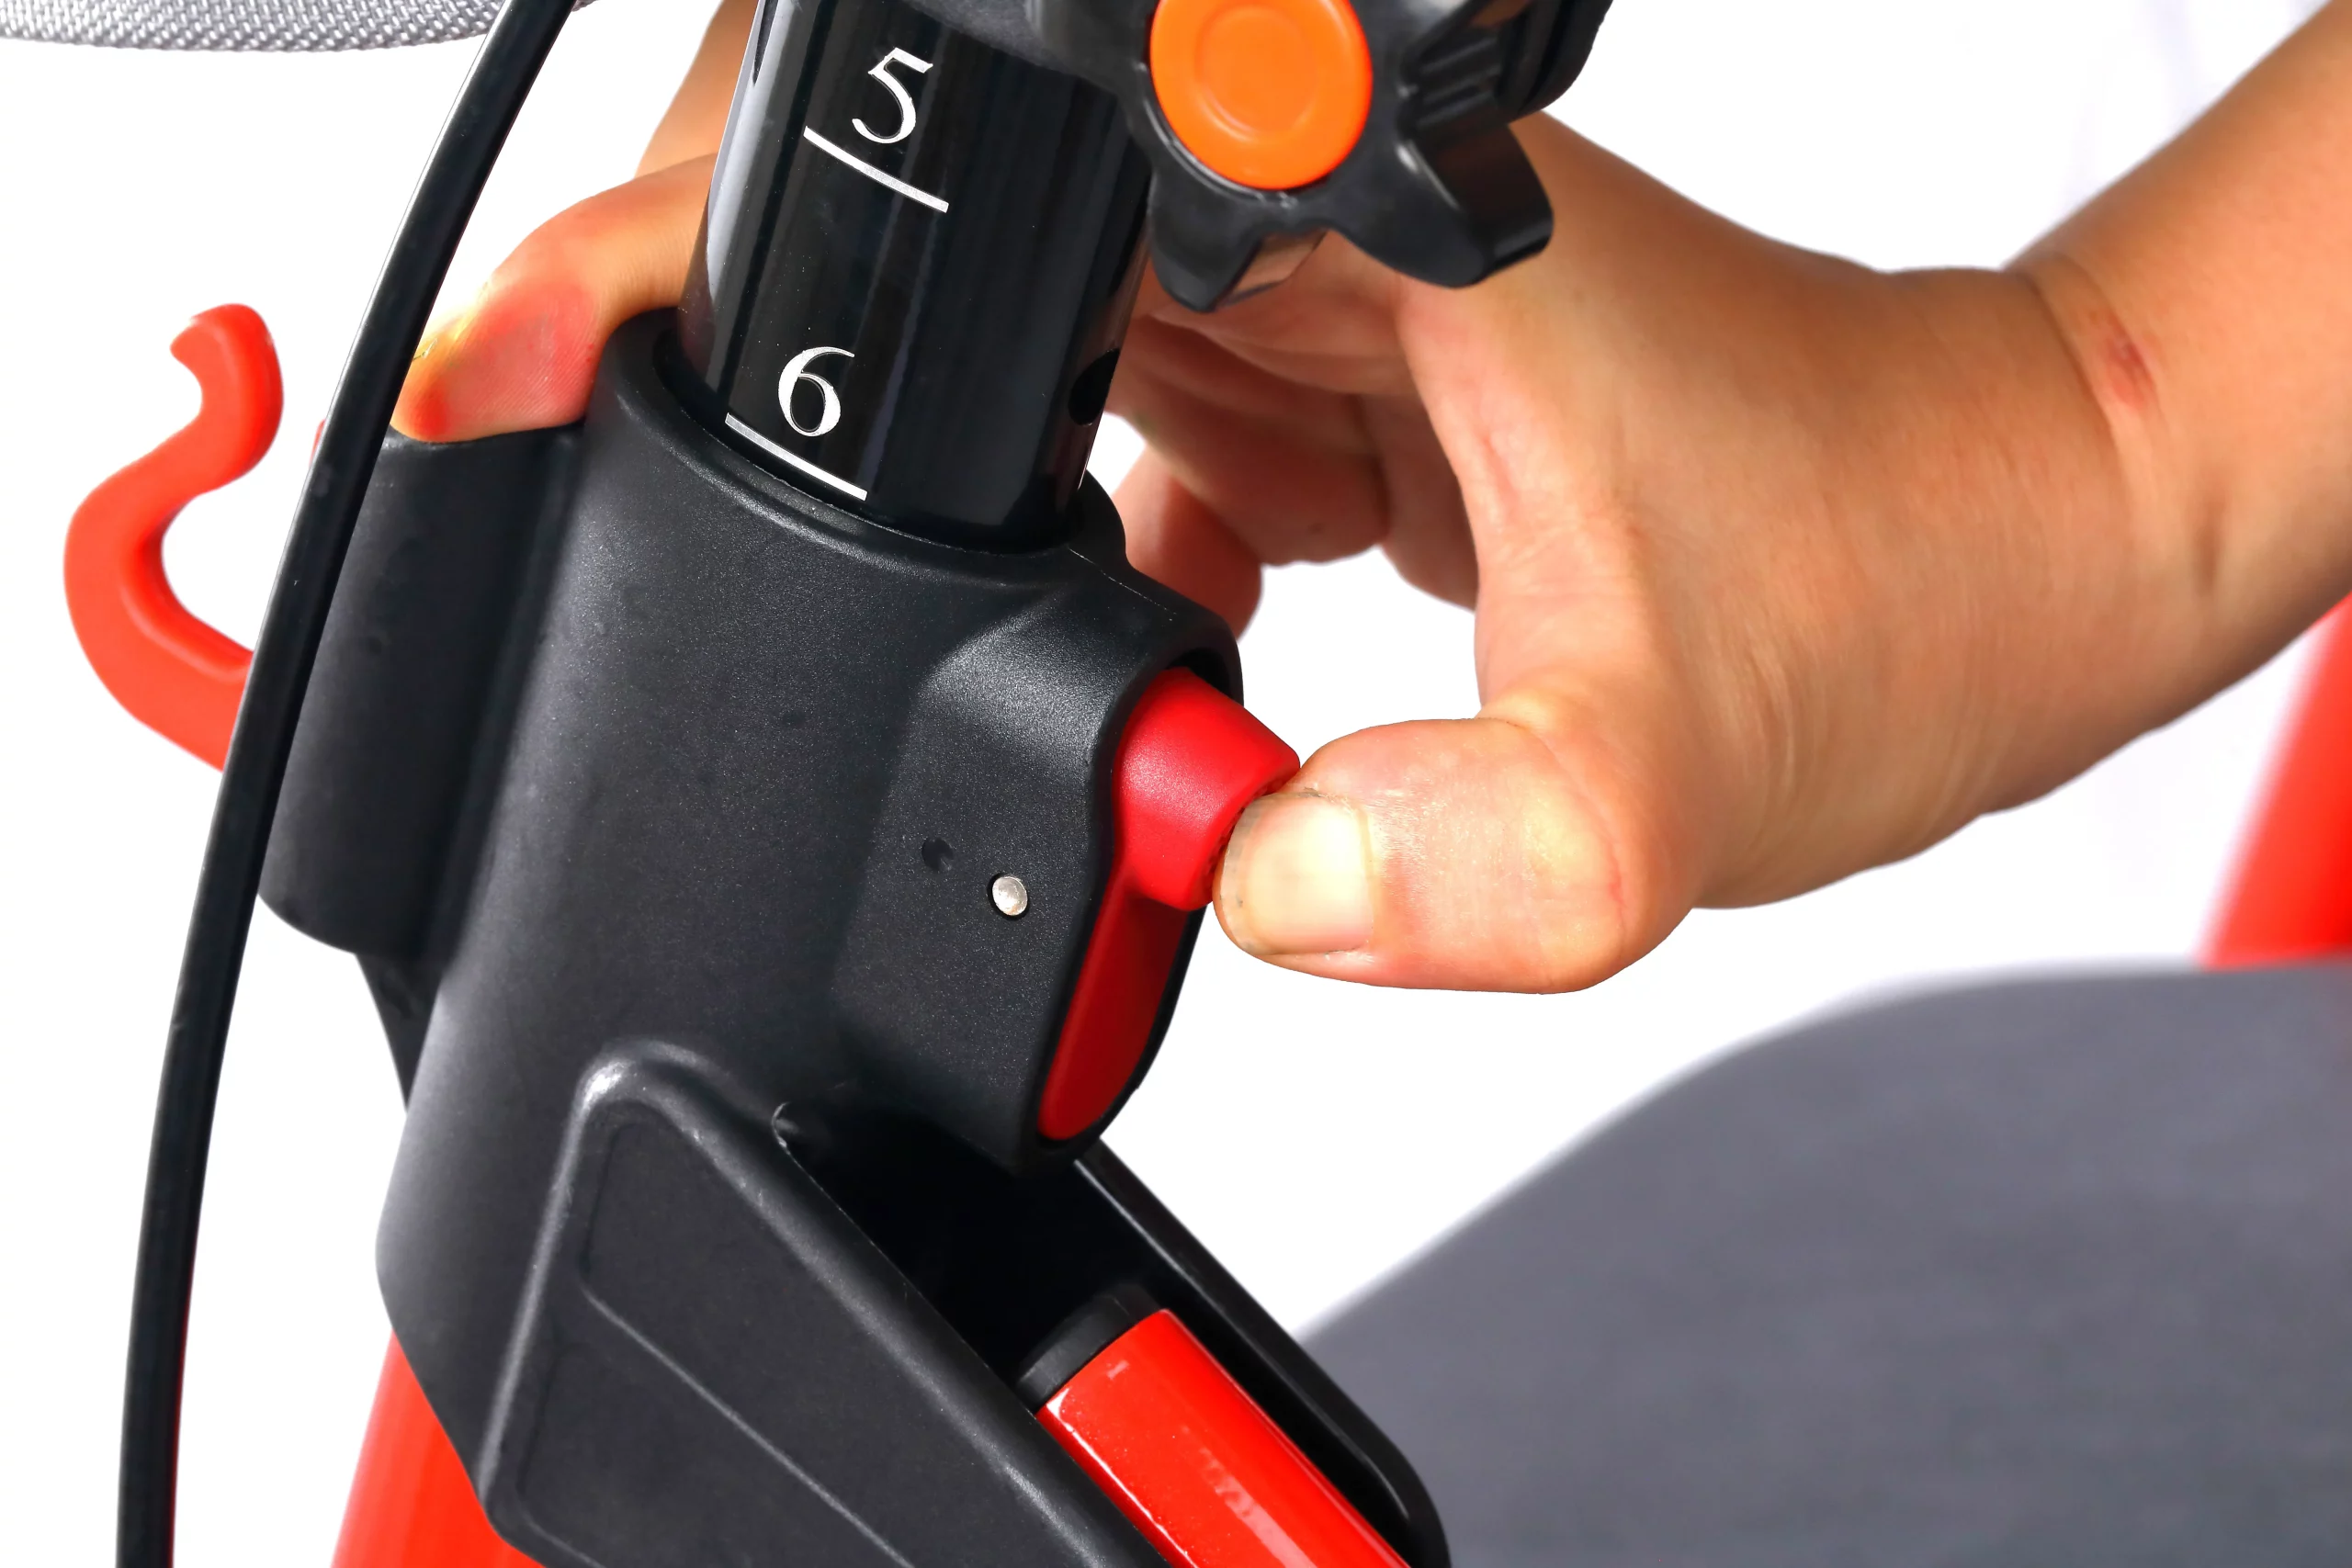
Rollator handle height remains usable only when its adjustment mechanism is secured according to the model guide. The close-up photo shows an orange knob, a red control and numbered index marks, but not a verified sequence or dimensional scale. Avoid improvising from the image.
What should a handover demonstrate?
Show the maker's sequence, not a guess. Ask trained staff to demonstrate the permitted adjustment and required retention check on the exact sample. Keep fingers and brake cable clear of the moving parts as the instructions specify.
- Identify adjustment and retention components.
- Follow the model's documented sequence.
- Recheck both handles before use.
| Visible detail | What still needs proof |
|---|---|
| Numbered post | Actual height for each mark |
| Knob and control | Approved locking procedure |
Printed marks alone are not a fit or safety certificate. Key Takeaway: Your sales copy can describe an observed mechanism without inventing its settings.
Does rollator handle height affect brake reach?
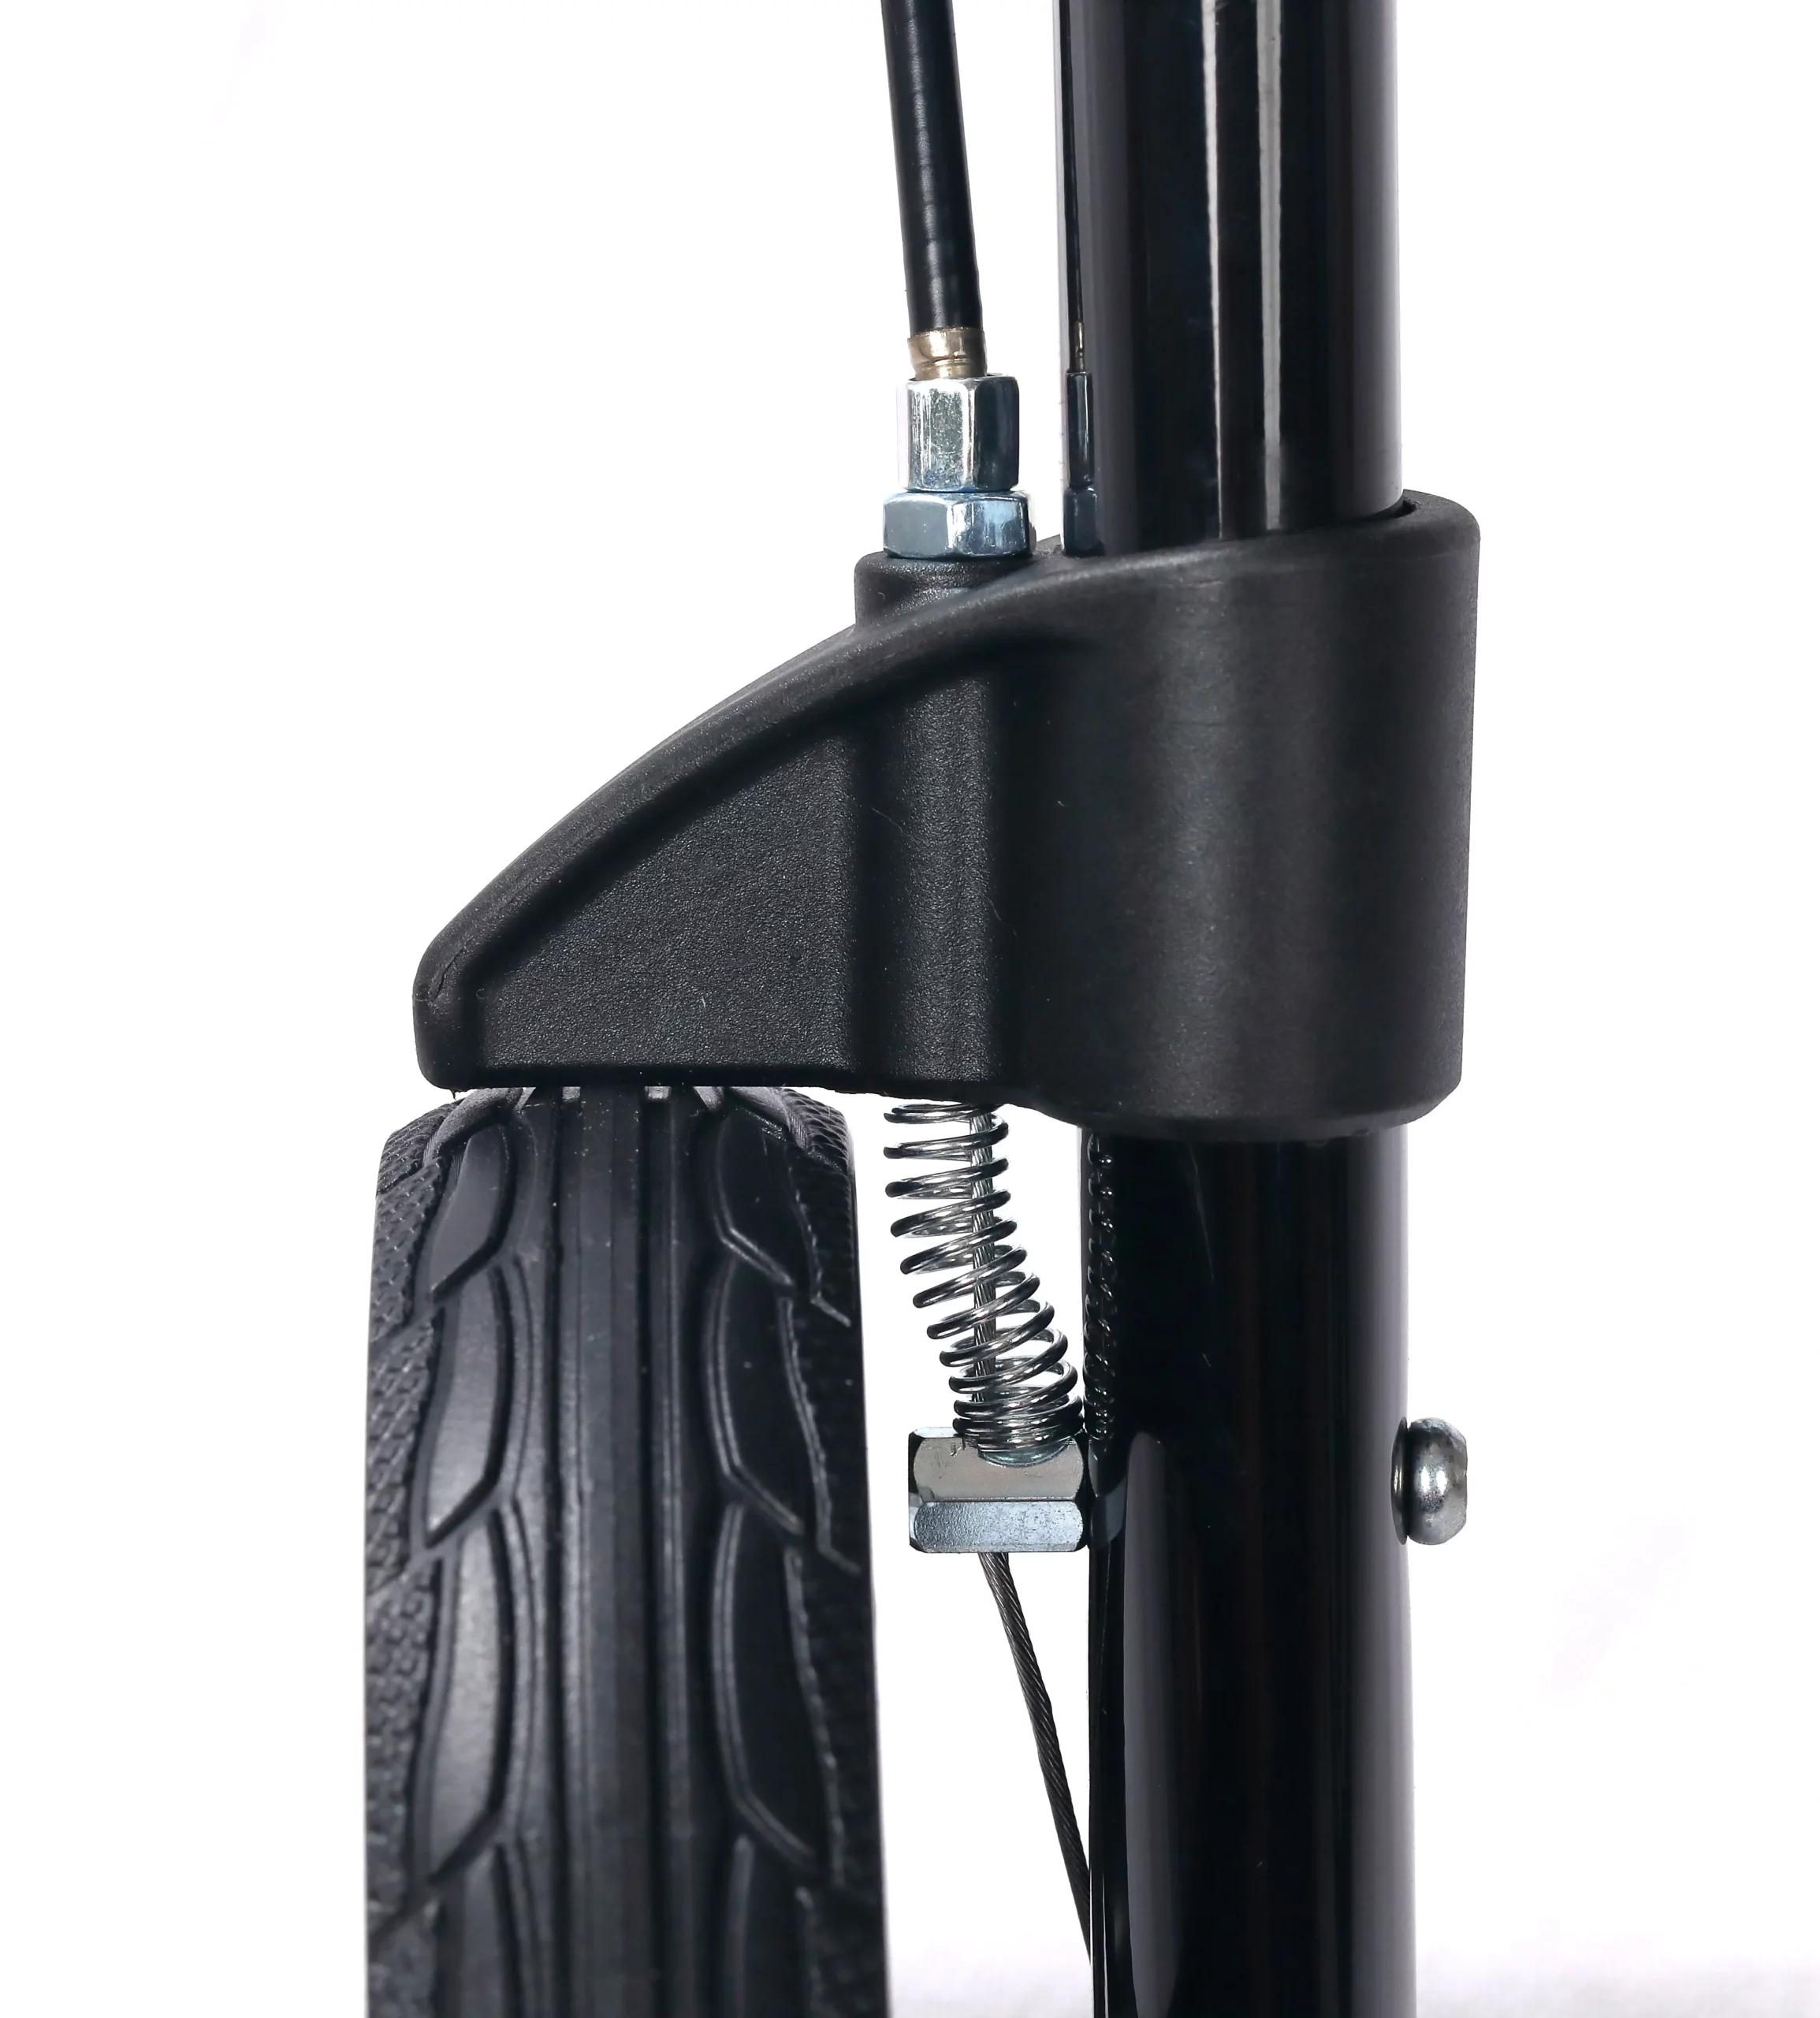
Rollator handle height affects where the user's hands meet the brake levers. A change in grip position should prompt a fresh trained check of lever access and control. The wheel-side cable image shows a connection, not proof of brake performance.
What should be reviewed together?
Follow the hand from grip to lever. Ask whether the user can reach and operate both levers in the agreed walking posture. Refer any uncertain brake result for service rather than changing cable tension from a photo.
- Record the approved grip position.
- Review access to both brake levers.
- Escalate a change in brake feel or function.
| Change | Review |
|---|---|
| Grip setting | Reach and hand position |
| Brake concern | Model-specific service route |
A good height setting can fail the user if braking remains out of reach. Key Takeaway: Fit and brake use stay connected at handover.
Can rollator handle height solve every route problem?

Rollator handle height cannot by itself make a route suitable. Surface, slope, width and the user's control of the fully opened aid also matter. The route collage on the product page is context, not proof of approval for grass or speed bumps.
Which route facts help the fitter?
Bring the actual path into the room. List common thresholds, paving changes and stopping places. A cane chair is a different device with separate support and use conditions, so compare the user's needs before switching products.
- Record typical indoor and outdoor surfaces.
- Check maker limits for the selected model.
- Ask for an individual route review when needed.
| Route fact | Question |
|---|---|
| Surface or slope | Is it permitted for this device? |
| Space and turns | Can the user manage it as assessed? |
A handle adjustment cannot replace a route assessment. Key Takeaway: Your brief can include conditions that a showroom fit may miss.
What happens to rollator handle height after folding?
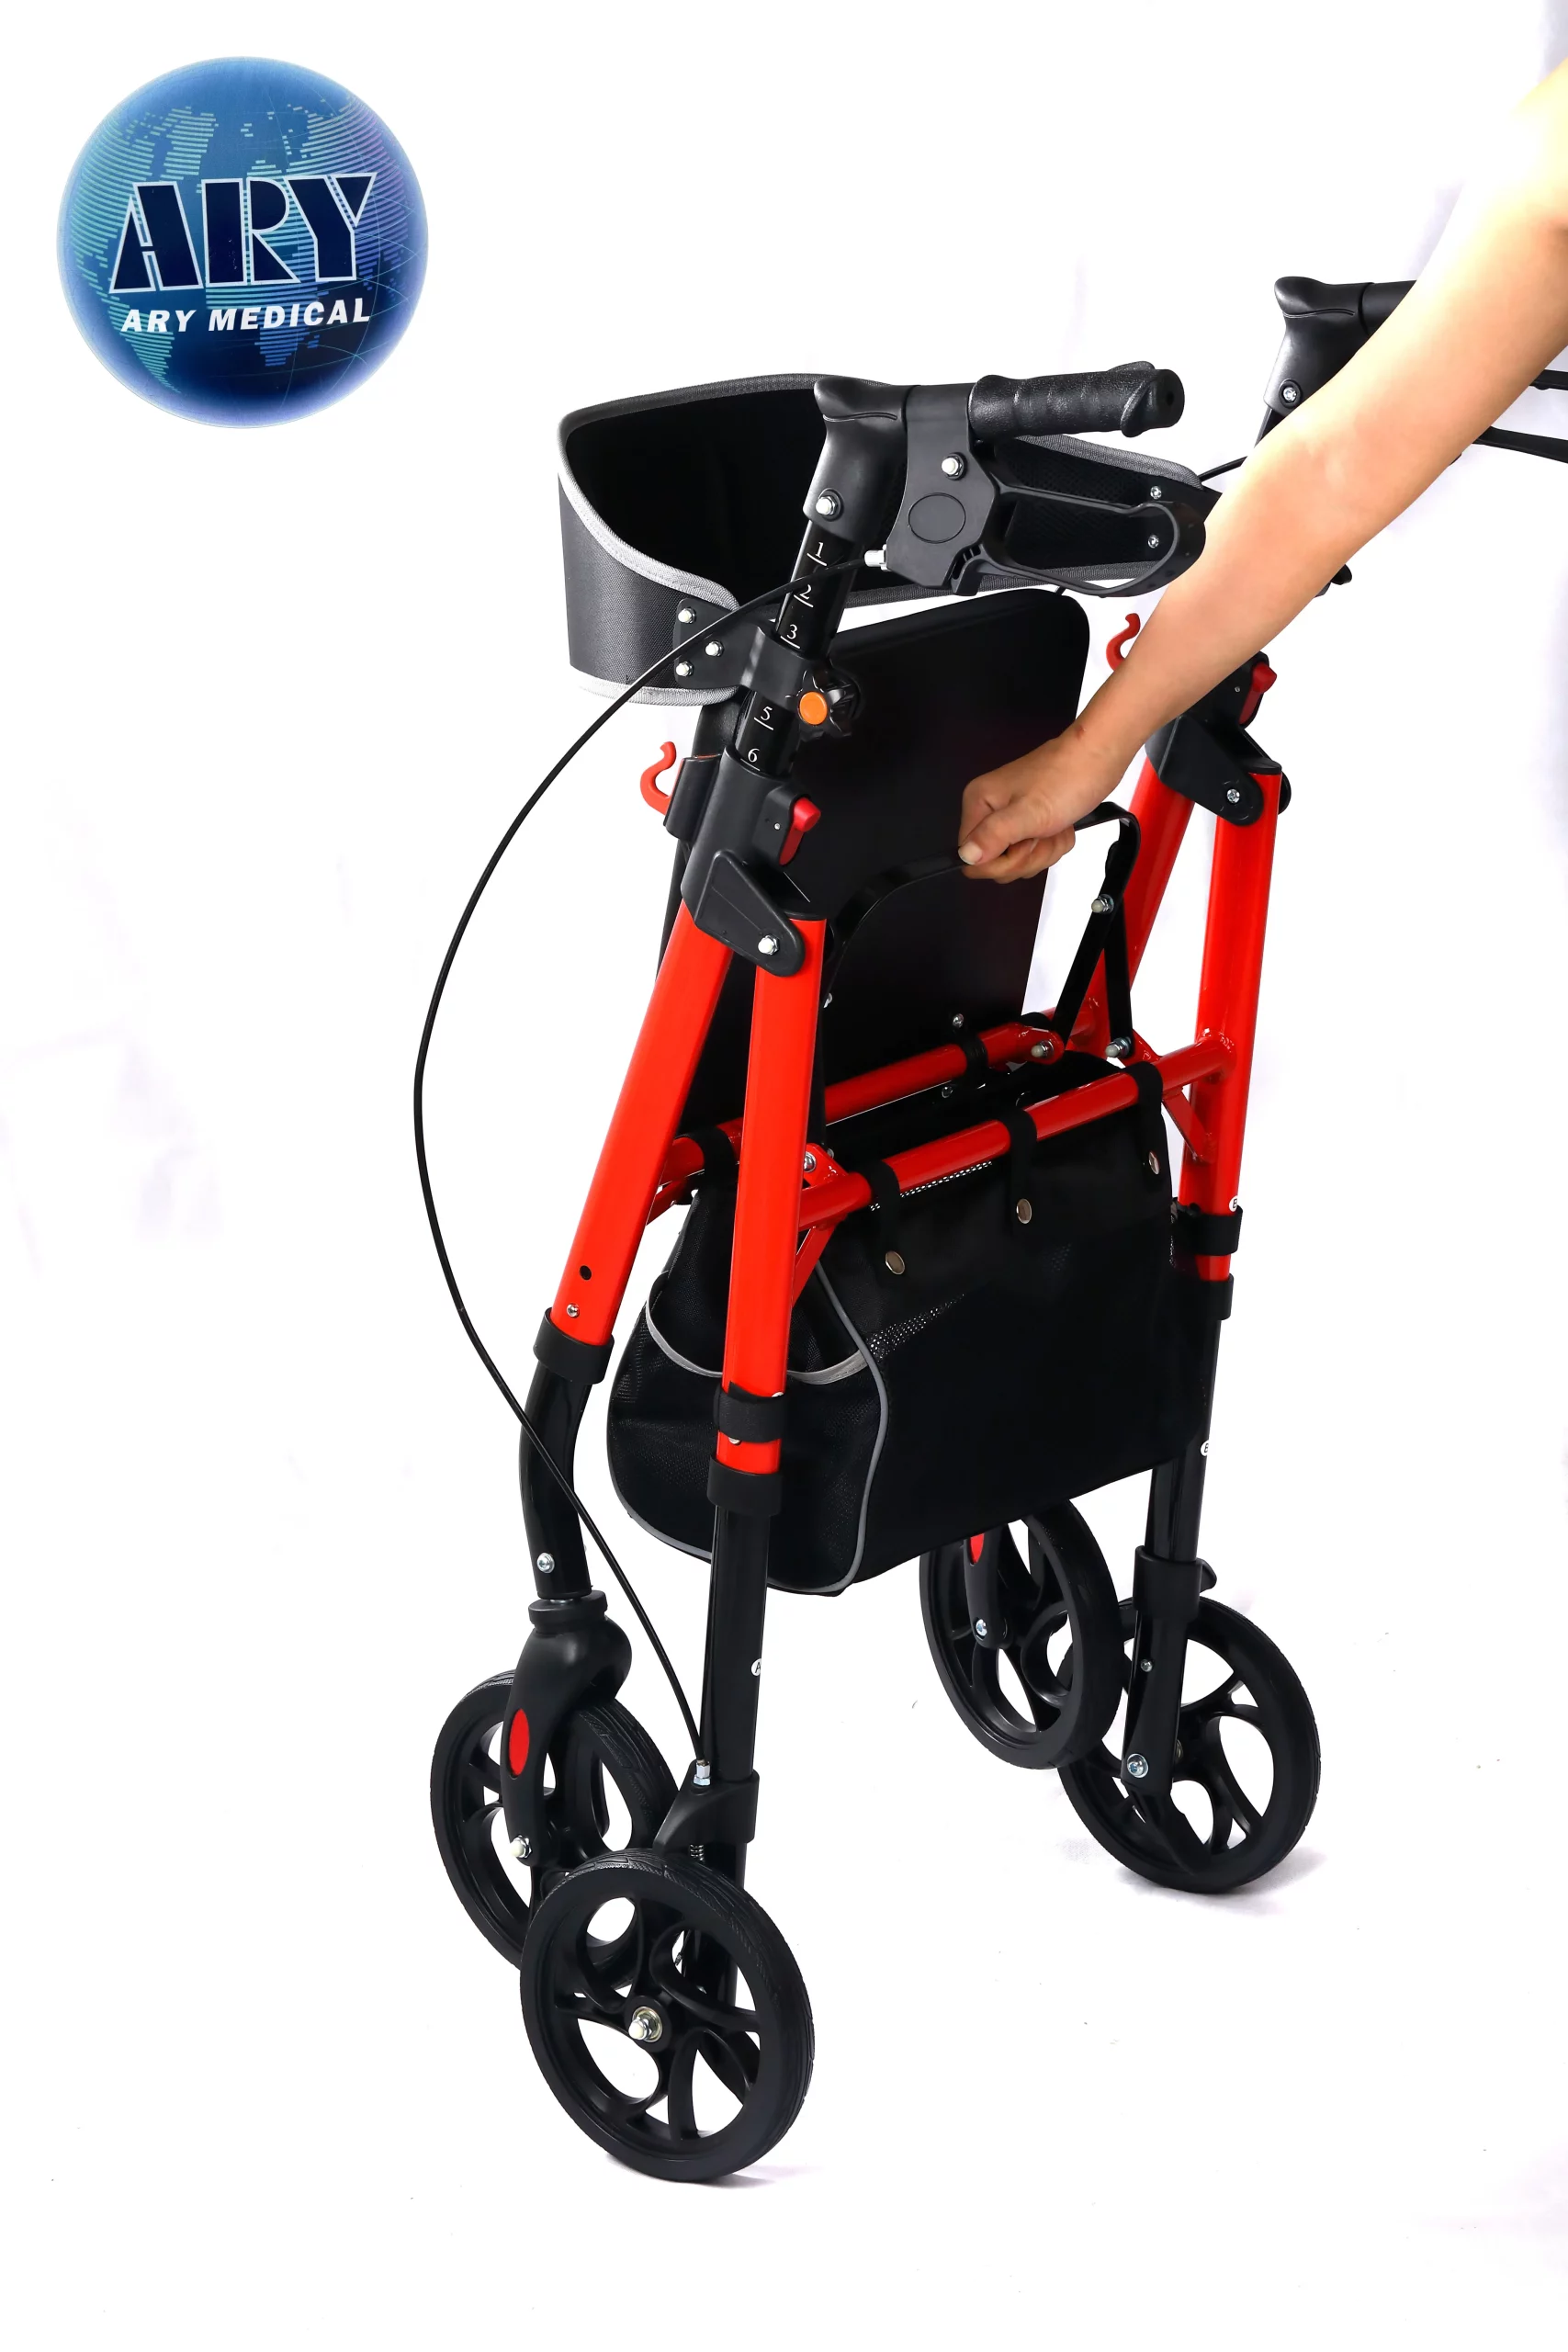
Rollator handle height should be confirmed again after any permitted folding, transport or service change. The folded product photo shows a compact arrangement, but not the full reopening procedure. Follow the model guide before the next use.
What should the receiving team restore?
Return every part to the use configuration. Check full opening, grip-post retention and brake-cable routing under the current instructions. Store the prior approved handle positions with the aid, not only in a separate order email.
- Use the documented fold and reopen method.
- Check both posts and brake access.
- Retain the reviewed setting in a handover record.
| Stage | Check |
|---|---|
| After transport | Open frame and secure posts |
| Before use | Restore approved fit and brake function |
A compact package still needs an active setup check. Key Takeaway: The next user receives the reviewed aid rather than a folded sample.
Which rollator handle height records should buyers keep?
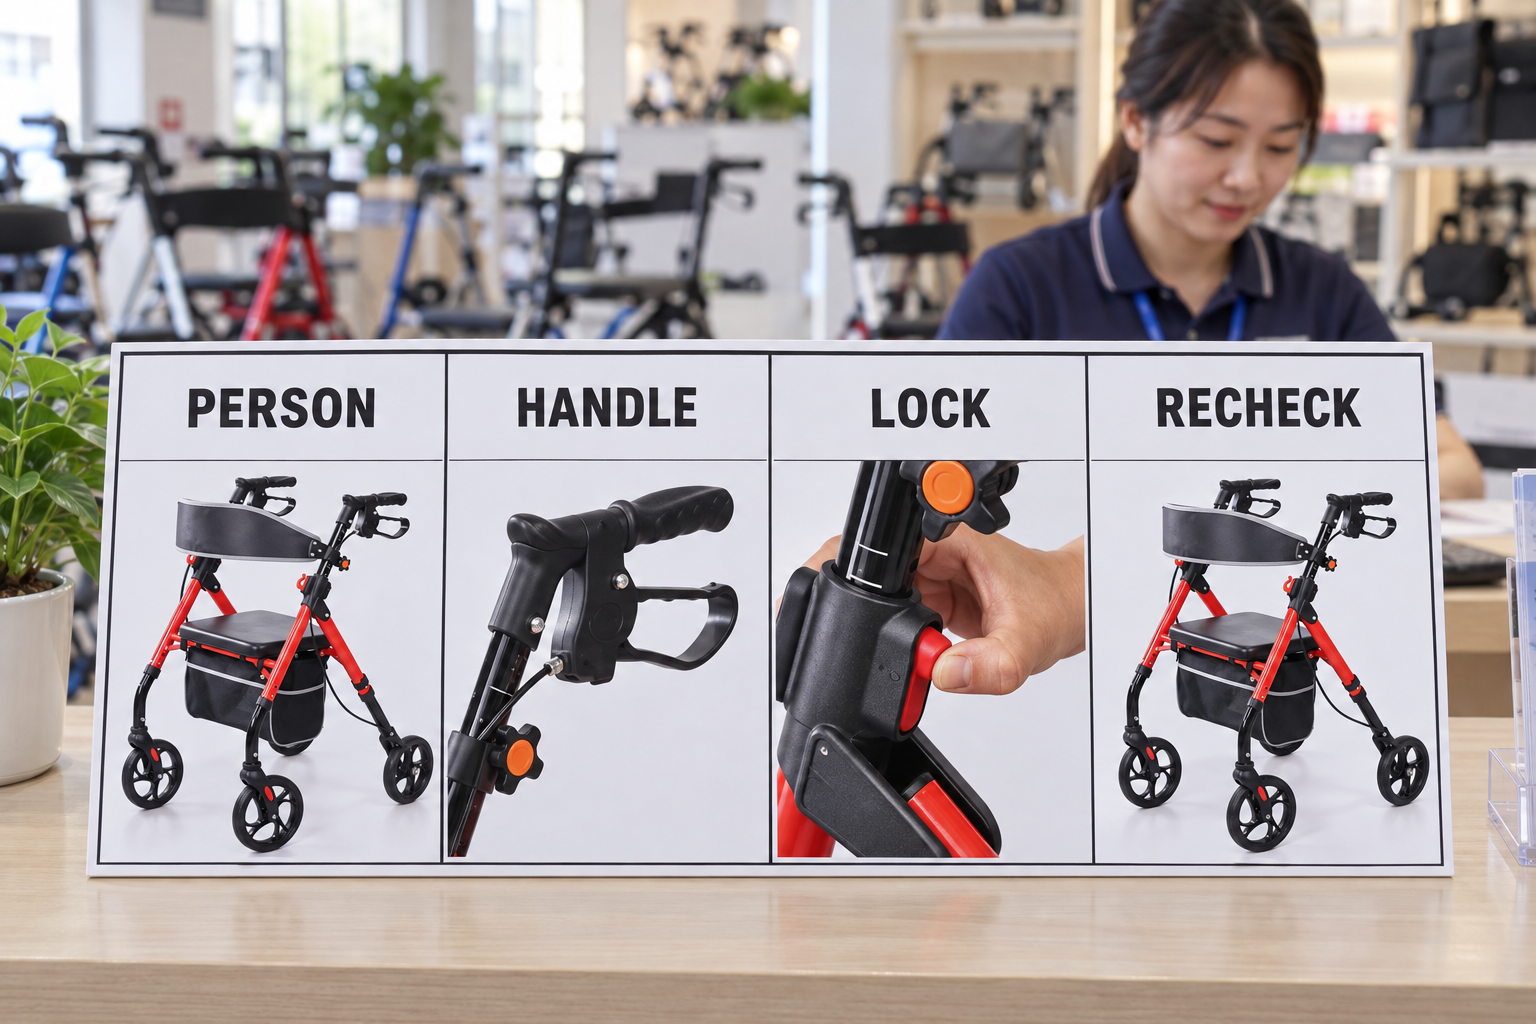
Rollator handle height records should name the exact model, approved left and right settings, fit reviewer and brake-access check. Add the latest product instructions and any change history. The chart above is a prompt for records, not a claim of clinical suitability.
Could another colleague repeat the fit setup?
Make the current settings easy to find. Ask the supplier team for model measurements and relevant adjustment instructions. Preserve the individual's approved position and who confirmed it.
- Store product dimensions and instruction version.
- Record each post's approved setting.
- Note recheck date or change trigger.
| Record | Value |
|---|---|
| Model and settings | Recreates the reviewed grip position |
| Review owner | Shows whom to contact about change |
A setting without its model and reviewer can mislead future staff. Key Takeaway: Handover remains traceable when equipment moves between teams.
How do you choose rollator handle height confidently?
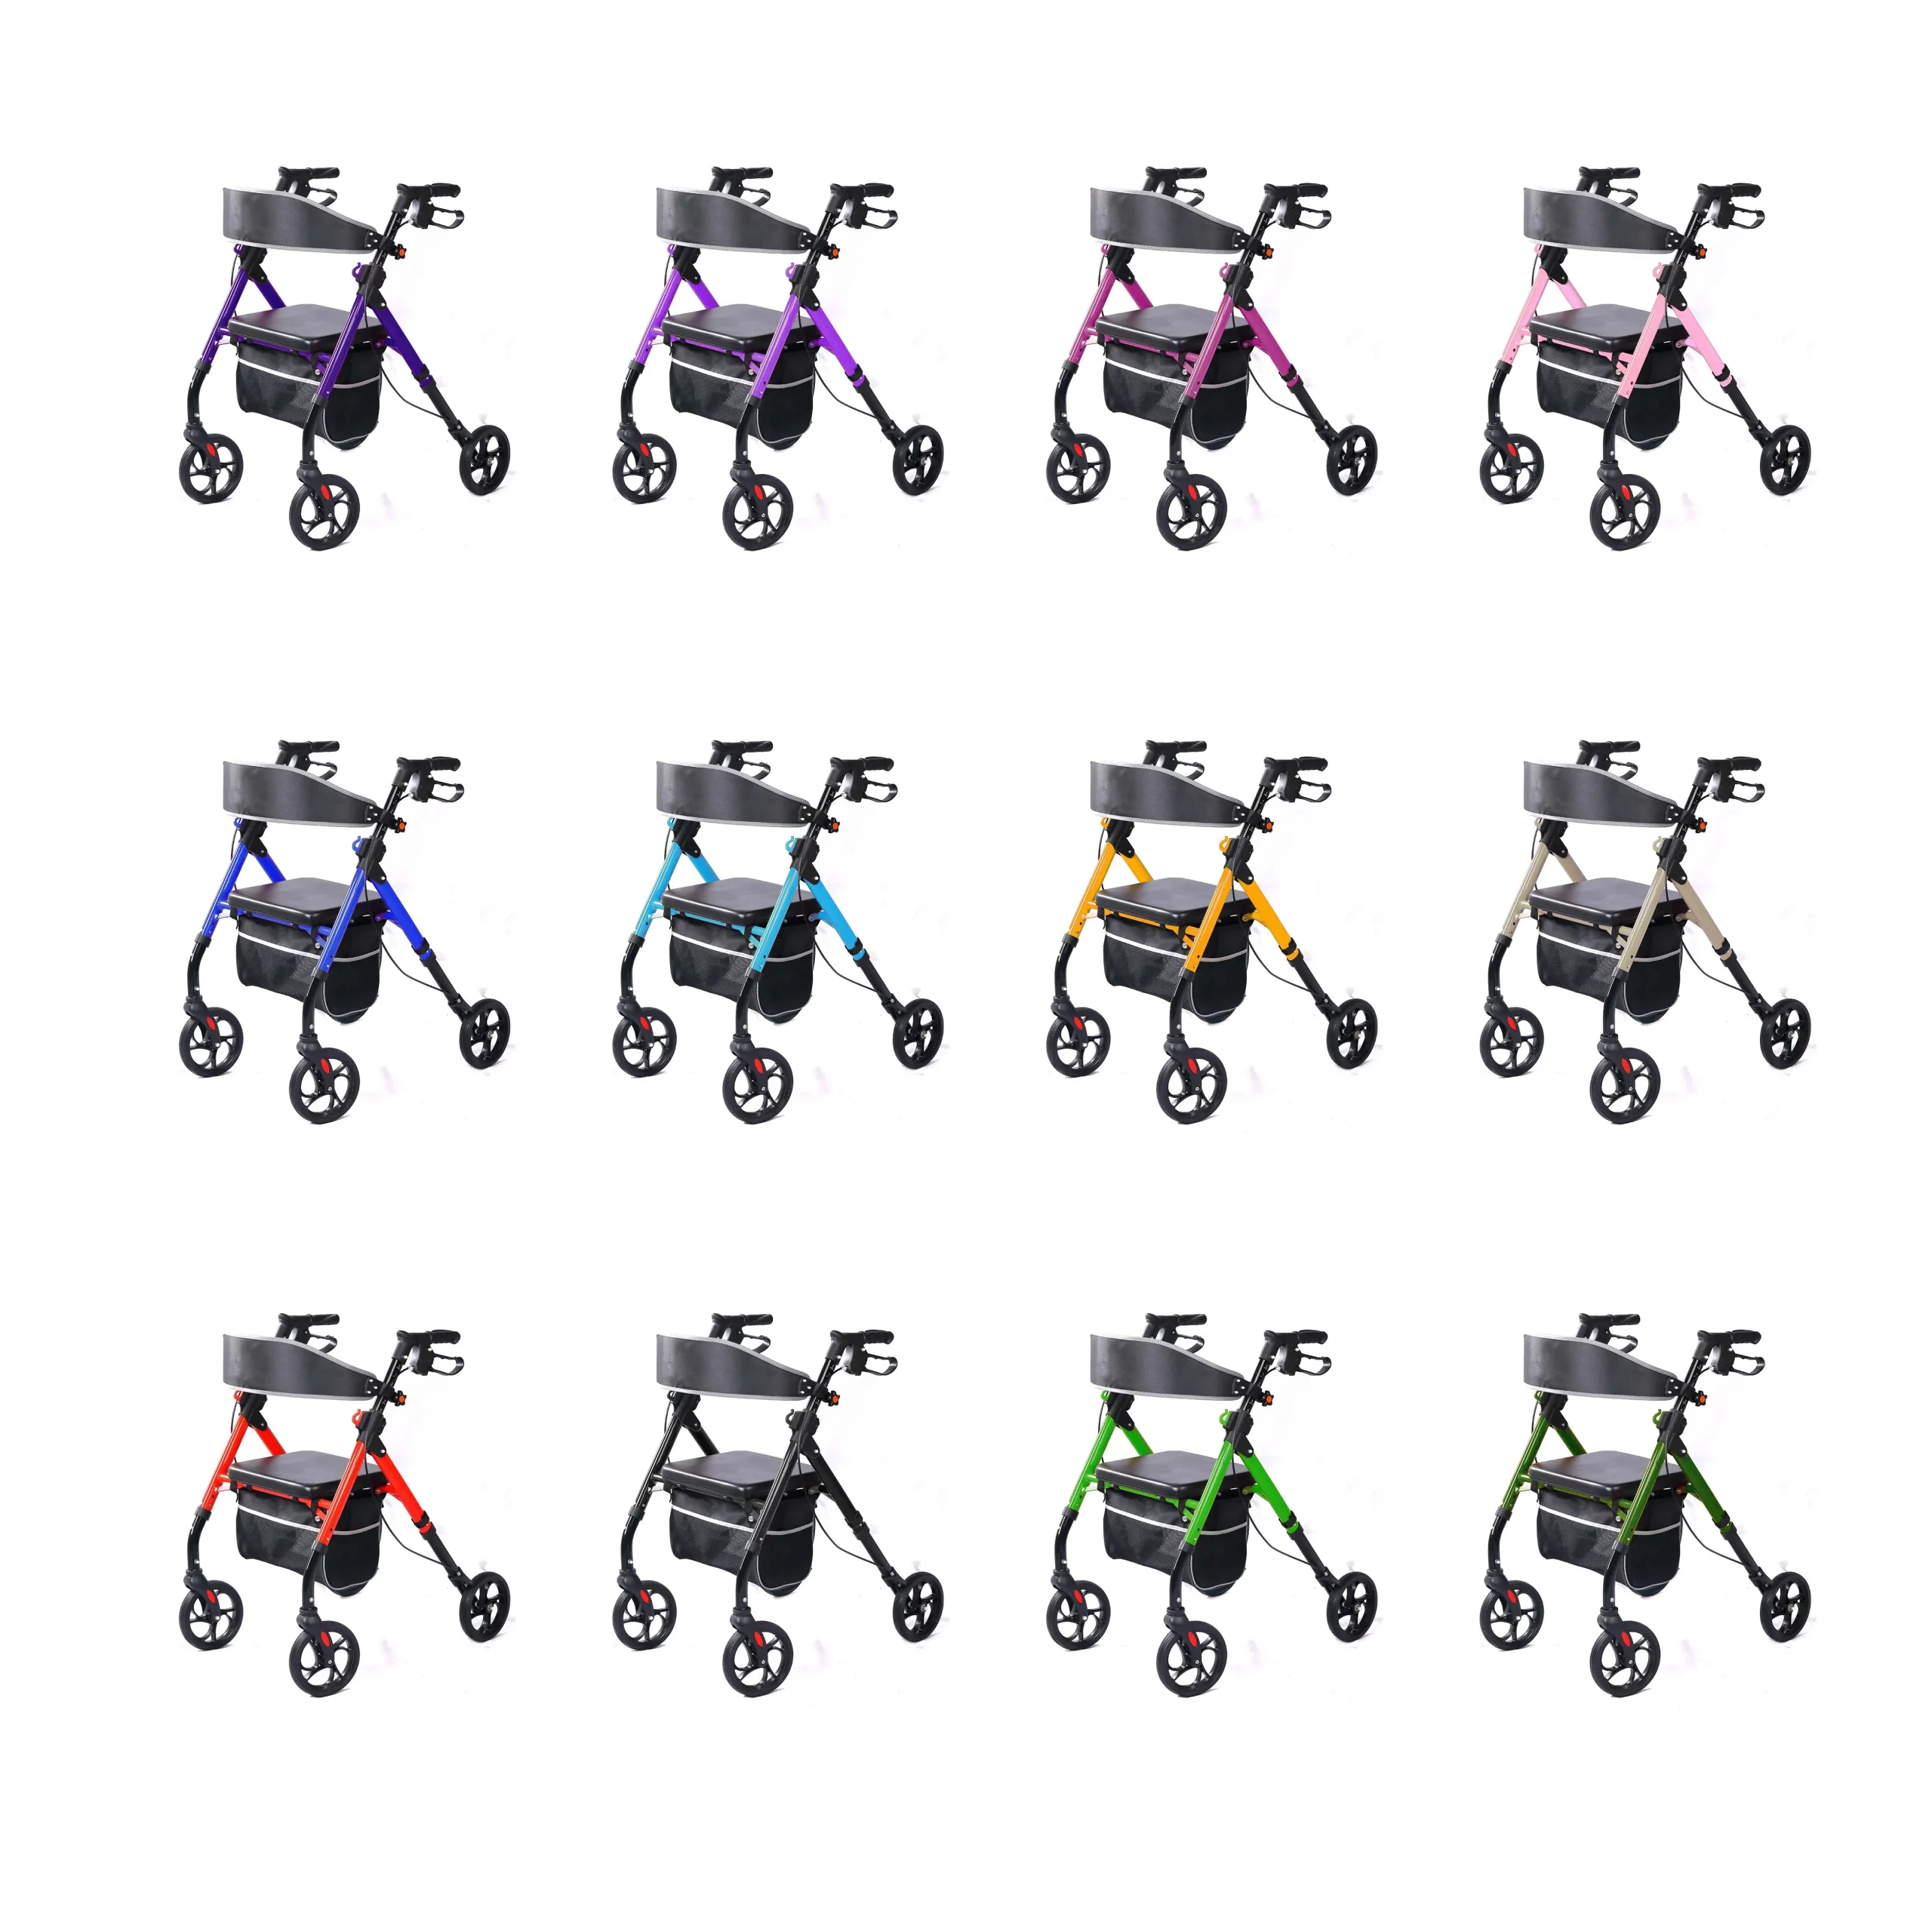
Choose rollator handle height through a verified adjustment range, individual fit and a check of both braking hands. Review route and seating needs separately. A range in sales copy is not a substitute for trying the actual device.
What should you request before ordering?
Send a practical fit brief. Name the proposed model, user's fit contact, hand-control needs and route. Ask for instructions and a sample route if the final position remains uncertain.
- Request verified grip-height information.
- Include brake reach and route questions.
- Record the trained fit outcome.
| Buyer input | Supplier response |
|---|---|
| Model and hand needs | Approved adjustment options |
| Fit and route | Sample and review path |
A usable handle height emerges from product facts plus an individual trial. Key Takeaway: For model details and samples, contact us. Ary Medical supports walking-aid choices that people can fit, control and revisit.
Frequently asked questions
Q1: Can I use my height alone to set rollator handles?
No. Body height is only context; trained fitting should also review grip and brake control.
Q2: What's the best starting point for handle height?
Wrist-region guidance can start a discussion. Confirm the actual position with a trained fit review on the chosen aid.
Q3: How do I know if both handles are secure?
Follow the exact model's retention check and have a trained handler review both sides. Numbered marks alone are not proof.
Q4: Can I raise the handles to change seat height?
No. These are separate positions; ask whether the chosen model offers a seat option.
Q5: How do I know if a setting changed during transport?
Compare both posts with the recorded approved positions, then complete the model's opening and brake checks.