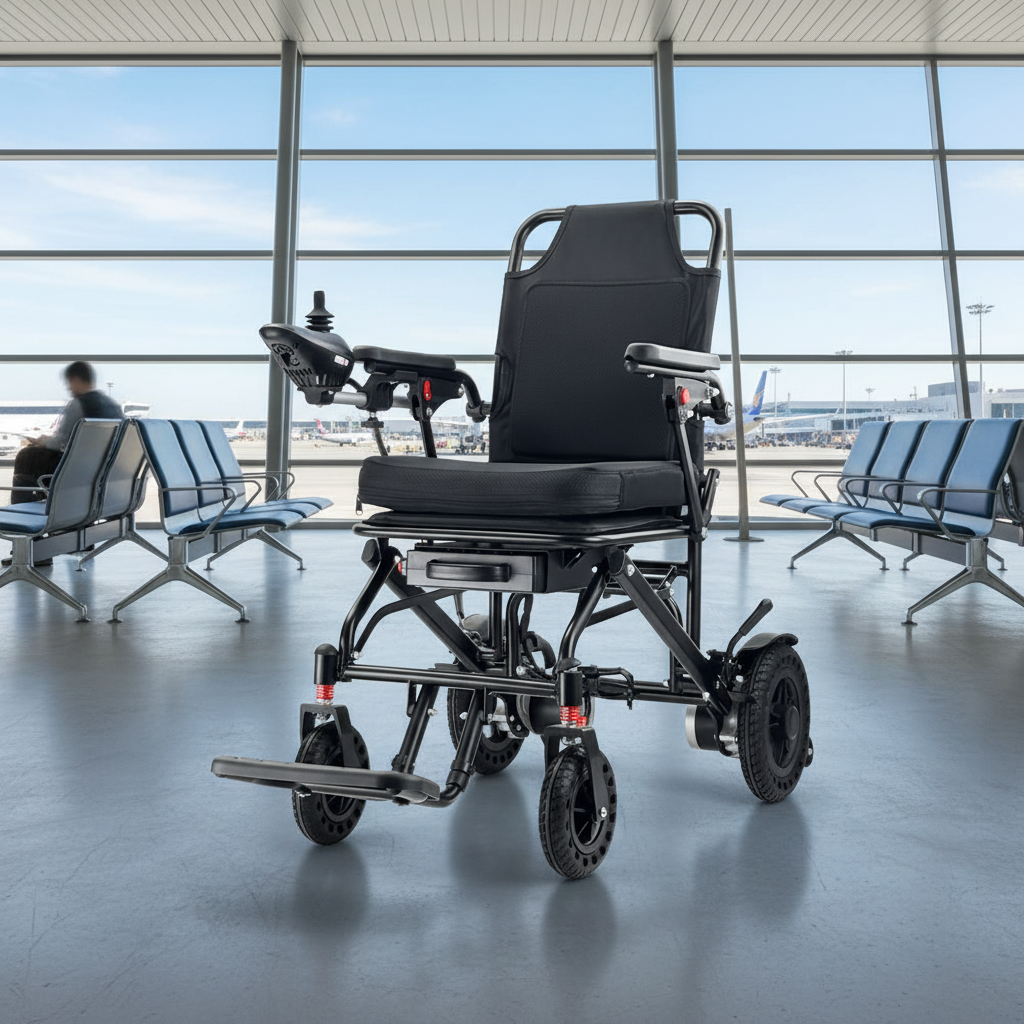
The dream of a faraway destination can feel just out of reach when the thought of navigating air travel with an electric wheelchair looms. The very idea can seem like a leviathan task, a tangled web of airline policies, obscure FAA regulations, and confounding battery rules. It’s enough to make even the most seasoned globetrotter feel a surge of trepidation.
But what if you could demystify the entire process? What if you had a clear, actionable playbook that transforms that anxiety into confident anticipation? That’s exactly what this guide is for. Consider this your co-pilot, designed to navigate you through every checkpoint—from booking your ticket to retrieving your chair at the gate. We’re about to jettison the hassle and ensure your journey is nothing short of smooth sailing. Let’s get you ready for takeoff.

The Quick-and-Dirty Checklist for Stress-Free Flying
For those in a hurry, here is the short version. To fly with an electric wheelchair, you must notify the airline at least 48 hours in advance, providing your chair’s dimensions, weight, and battery type. You will need to prepare your chair for the cargo hold by protecting it, labeling it clearly, and dealing with the battery according to strict FAA/IATA regulations. You can typically use your chair to the gate, where you’ll transfer to an aisle chair for boarding.
Ready for the Deep Dive? Let’s Get You Packed and Ready for Takeoff!
Feeling a bit more prepared? Good. Now, let’s walk through the nitty-gritty details. I’ve broken this down into five simple steps. Follow this guide, and you’ll be navigating the airport with the confidence of a pilot.
Step 1: Your Pre-Flight Homework (Don’t Skip This!)
Success in power wheelchair air travel is 90% preparation. Before you even think about booking a flight, you need to become an expert on one thing: your own wheelchair. The airline ground crew won’t know your specific model, so it’s up to you to provide them with the intel they need to handle it safely.
Your Wheelchair’s “Passport”: Getting the Specs You’ll Need
Think of this information as your chair’s passport. When you call the airline, they will ask for it. Having it ready makes you sound like a pro and ensures the process goes smoothly.
You’ll need to know:
- Make and Model: (e.g., Quantum Edge 3, Pride Jazzy EVO 613Li)
- Weight: The total weight of the chair.
- Dimensions: Length, width, and height. Pro-tip: Also measure the height with the backrest folded or removed, as this collapsed height is often what determines if it will fit through the cargo door.
- Battery Type: This is the big one. Is it lithium-ion, non-spillable (like a gel cell battery or AGM battery), or spillable?
You can usually find this information in your owner’s manual. If you can’t find it, a quick search online for your make and model or a call to your manufacturer should do the trick. Keep a digital and physical copy of this info handy.
The Great Battery Breakdown: What You MUST Know Before You Fly
Okay, let’s talk batteries. This is the part that causes the most confusion and anxiety, but I promise, it’s manageable. The FAA regulations for mobility aids and IATA dangerous goods regulations are strict for a reason—safety. Batteries, especially lithium-ion ones, can pose a fire risk if not handled correctly.
Your responsibility is to know what kind of battery you have and how to prepare it for flight.
Let’s Talk Lithium-Ion: The Rules You Can’t Ignore
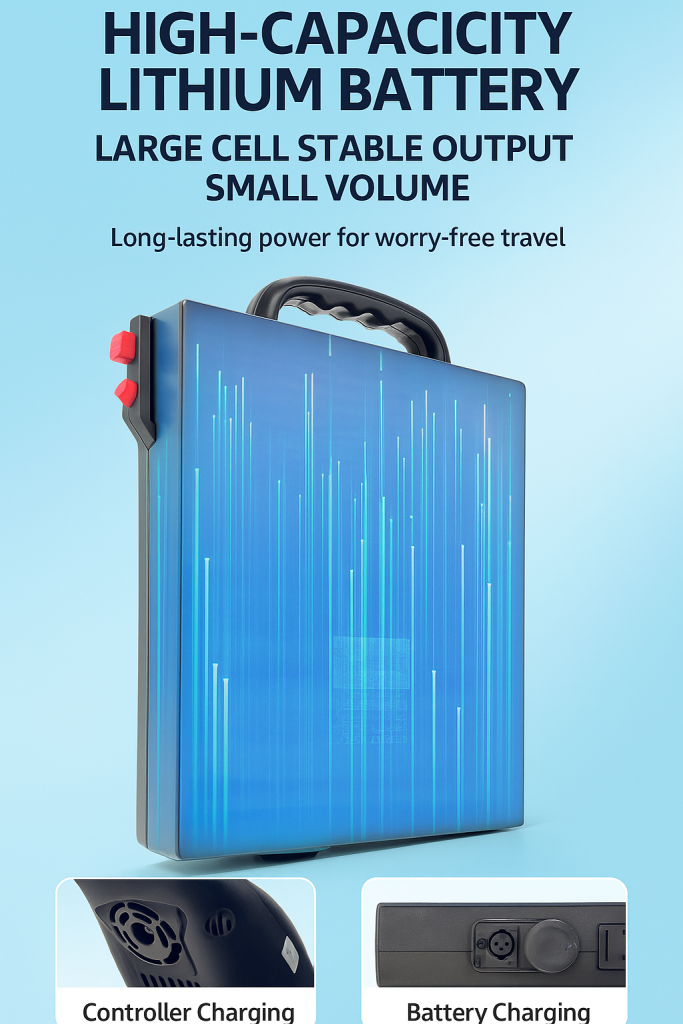
Lithium-ion (Li-ion) batteries are the gold standard for modern power chairs because they’re lightweight and powerful. They also have the most rules. The key question is: is your battery removable or non-removable (integral)?

- If Your Lithium-Ion Battery is REMOVABLE:
- You must remove the battery from the wheelchair before it goes into the cargo hold.
- You must carry the removed battery with you into the passenger cabin. Never, ever put a loose lithium-ion battery in your checked luggage.
- You need to protect the battery terminals to prevent short circuits. The easiest way is to put tape over the metal contacts or place the battery in a protective pouch.
- There are watt-hour (Wh) limits. You’re allowed one battery up to the 300 Wh battery limit. If your chair uses two batteries, each one cannot exceed the 160 Wh battery limit.
- You can also bring one spare battery in carry-on (up to 300 Wh) or two spares (up to 160 Wh each).
- If Your Lithium-Ion Battery is NON-REMOVABLE:
- The battery can remain in the wheelchair.
- There is technically no Wh limit for a non-removable battery, as long as it’s protected by the chair’s frame. However, be aware that some airlines may mistakenly try to enforce the 300 Wh limit anyway. Having your wheelchair manual handy can help clear up confusion.
- The power must be off, and the joystick or controls should be protected from accidental activation. Some travelers disconnect the joystick and carry it on board.
How to find the Watt-hour (Wh) rating?It’s often printed on the battery itself. If not, you can calculate it: Volts (V) x Amp-hours (Ah) = Watt-hours (Wh)For example, a 24V, 10Ah battery is 240Wh. If your battery lists milliamp-hours (mAh), just divide by 1000 first (e.g., 10,000mAh / 1000 = 10Ah).
Non-Spillable vs. Spillable Batteries: What’s the Difference?
If you don’t have a lithium-ion battery, you likely have a non-spillable or spillable one.
| Battery Type | Description & Common Names | How to Handle for Flying |
|---|---|---|
| Non-Spillable | Sealed batteries that won’t leak. Also known as Sealed Lead Acid (SLA), Gel Cell, or Absorbed Glass Mat (AGM). These are very common. | Can remain installed. The battery must be securely attached to the chair, and the terminals must be disconnected and insulated to prevent short circuits. The chair should be protected from accidental activation. |
| Spillable | Older “wet cell” batteries that can leak corrosive fluid if tipped. These are becoming less common in modern mobility aids. | Must be kept upright at all times. If the wheelchair cannot be loaded and stowed upright, the battery must be removed and transported in a special leak-proof battery box, which the airline should provide. |
Step 2: Making “The Call” to the Airline
Once you’ve done your homework, it’s time to communicate with the airline. This step is non-negotiable.
Why Calling at Least 48 Hours Ahead is Your Golden Ticket
Airlines require passengers with special needs, including those with a mobility aid transport request, to give them a heads-up. The official rule is the 48-hour rule: you must notify the airline about your electric wheelchair at least 48 hours before your flight.
My advice? Call them the moment you book your ticket.
Calling early gets you into their system, triggers the special assistance request, and ensures the correct staff and equipment (like an aisle chair transfer) are ready for you. It also gives you time to sort out any potential issues with their airline wheelchair policies.
Your Script: Exactly What to Tell the Airline Rep
When you call, you want to be clear and confident. Have your wheelchair “passport” info ready.
Here’s a sample script:
“Hello, I’m calling to add a special assistance request to my reservation. My confirmation number is [Your Number]. I will be flying with an electric wheelchair. I need to provide you with the specifications for gate-checking my device. It is a [Make and Model]. The dimensions are [L x W x H], it weighs [Weight], and it uses a [Battery Type] battery.”
If you have a lithium-ion battery, continue with:
“It has a [removable/non-removable] lithium-ion battery with a rating of [Your Watt-hour rating] Wh. I am aware of the FAA regulations for its transport.”
Being this prepared instantly tells the representative that you know what you’re doing. Make sure you get them to add the information to your booking and ask for a confirmation email or reference number for your request.
Booking Your Seat: A Few Pro-Tips for Comfort
While you’re on the phone, discuss seating. Most airlines will offer you a “bulkhead” seat (the ones at the very front of a cabin section) for more legroom. However, the armrests on bulkhead seats often don’t raise, which can make transferring from the aisle chair difficult.
I often prefer a regular aisle seat for this reason. Let the airline know your preference and what makes transferring easiest for you.
Step 3: Prepping Your Wheelchair for Its Solo Flight in Cargo
Your wheelchair is your key to independence, but to baggage handlers, it can be just another piece of cargo. It’s your job to prepare it for the rough-and-tumble environment of the cargo hold. This is a critical part of how to fly with a power chair.
Packing Like a Pro: Protecting Your Chair from Bumps and Bruises
- Remove Loose Items: Take off everything that can be easily knocked off—cup holders, phone mounts, bags, and even the seat cushion. I always carry my cushion on board with me. It doesn’t count toward your carry-on limit and ensures I have my custom seating on the plane.
- Secure the Joystick: The joystick is one of the most fragile and expensive parts. If possible, disconnect it and carry it on board with you. If not, protect it. Some people use a hard plastic food container taped over it. Bubble wrap is your friend here.
- Bundle Wires: Use zip ties or velcro straps to neatly bundle any loose wires or cables so they don’t get snagged.
“Handle With Care!”: The Simple Labels that Save Headaches
Labels are a great way to communicate with the ground crew when you’re not there. I recommend creating and laminating a few simple instruction tags to attach to your chair.
- Your Contact Info: Name, phone number, and flight number.
- Battery Instructions: A clear, one-page guide on how to handle the battery. For a removable wheelchair battery, state “BATTERY REMOVED AND IN CABIN WITH PASSENGER.” For a non-removable one, show how to disconnect it.
- Freewheel Mode: Tape a bright, obvious label near the levers that put the chair into freewheel mode, with simple instructions like “PULL LEVERS TO PUSH.”
- Do Not Lift Here: Place “DO NOT LIFT” stickers on fragile parts like armrests or footplates.
The Pre-Flight Photoshoot: Your Secret Weapon Against Damage Claims
This is one of the most important things you can do. Right before you hand your chair over at the gate, take a quick video and several photos of it from all angles with your phone. Make sure your photos are time-stamped.
This creates a clear record of your chair’s condition before the flight. If you land and find damage, these photos are indisputable proof when filing a wheelchair damage claim.
Step 4: Conquering the Airport Like a Seasoned Traveler
You’ve done the prep work. Now it’s time for the main event: travel day.
Your Day-Of Game Plan: From Check-In to the Boarding Gate
- Arrive Early: Standard advice is to arrive 2 hours before a domestic flight and 3 hours before an international one. For electric wheelchair travel, I’d add another hour to that. This gives you a buffer for any unexpected hiccups.
- Check-In: Go to the full-service check-in counter (not a kiosk). Remind the agent about your special assistance request and your wheelchair. They will confirm the details and give you a gate-check tag for the chair.
- Security Screening: TSA screening with a wheelchair is straightforward. You will go through a separate line. An officer will pat you down and swab your chair and hands for explosive residue. You typically remain in your chair the whole time.
- Proceed to the Gate: You are entitled to use your own wheelchair all the way to the door of the aircraft. Don’t let anyone try to take it from you at check-in. Your personal mobility aid is far more comfortable and effective than a standard airport transport chair.
Saying “See You Later” at the Gate: How the Transfer Works
This is the moment of truth. You’ll be gate-checking a power wheelchair. Here’s the process:
- Pre-Boarding: As a passenger with a disability, you have the right to pre-boarding. This gives you extra time and space to get settled without the rush of other passengers.
- The Transfer: You’ll drive your chair down the jet bridge to the open door of the plane. Airport assistance staff will be there with a narrow aisle chair. You’ll transfer from your power chair to the aisle chair.
- Final Prep: This is your last chance to prepare your chair. If you have a removable battery, take it out now and bring it aboard. Give the joystick one last check. Verbally confirm with the ground crew that they understand the handling instructions.
- Boarding: The staff will push you down the aisle to your seat, and you’ll transfer one last time. Your electric wheelchair will be loaded into the cargo hold directly from the jet bridge.
Step 5: You’ve Landed! Reuniting With Your Wheelchair
You’ve made it! But the journey isn’t quite over. Now you need to be reunited with your chair.
By law, the airline must bring your wheelchair to you at the gate. Do not agree to pick it up at baggage claim. You will deplane after all other passengers have gotten off, giving the ground crew time to bring your chair up from the cargo hold.
Once it arrives, do a thorough inspection before you leave the gate area. Check that it powers on, the joystick works, and there is no visible damage. Compare it to the pre-flight photos you took.
What to Do if Your Wheelchair is Damaged (Don’t Panic!)
Seeing your expensive, essential mobility device damaged is heartbreaking, but it’s crucial to act quickly and professionally.
- Do Not Leave the Gate: Report the damage immediately to the gate agent or the first airline employee you see.
- Ask for the CRO: Every airline is required to have a Complaint Resolution Official (CRO) on duty or available by phone at all times. The CRO is specially trained in disability regulations and is your best resource for solving problems.
- File a Report: Insist on filing a wheelchair damage claim right there and then. Get a copy of the report before you leave the airport.
- Document Everything: Take photos of the damage. Get the names of the employees you speak with, especially the CRO.
Know Your Rights: The ACAA is Your Best Friend
The Air Carrier Access Act (ACAA) is a U.S. law that makes it illegal for airlines to discriminate against passengers with disabilities. Under the ACAA, airlines have significant responsibilities regarding your passenger rights for mobility aids.
Key ACAA Rights:
Knowing these rights empowers you to advocate for yourself effectively. Don’t be afraid to calmly and firmly state what you are entitled to.

A Few Final Words of Encouragement
I know this seems like a lot. Flying with an electric wheelchair for the first time can be intimidating. But like anything, it gets easier with practice.
The freedom to explore new places, visit family, or travel for work is a right, not a privilege. By doing your homework, communicating clearly, and knowing your rights, you can turn a stressful prospect into a seamless adventure. You are a capable and experienced traveler in the making.
So go ahead, book that ticket. The world is waiting for you. Happy travels
