
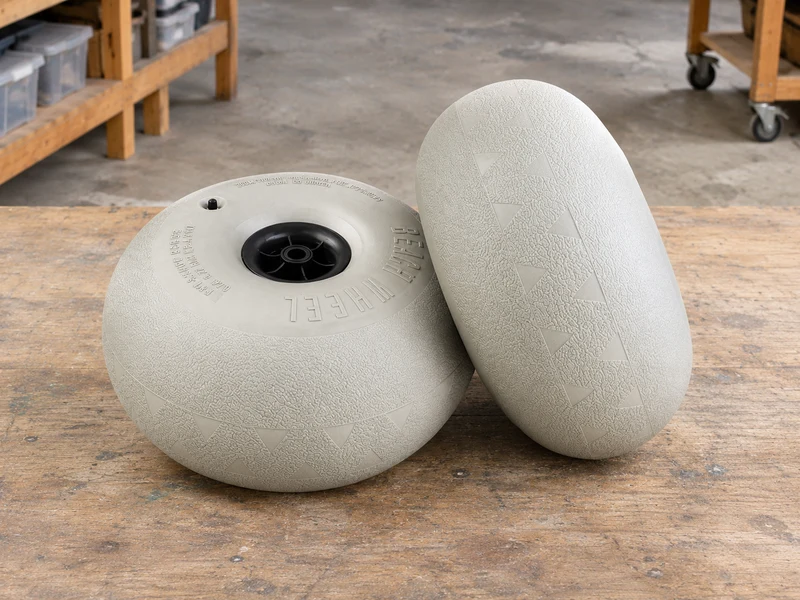
Check beach wheel valve access on the assembled cart using the connection and procedure the wheel manufacturer specifies. A valve that looks easy to reach on a loose wheel can sit close to the tub after installation. Show that space before buying tools or promising on-site service.
How do you check beach wheel valve access?

Assess beach wheel valve access at the installed position and identify the actual valve from the matching wheel documentation.
What should be visible in the first shot?
Include the surrounding equipment. The relationship between the valve, frame and wheel face explains the access problem more clearly than an isolated part photo.
- Identify the model.
- Photograph the mounted side that contains the valve.
| Check | What to look for |
|---|---|
| Component | Actual valve location |
| Context | Adjacent frame or tub |
Key Takeaway: A supplier can discuss reach once it sees the assembled space.
Where can a buyer confuse the valve and the hub?
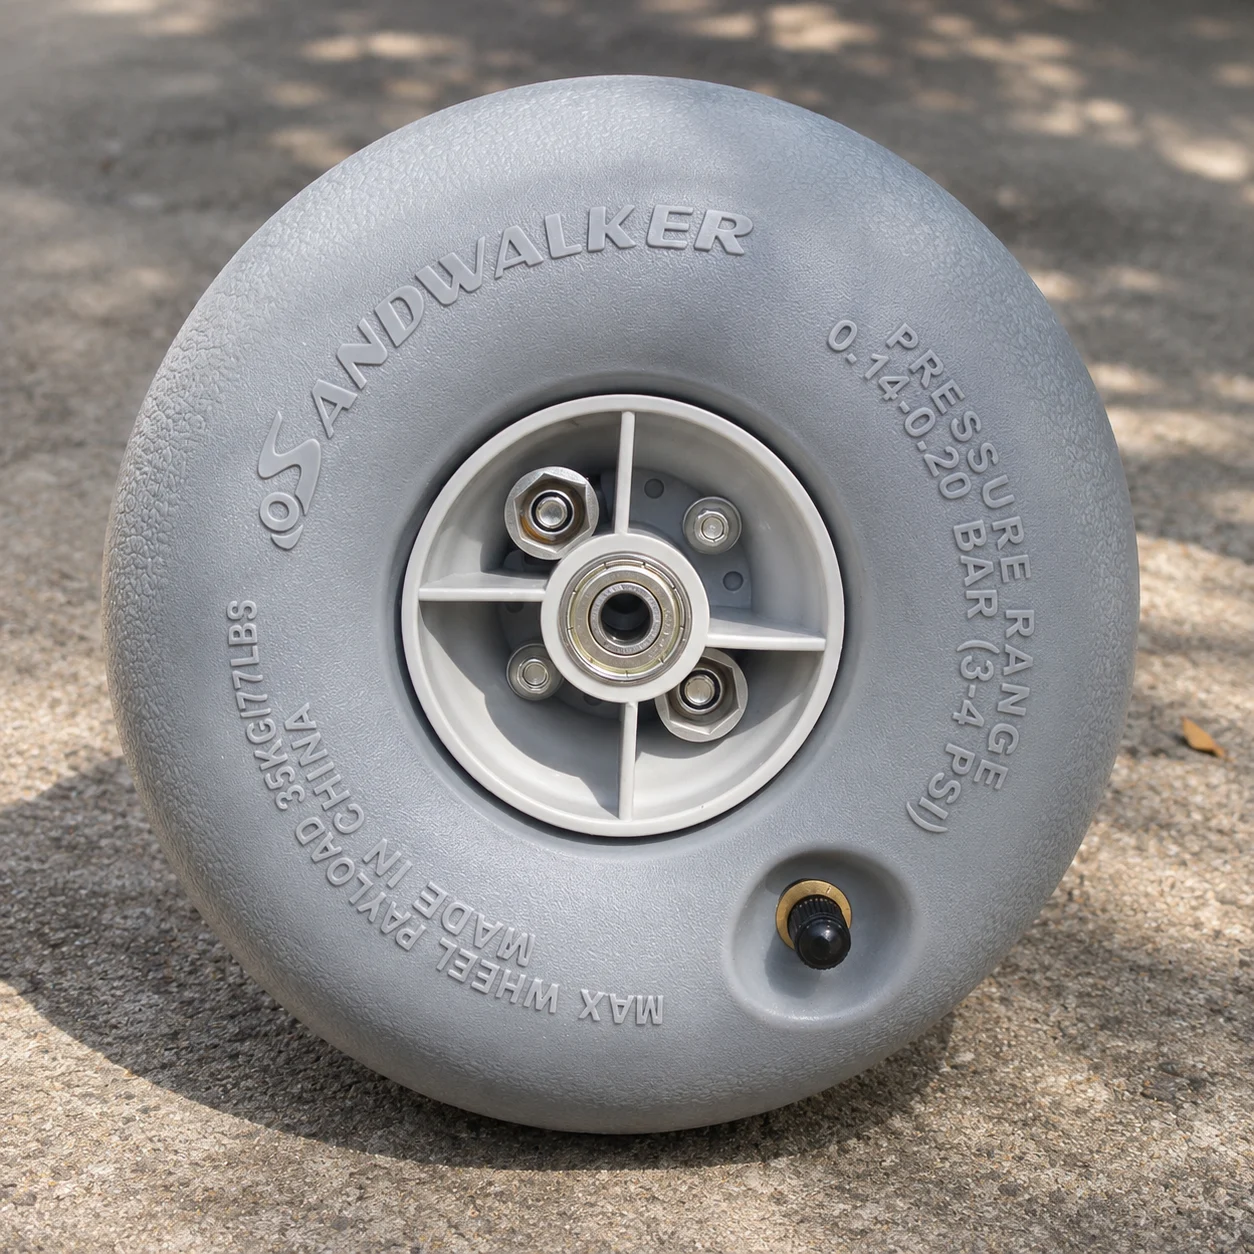
For beach wheel valve access, distinguish the inflation point from the axle opening at the wheel center.
What if the picture is ambiguous?
Request a marked image. A small dark feature may be a cap, fastener or shadow, and the central hub serves a different purpose. The wheel assembly guide gives background when identifying the hub.
- Ask the maker to identify the valve.
- Keep the uncropped wheel face for context.
| Check | What to look for |
|---|---|
| Valve | Specified inflation connection |
| Hub | Axle interface |
Key Takeaway: The maintenance team should know which feature it is being asked to reach.
Which angle reveals an obstruction?
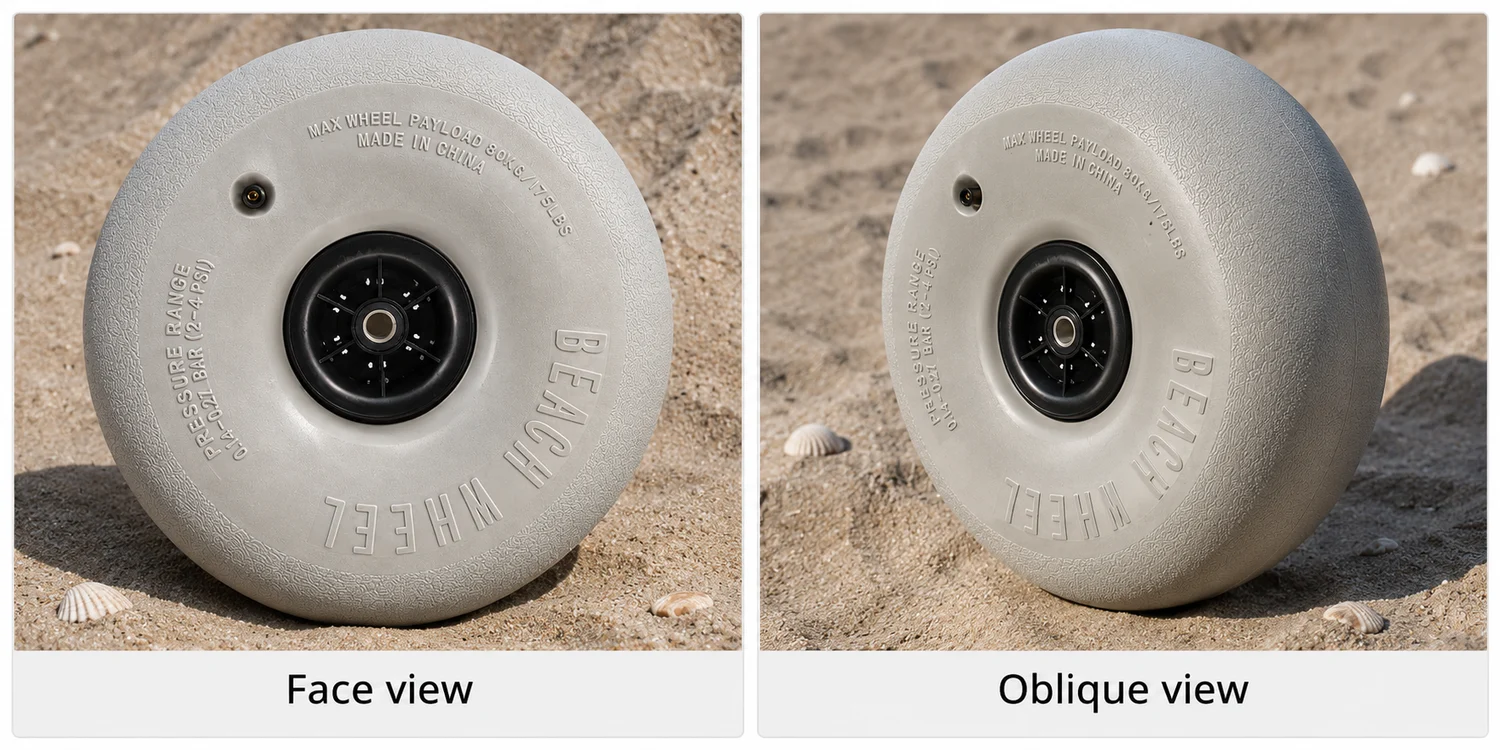
Show beach wheel valve access from along the wheel face and from the approach direction of the specified connection.
Why can the face view mislead?
Look at depth. A gap may be visible from the side while a connector still has too little room to approach correctly.
- Show the face in full.
- Add an oblique installed photo.
| Check | What to look for |
|---|---|
| Face view | Position around the wheel |
| Oblique view | Approach space |
Key Takeaway: The second angle can explain a problem that the first view hides.
Which connection should the team evaluate?
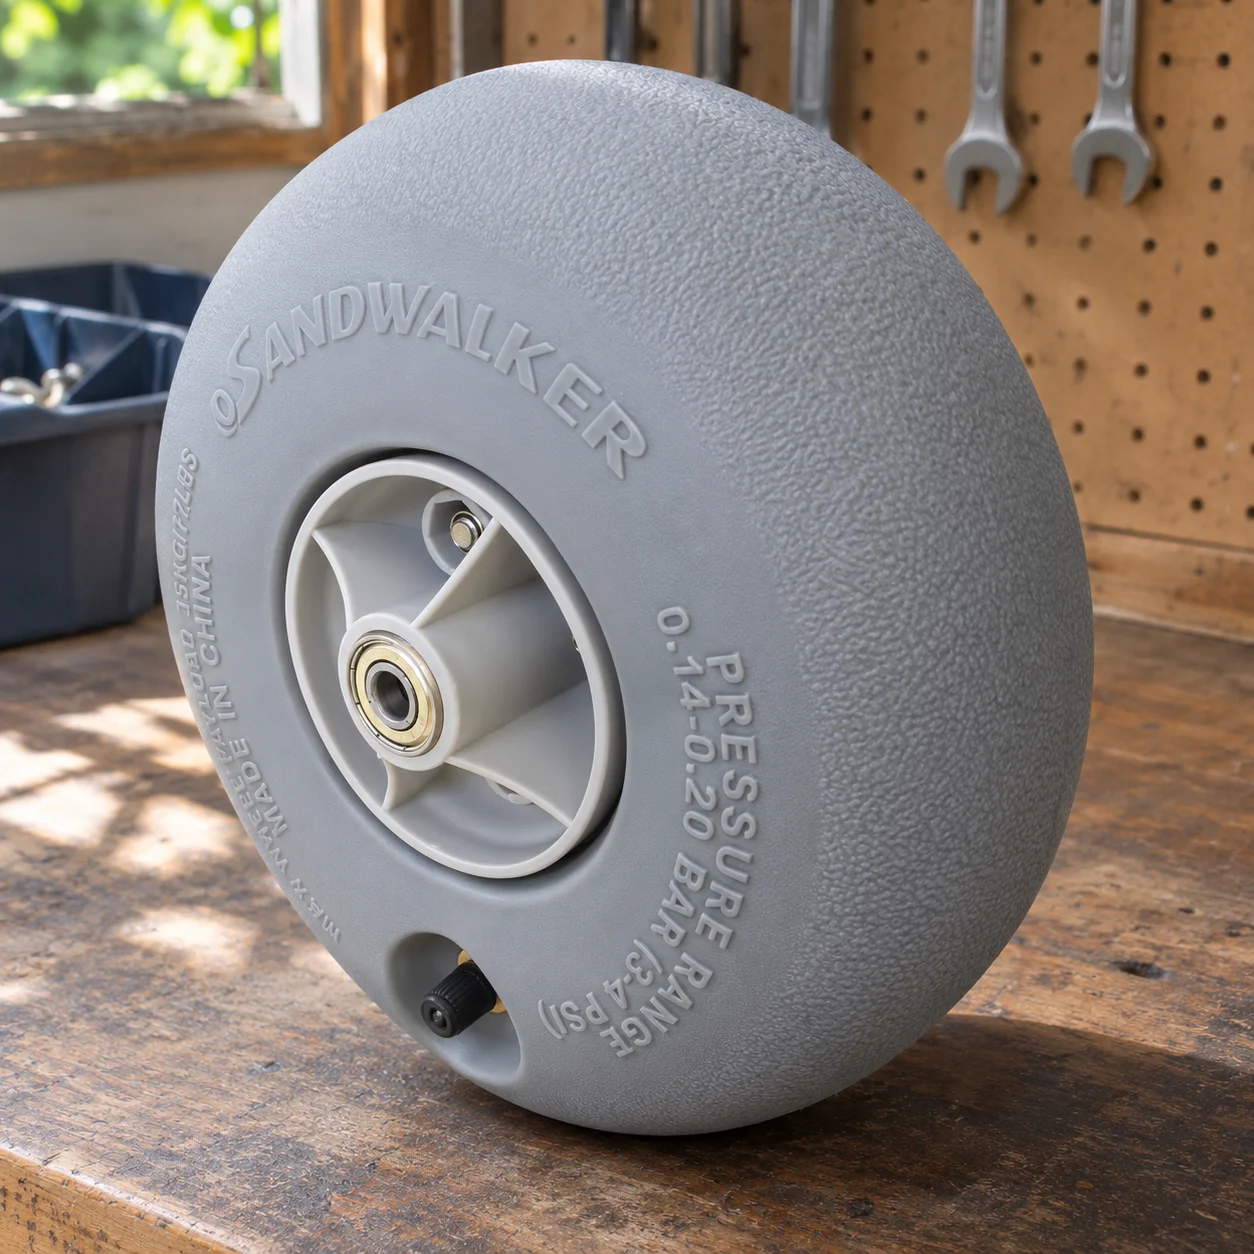
Evaluate beach wheel valve access using the connection type specified for that wheel and the equipment available at your site.
Is any pump head suitable?
Ask about the interface. A connector that fits a different wheel may need a different approach angle or may not fit the actual valve type.
- Identify your existing tool.
- Ask the manufacturer what connection is approved.
| Check | What to look for |
|---|---|
| Wheel requirement | Confirmed interface |
| Site tool | Actual connector to compare |
Key Takeaway: A clear equipment match reduces improvised servicing in the field.
Does an exposed cap guarantee room to service it?
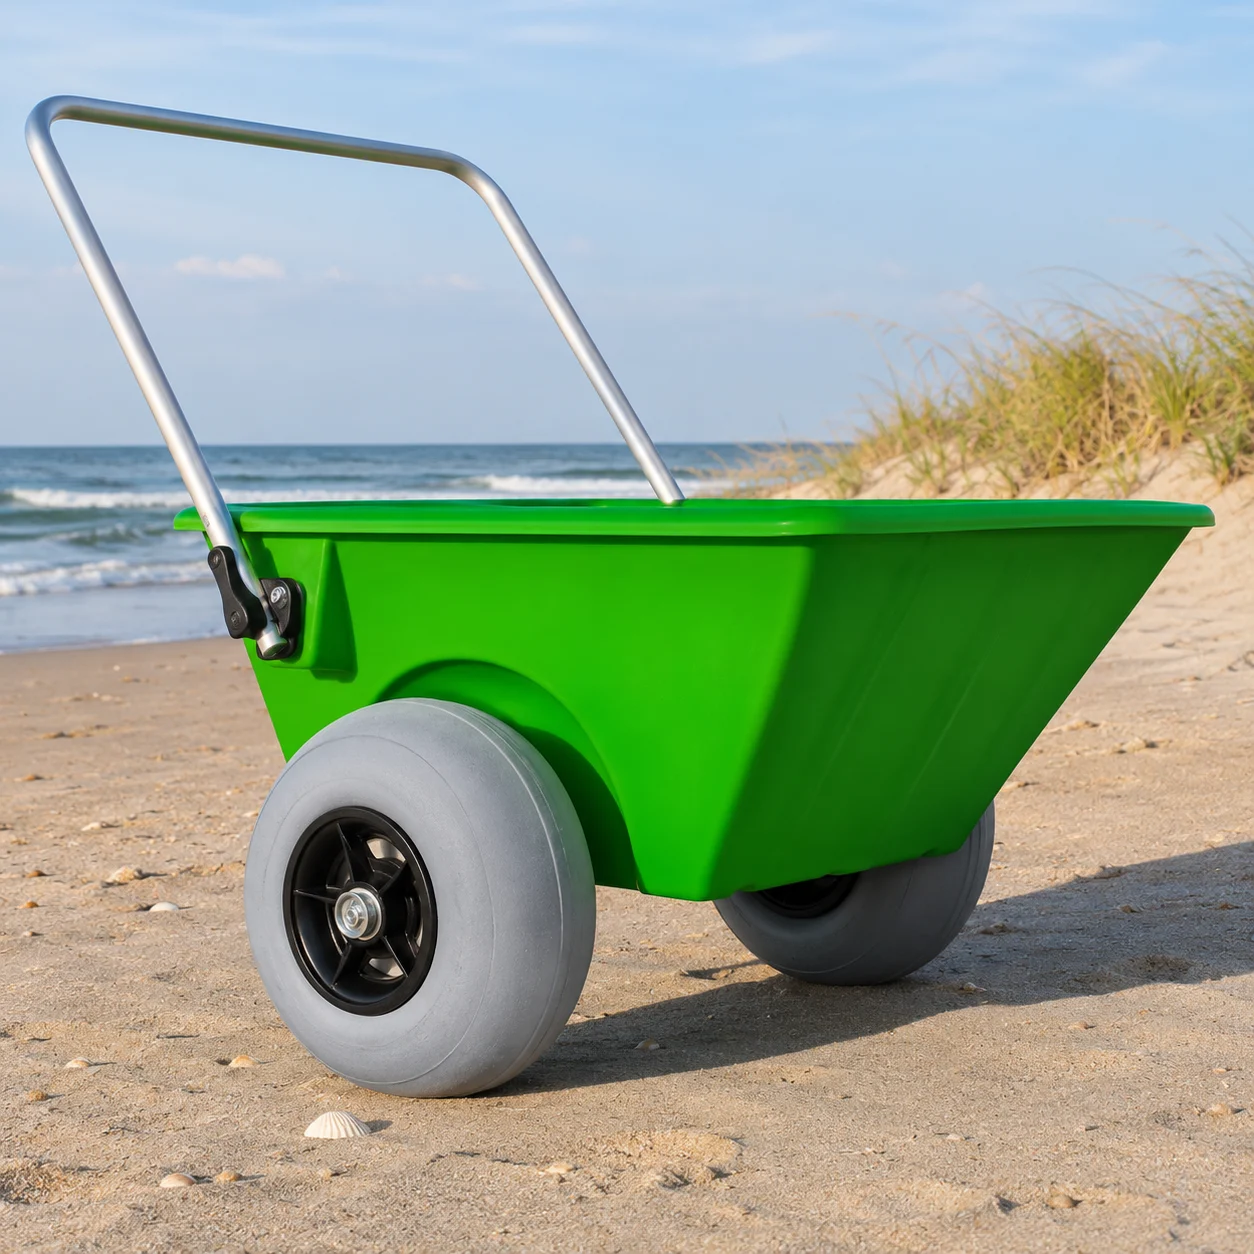
No, beach wheel valve access must allow the entire required operation under the manufacturer's instructions.
What space can be overlooked?
Consider hand clearance. Seeing a cap and being able to reach, connect and remove the specified tool are different observations.
- Document nearby obstacles.
- Ask the service team to review the complete approach.
| Check | What to look for |
|---|---|
| Visibility | Can locate the part |
| Access | Can complete approved service |
Key Takeaway: Evaluate access as a task rather than a single still image.
Can you reverse the wheel to expose the valve?
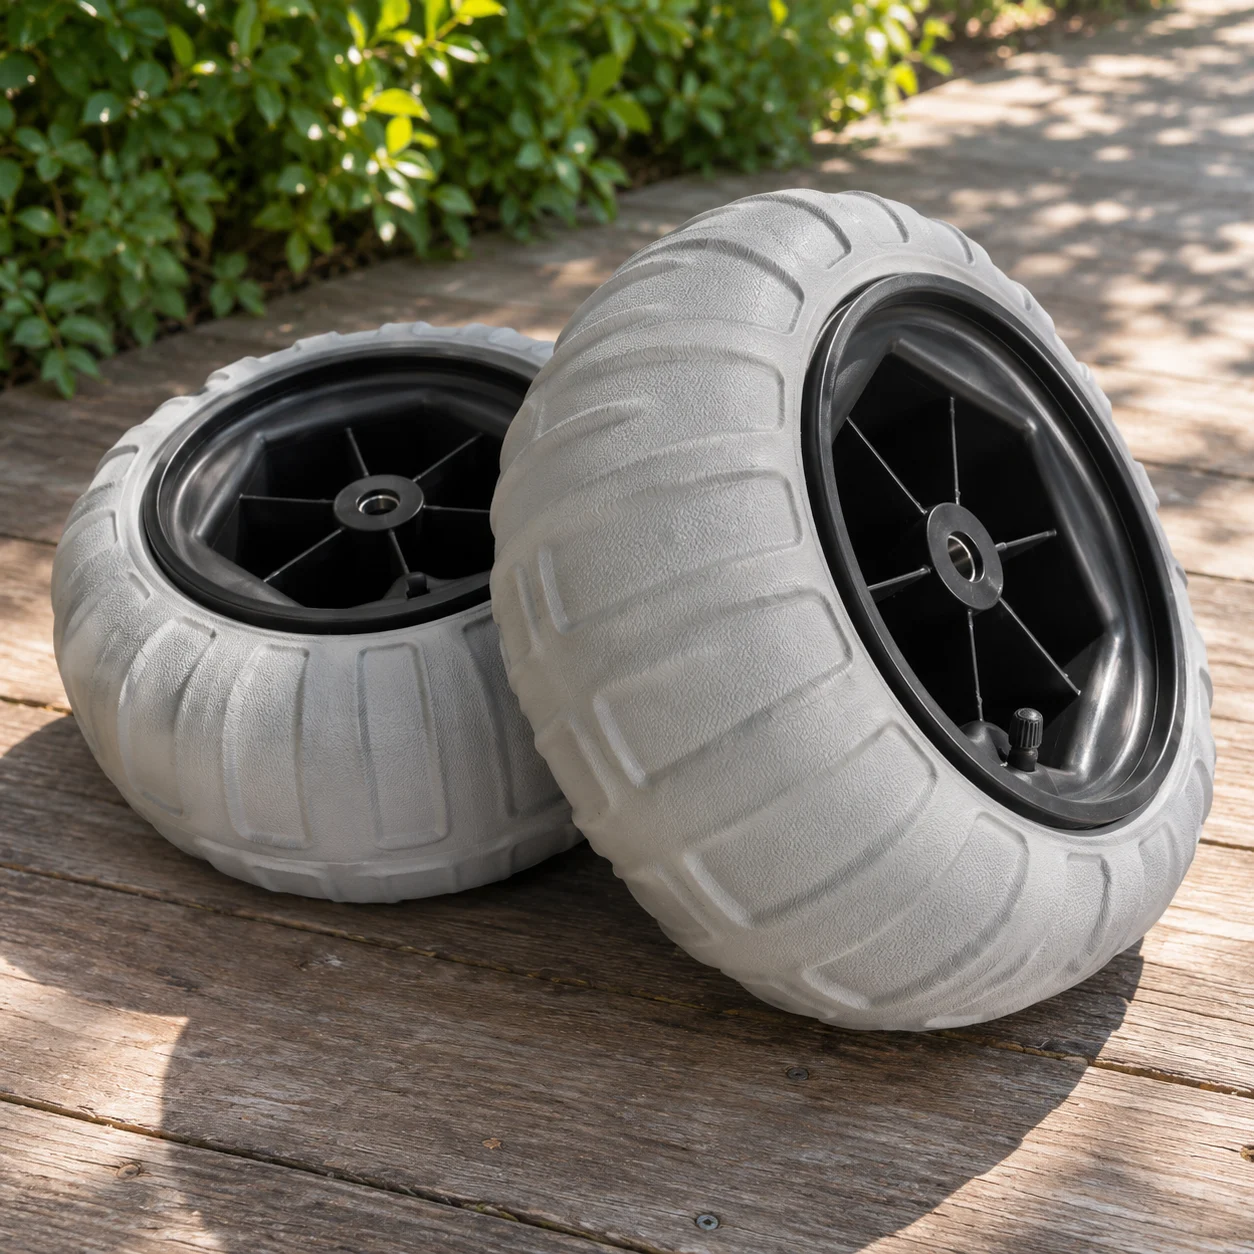
Change orientation for beach wheel valve access only when expressly approved for the complete assembly.
What else changes when a wheel turns around?
Check the hub faces. Switching them can affect seating, clearance and retaining hardware on some assemblies. Add the approved orientation to your supplier review.
- Document current orientation.
- Request the approved mounting information.
| Check | What to look for |
|---|---|
| Access issue | Observed obstruction |
| Reversal | Proposed configuration change |
Key Takeaway: An inconvenient valve is a reason to consult the supplier before altering the equipment.
Which pressure figure applies to the wheel?
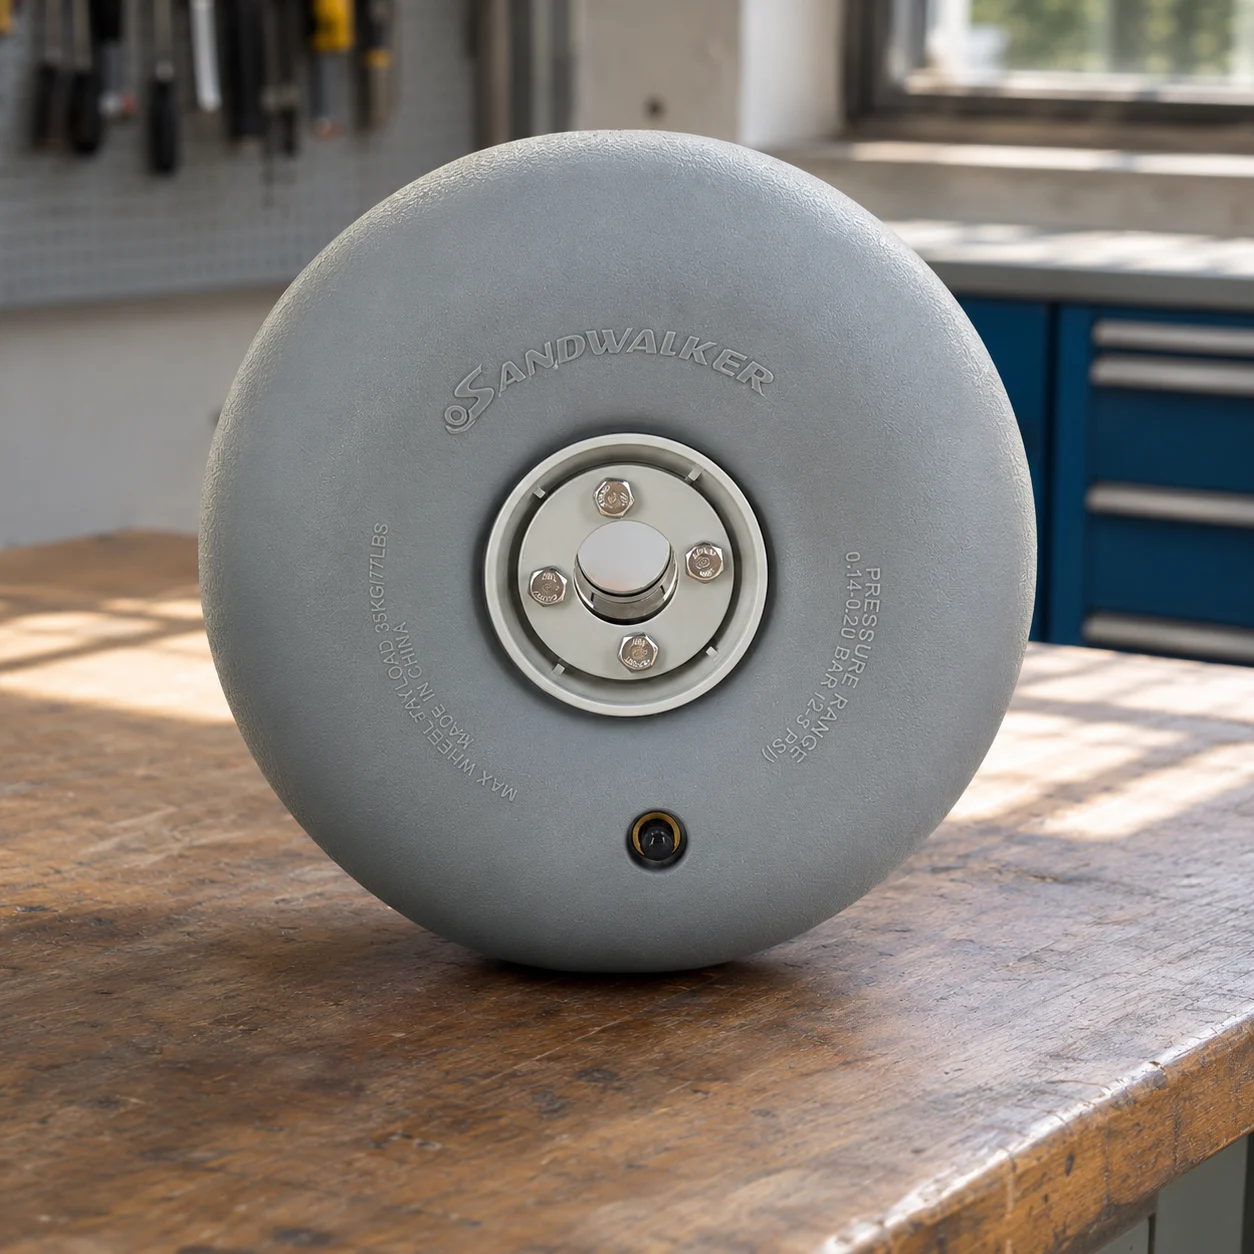
Resolve beach wheel valve access and the specified pressure independently using information for the exact part and application.
Does a readable valve give the setting?
Look for the documentation. A connector type cannot tell you the permitted pressure, and an instruction for another tyre may use different units. Use a single length unit throughout the drawing, following the NIST guide to metric length.
- Identify the source of the setting.
- Confirm the operator understands its units.
| Check | What to look for |
|---|---|
| Connection | Physical service interface |
| Setting | Model-specific instruction |
Key Takeaway: Your maintenance record should show where the setting came from.
What if sand surrounds the valve?
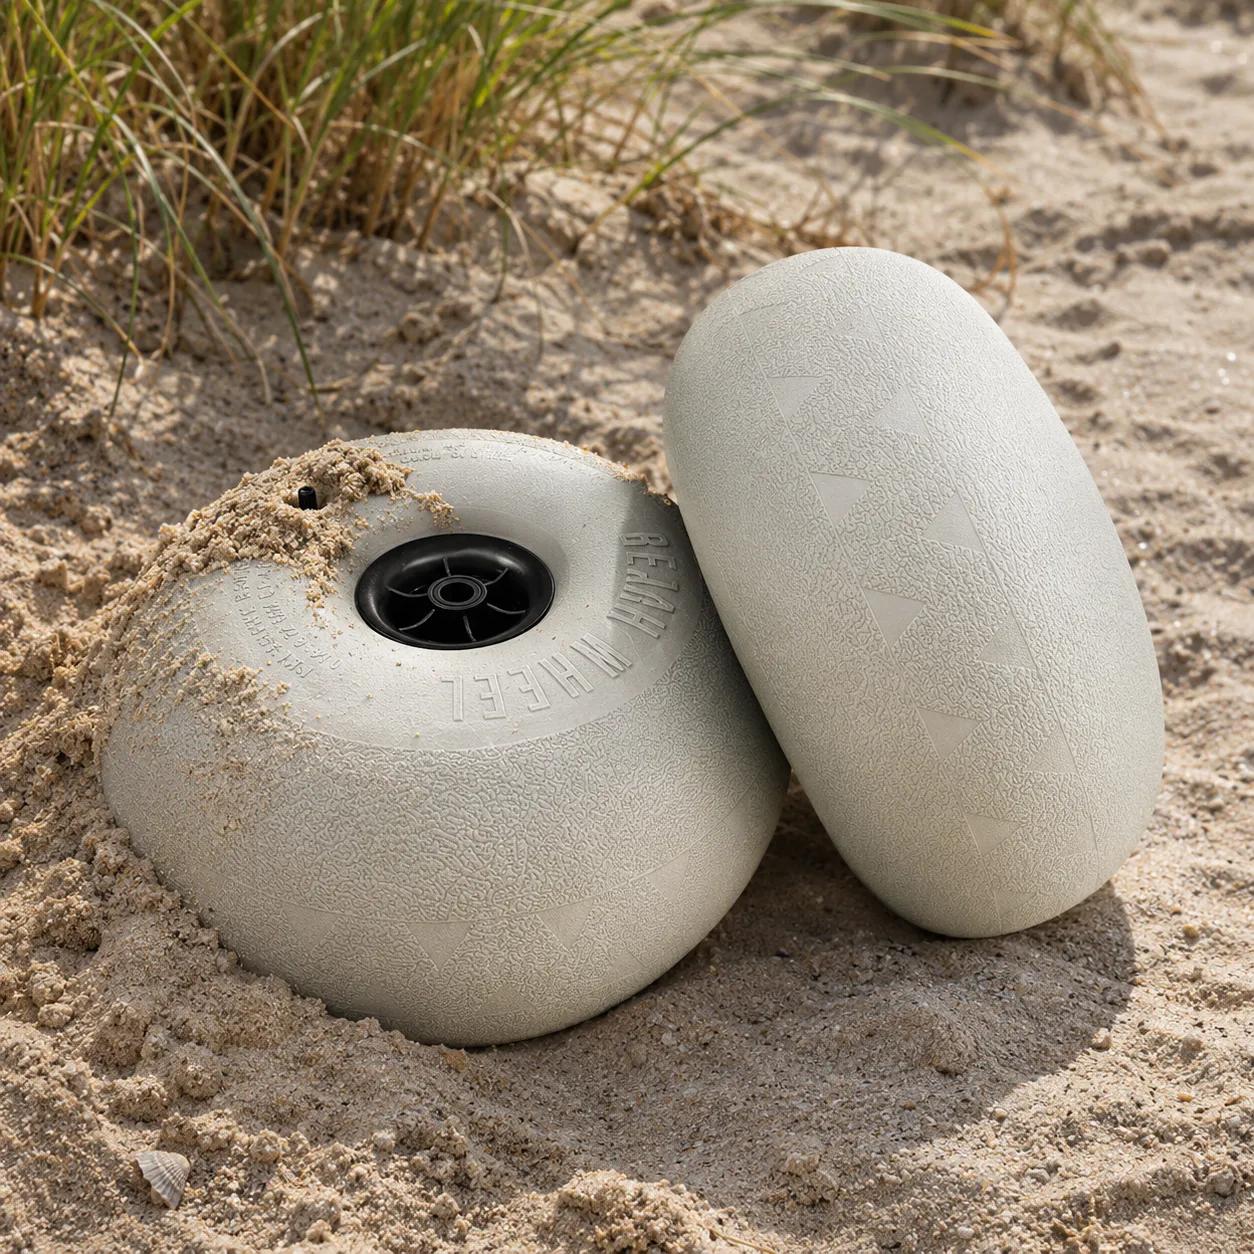
Follow the specific care instructions before attempting to use beach wheel valve access where sand or debris is present.
Should you force a reluctant connector?
Stop and identify the issue. Contamination, an incompatible tool or an obstructed approach calls for the correct service response. Describe the obstruction in your service enquiry.
- Report the observed condition.
- Use the documented care method.
| Check | What to look for |
|---|---|
| Condition | Visible sand or obstruction |
| Response | Approved service action |
Key Takeaway: A short inspection can prevent an access problem from being misreported as a failed tire.
How should a distributor test the sample?
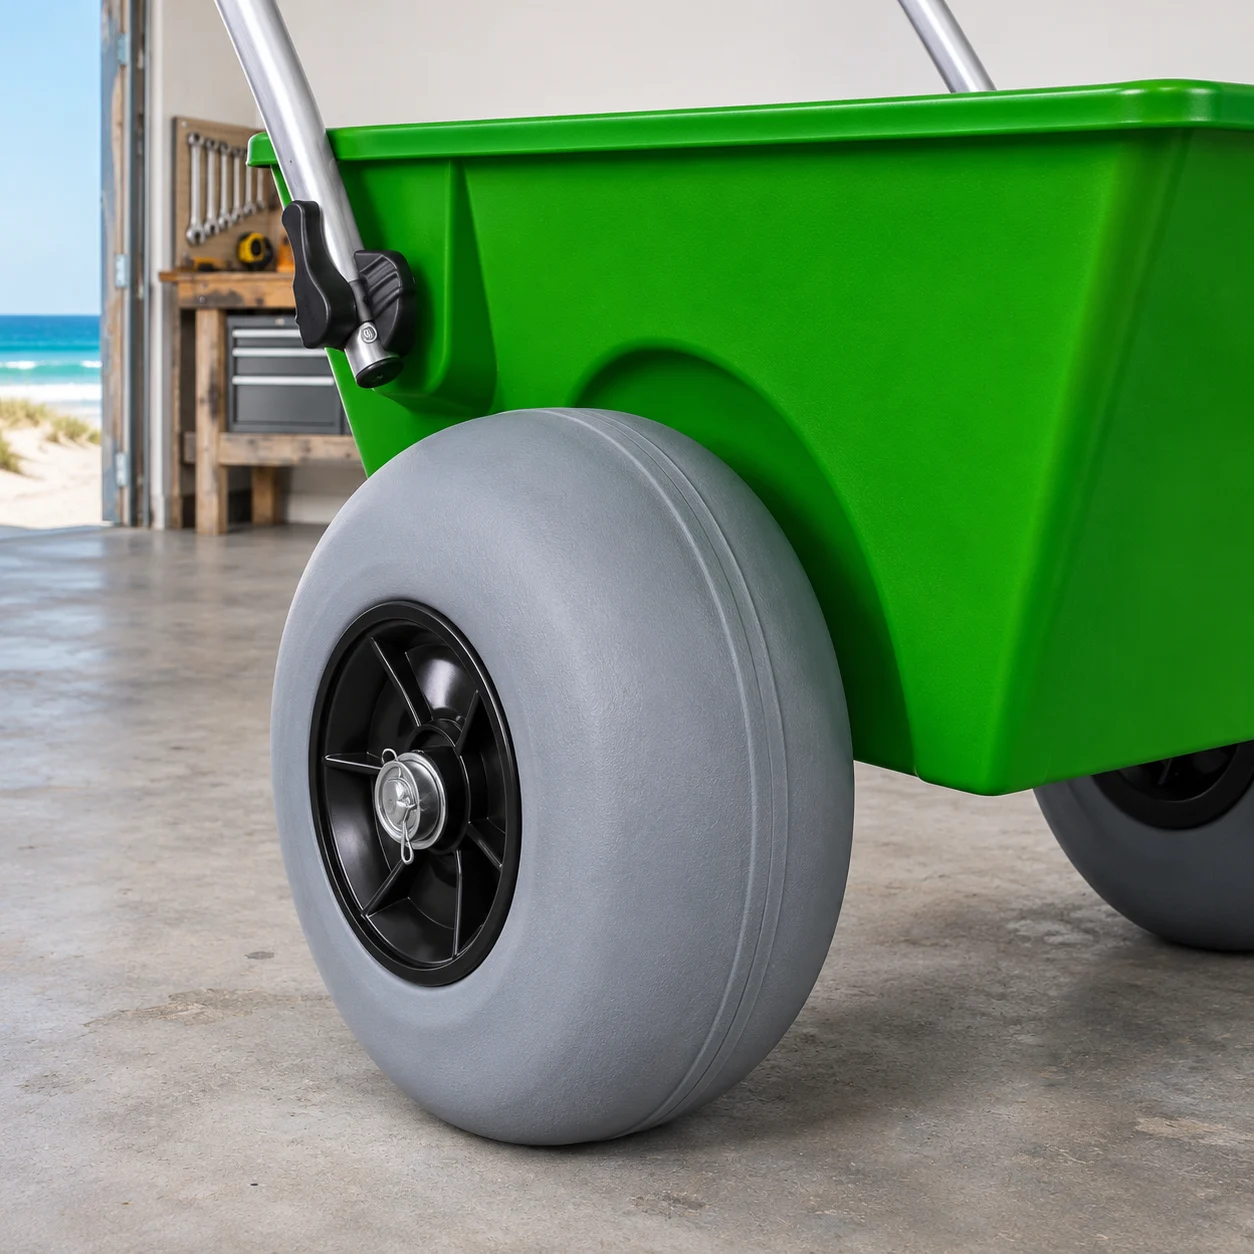
Review beach wheel valve access on a sample configured as it will be supplied to the customer.
Can a detached demonstration settle the question?
Mounting changes the setting. A demonstration with the loose wheel may confirm the connection type while leaving the vehicle clearance unanswered.
- List the sample configuration.
- Record the exact tool used in the check.
| Check | What to look for |
|---|---|
| Loose wheel | Interface identification |
| Complete cart | Practical access assessment |
Key Takeaway: A demonstration should reflect how your customer will service the equipment.
What should the service note say?
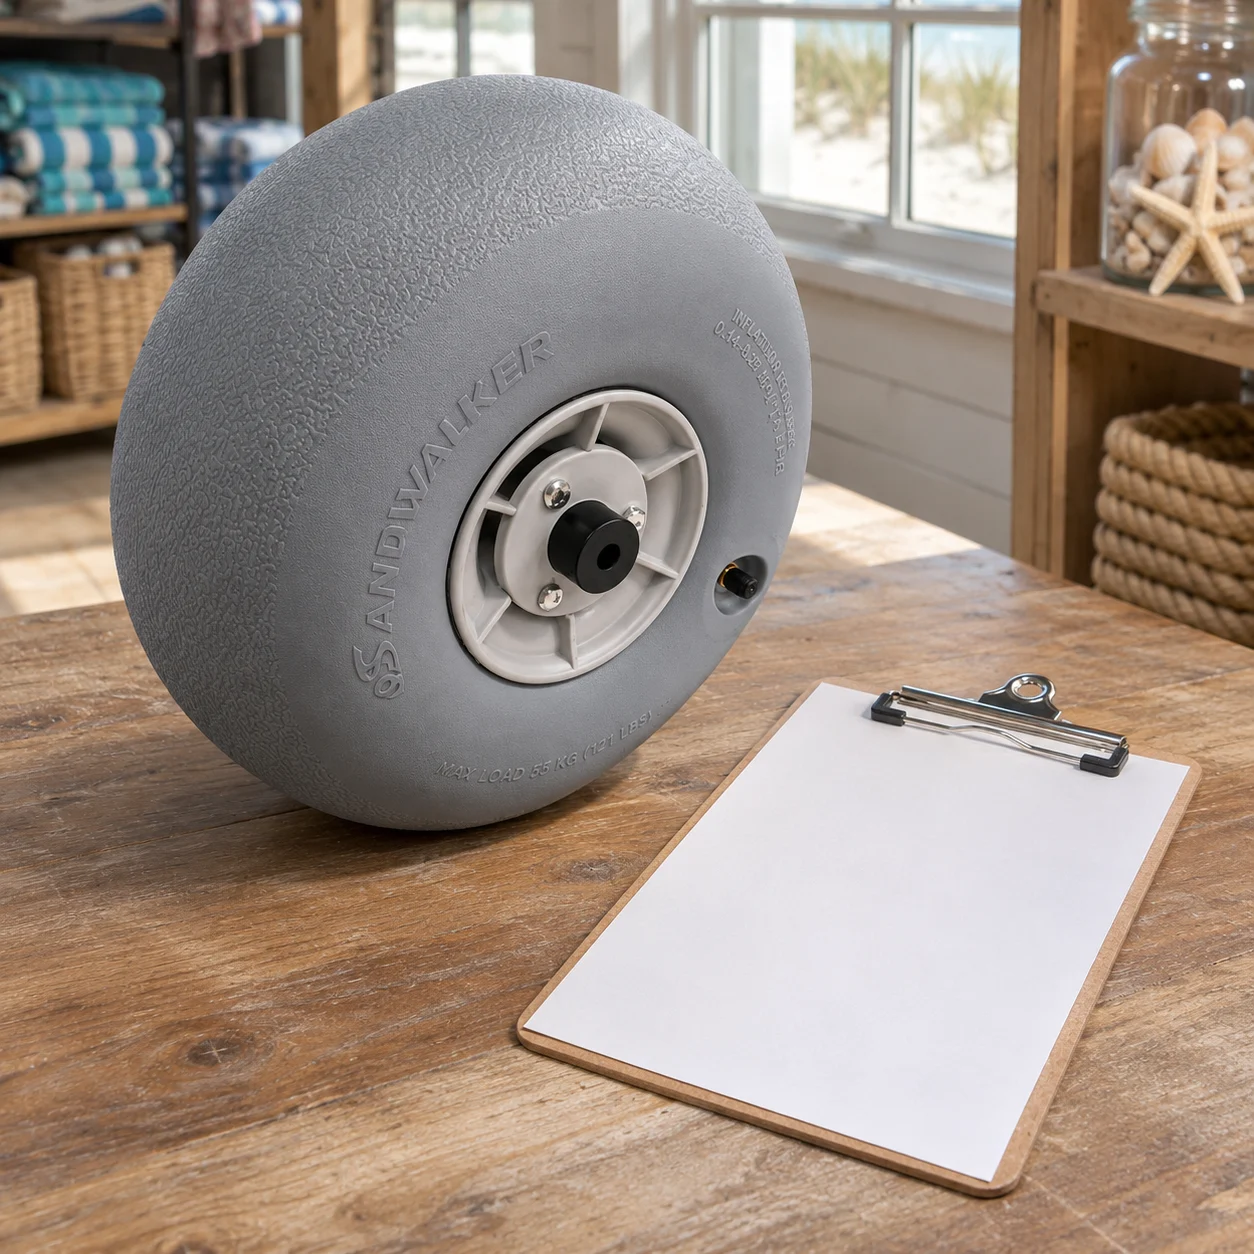
Record the beach wheel valve access location, approved connection, instruction reference and any unresolved obstruction.
Who needs that information next?
Think about the next shift. A new attendant should be able to identify the right document and route a fault without guessing a pressure or orientation.
- Keep a labelled photograph.
- Name the service contact for exceptions.
| Check | What to look for |
|---|---|
| Routine note | Confirmed location and guide |
| Exception | Who handles obstruction |
Key Takeaway: A simple location record makes recurring service questions easier to answer. Contact us with both hub faces and the assembly that needs the wheel. A service question deserves an answer for the assembled cart.
Frequently asked questions
Q1: Can I identify the valve from wheel colour?
No. Confirm it from the part documentation and its actual location.
Q2: Can I use an angled adapter to reach the valve?
Use one only if it is approved for the exact valve and application.
Q3: How do I know the pressure for my wheel?
Consult the applicable instructions for that wheel and equipment. Do not use a value from a similar photo.
Q4: What's the best way to show a blocked valve?
Send a wide installed view and a close view from the direction of the service connection.
Q5: Can I turn the wheel around to make the cap visible?
Only if the manufacturer approves that mounting orientation and the complete assembly remains correct.