
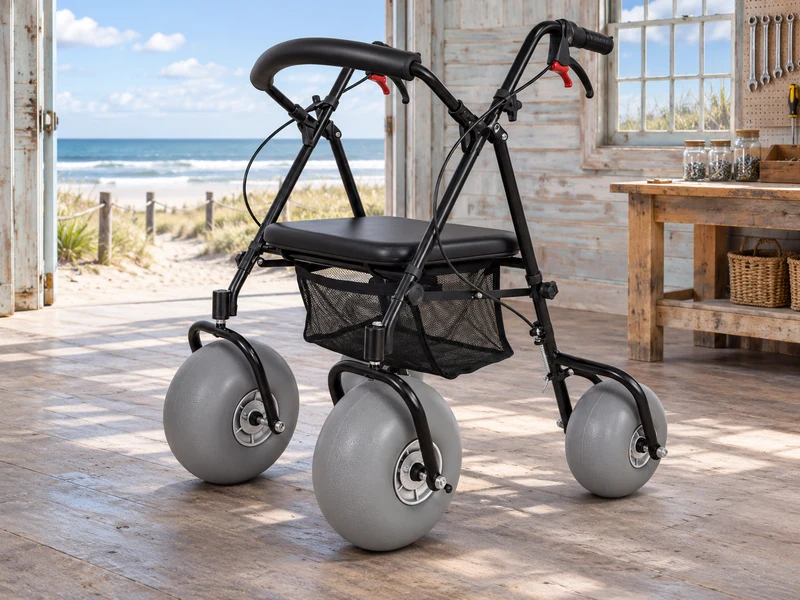
Take rollator brake cable photos from the handle to the wheel, keeping the same side of the walker identifiable in every view. A close-up of a damaged end can hide the lever it belongs to. A small photo set can save a second exchange with the supplier and keep an uncertain repair out of the hire fleet.
Which rollator brake cable photos should you send?
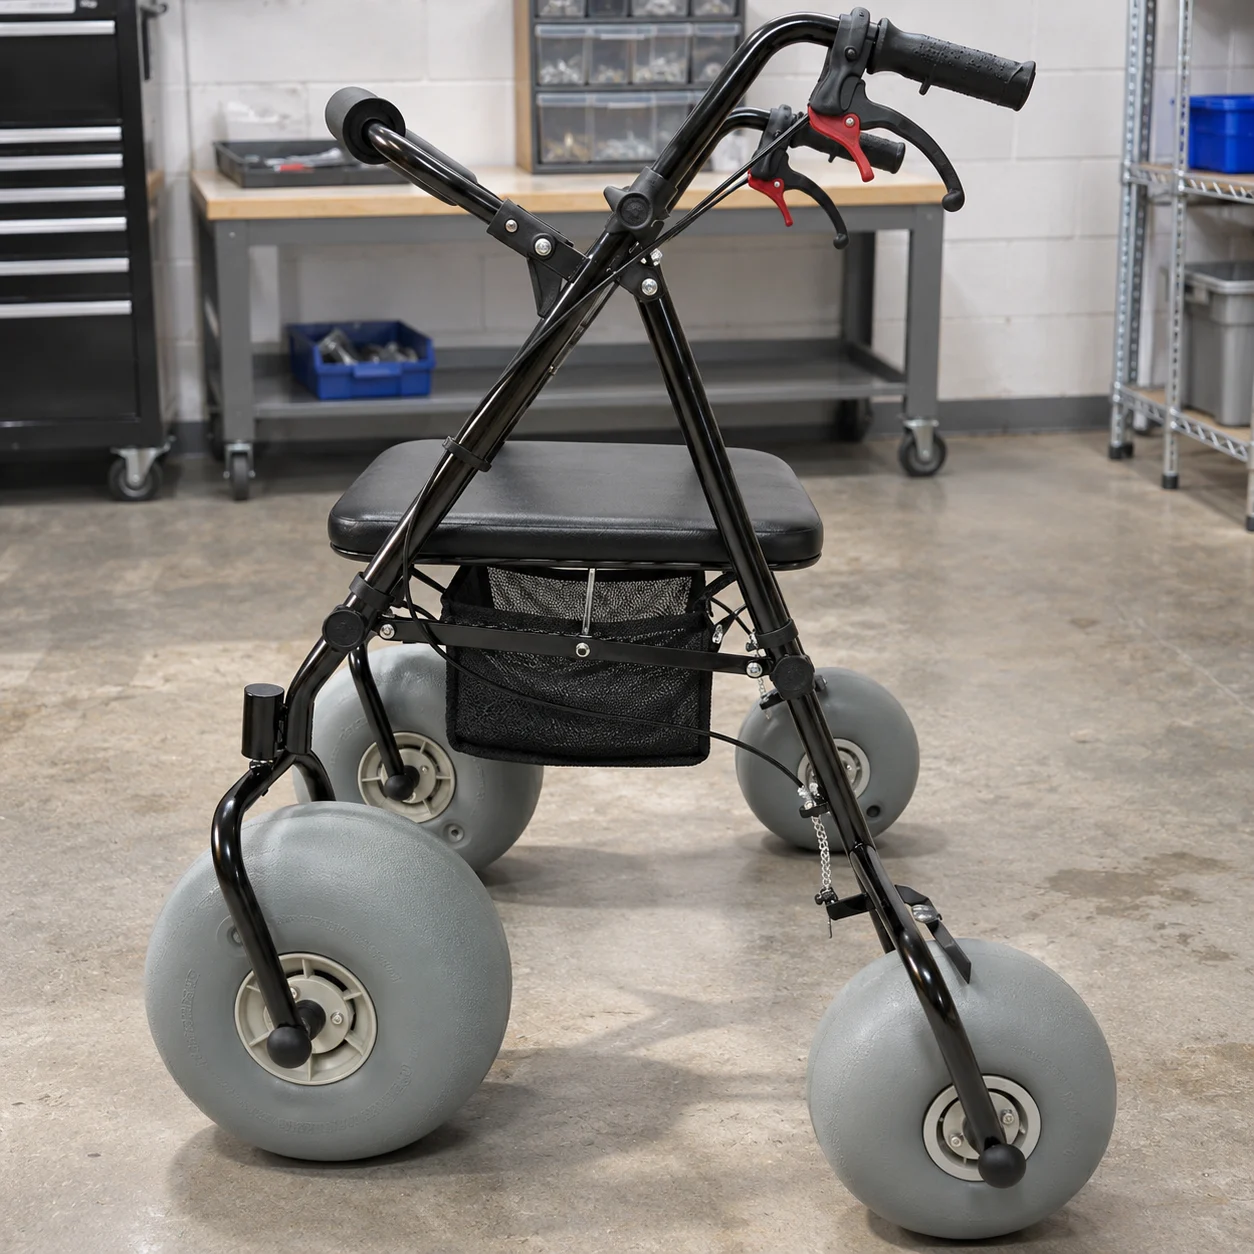
Send rollator brake cable photos showing the complete walker, affected side, lever end, visible routing and wheel end.
Which view comes first?
Begin with the whole walker. A supplier can trace the detail photographs more easily when it knows which side it is looking at.
- Identify the unit.
- Keep original files alongside any marked copies.
| Check | What to look for |
|---|---|
| Overview | Unit and affected side |
| Details | Ends and visible path |
Key Takeaway: A view of the complete assembly gives every close-up a place.
How do you label the left and right sides?
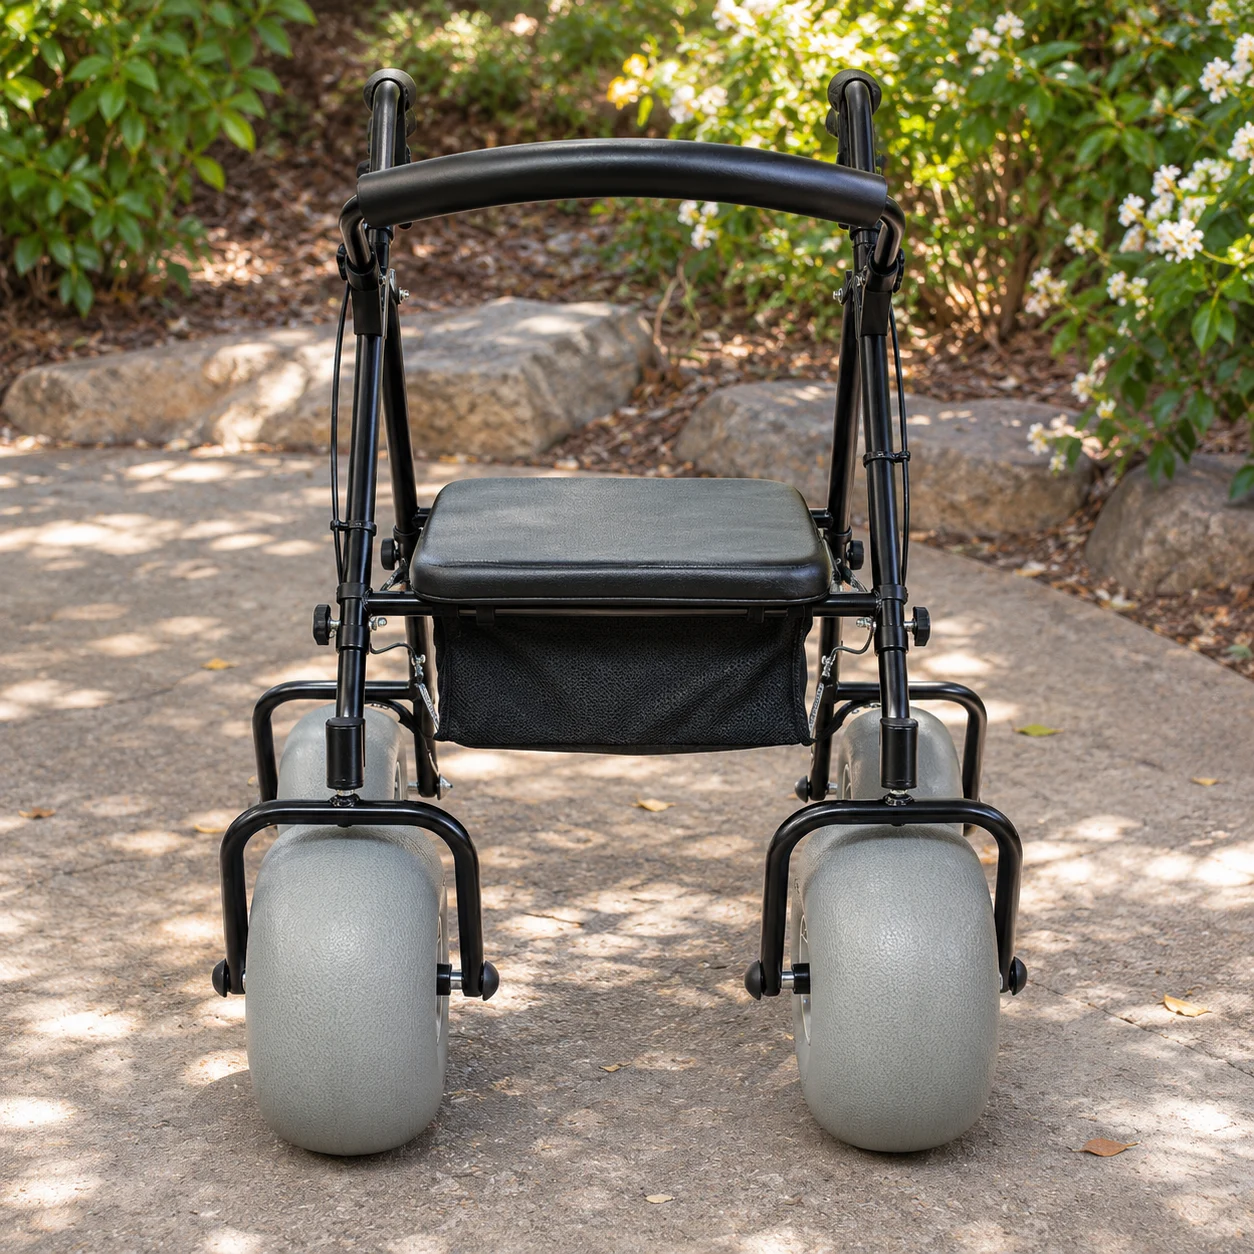
Label rollator brake cable photos from a stated viewpoint, preferably the position of the person using the handles.
Which side did the photographer mean?
Write the viewpoint once. A front-facing photograph reverses the apparent left and right relative to someone standing behind the walker. Use the beach walker selection guide to distinguish a replacement unit from a part.
- State your viewpoint in the request.
- Add an arrow on a copy if needed.
| Check | What to look for |
|---|---|
| Orientation | User facing forward |
| Photo | Side shown as photographed |
Key Takeaway: The technician can identify the correct side even if a picture is taken from the front.
What should the lever view include?
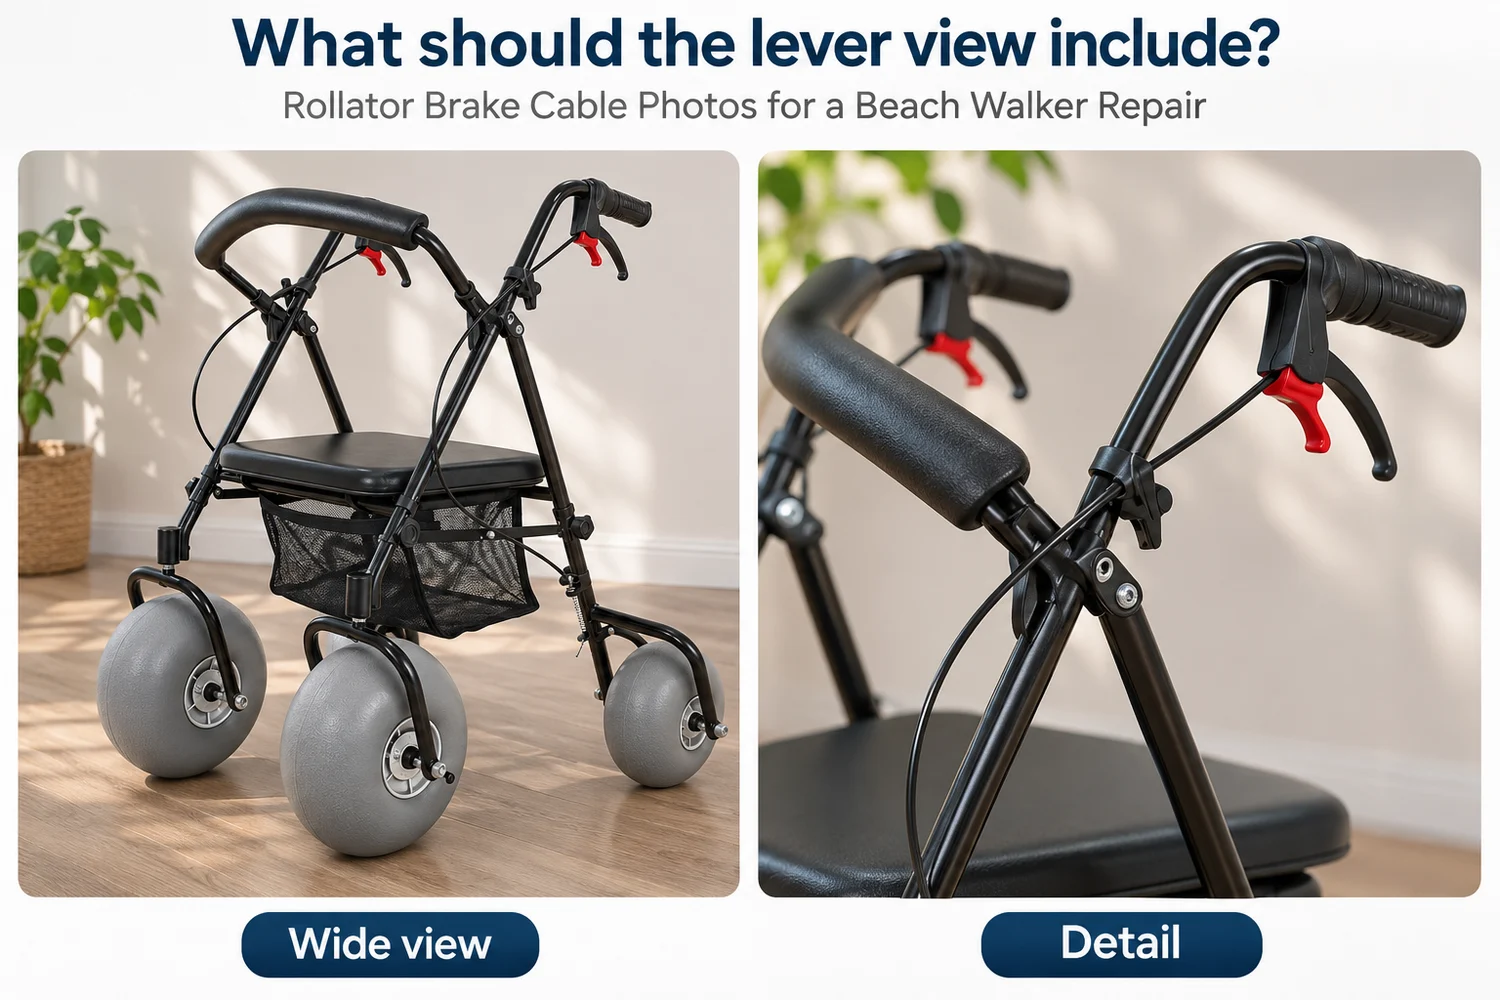
Include the complete lever and the housing entry in the rollator brake cable photos where those features are visible.
Can a close-up be too tight?
Leave the handle in frame. A cropped cable end gives little help if the supplier sells the lever, cable and housing as an assembly.
- Take one wider handle view.
- Take a second close detail without removing parts.
| Check | What to look for |
|---|---|
| Wide view | Lever and mounting area |
| Detail | Visible housing entry |
Key Takeaway: The supplier can distinguish a whole handle assembly from a cable-only enquiry.
Which section of routing is easy to miss?
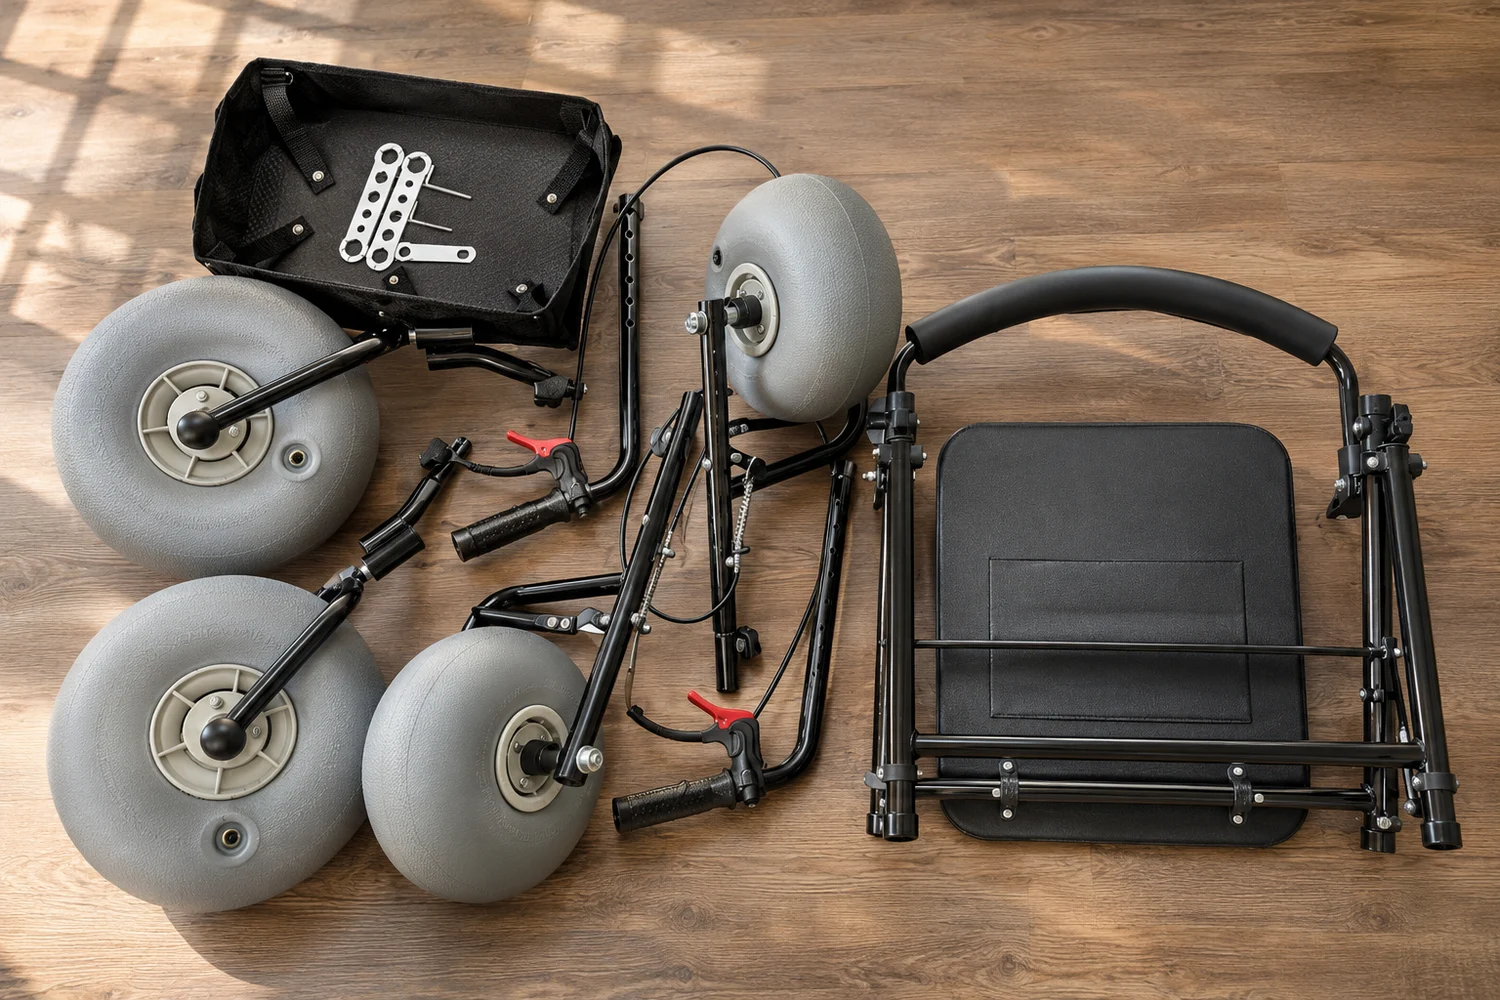
Show the portion of the route near any folding area in your rollator brake cable photos when it is visible.
What happens where the route disappears?
Follow it visually. If the housing passes behind the frame, a second camera angle can show the continuation without pulling it aside.
- Take overlapping views.
- Mark an obscured segment as unknown.
| Check | What to look for |
|---|---|
| Visible path | Supported by a photograph |
| Hidden path | Requires documentation |
Key Takeaway: A gap in the picture should stay a question until the service guide resolves it.
How should you photograph the wheel end?
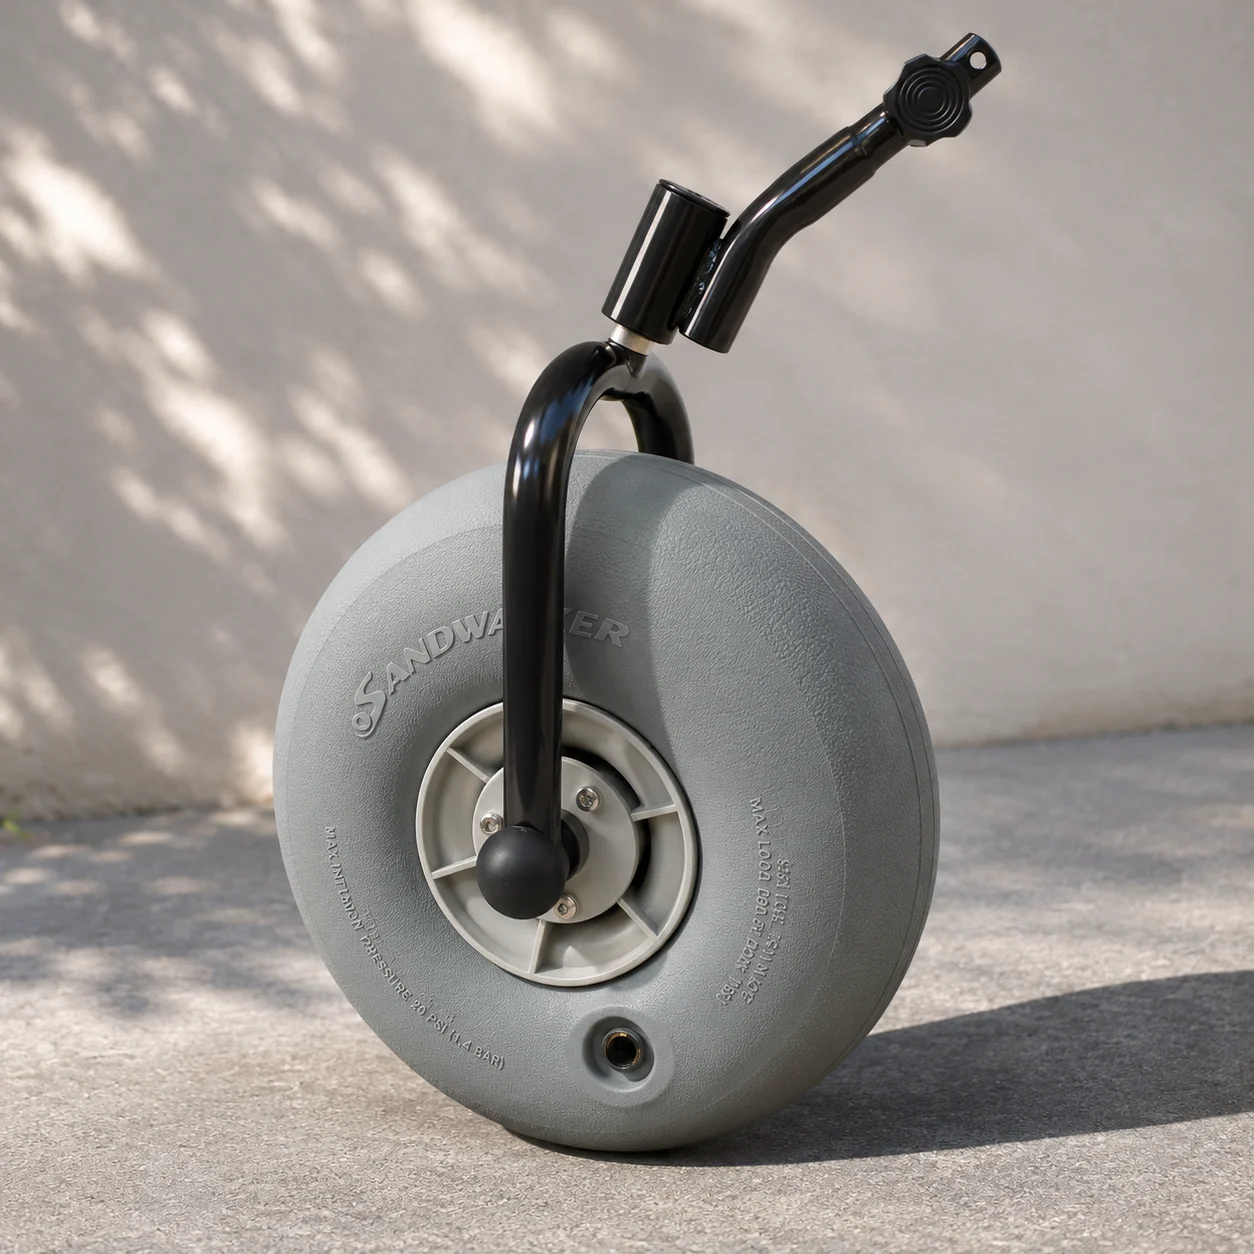
Show the whole wheel assembly before the closer rollator brake cable photos of the visible termination.
Why retain the surrounding fork?
Give the part a landmark. Wheel colour by itself rarely identifies which side or revision of a walker the request concerns.
- Show the relevant fork and hub.
- Photograph a visible termination only if accessible.
| Check | What to look for |
|---|---|
| Location | Wheel and fork together |
| End detail | Visible attachment on that unit |
Key Takeaway: A location view can be useful even when the termination is partly concealed.
What if salt or sand obscures the detail?
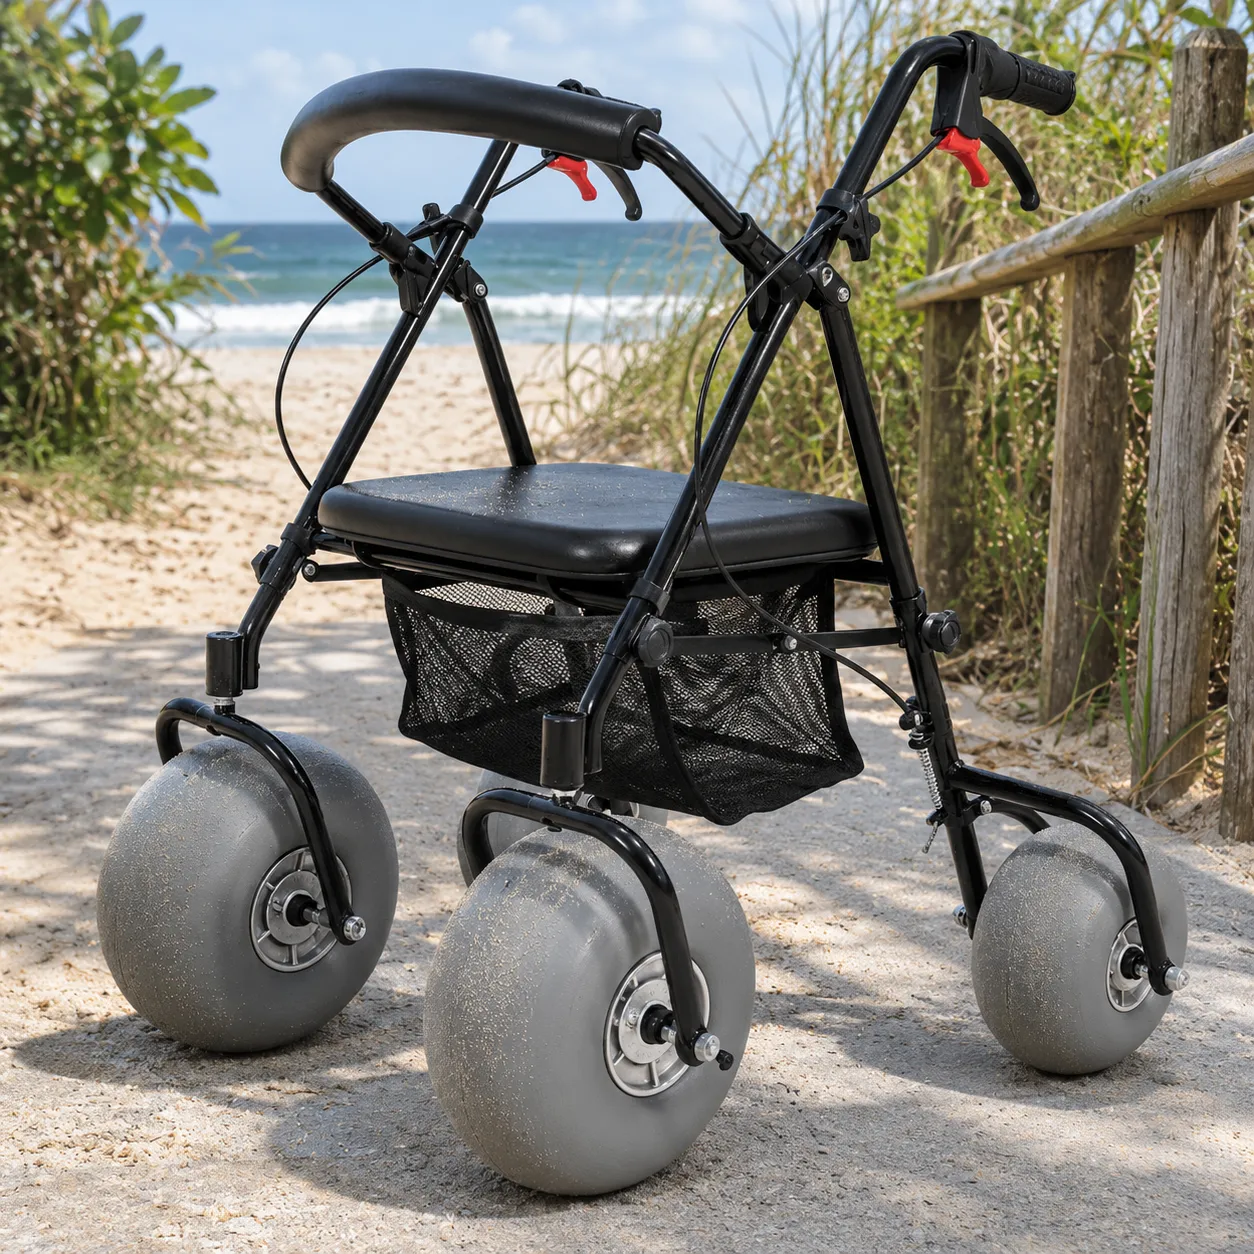
Explain in the rollator brake cable photos request which areas are obscured and follow the unit care instructions.
Should you diagnose corrosion from a photograph?
Report what you see. A light deposit, discolouration or a damaged covering deserves description, while the cause and repair require a competent assessment. Record any resulting change to the site walker service.
- Keep the as-found image.
- Follow the documented cleaning procedure.
| Check | What to look for |
|---|---|
| Observation | Visible deposit or wear |
| Diagnosis | Assigned service decision |
Key Takeaway: A neutral observation gives the service team better evidence.
Which measurements should you include?
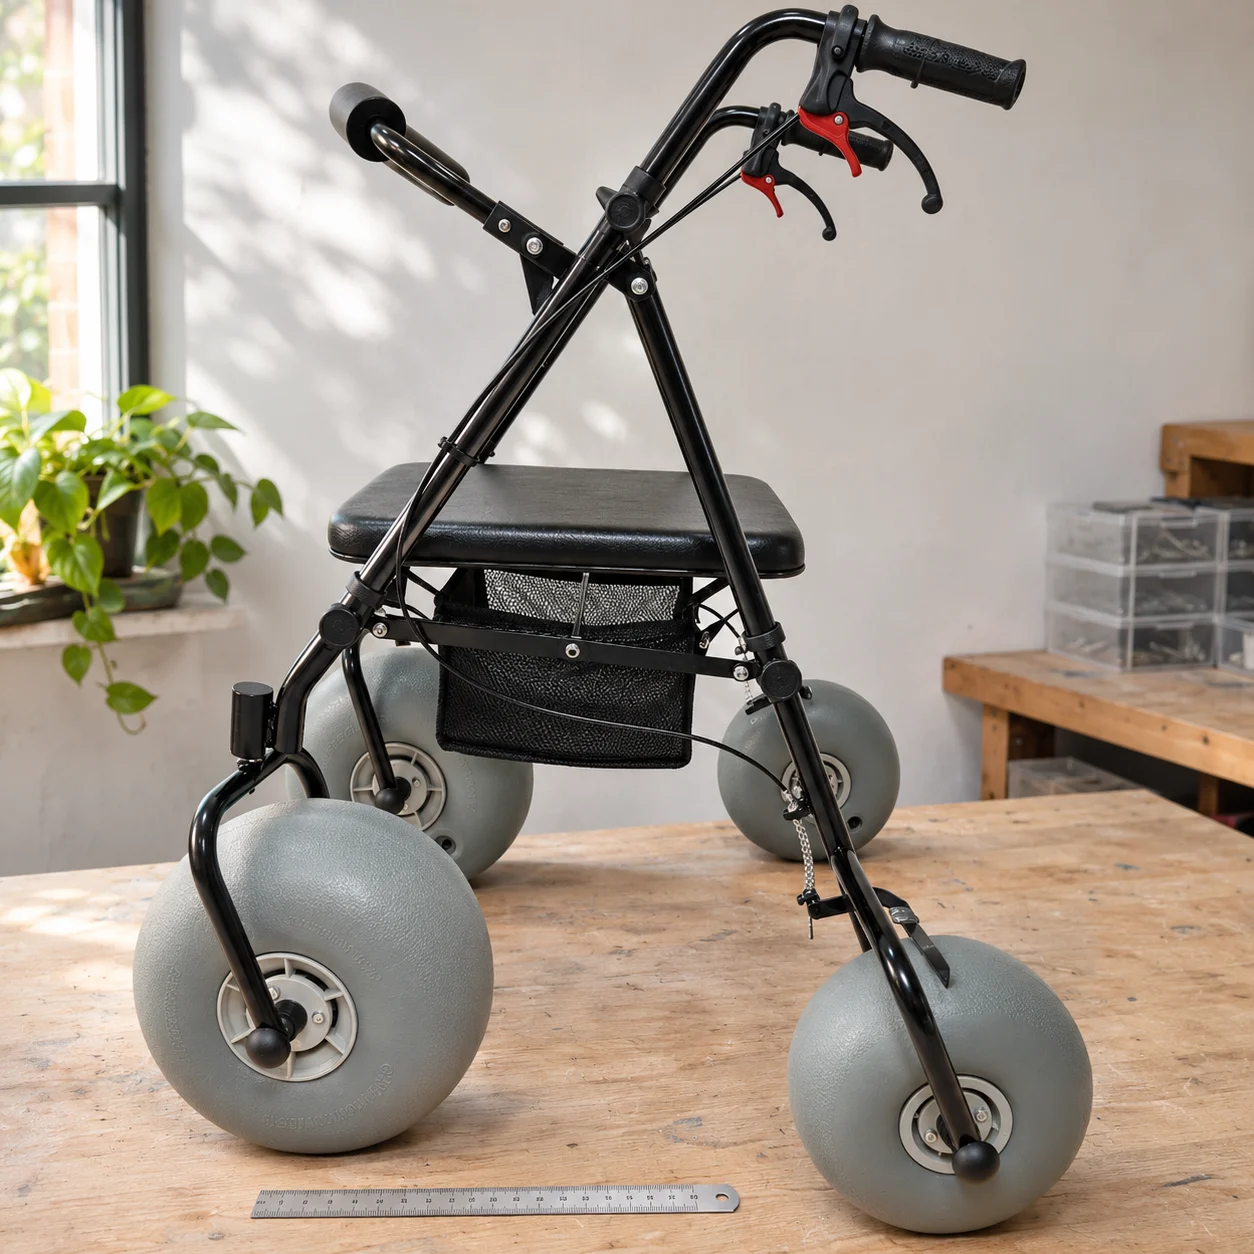
Add measurements to rollator brake cable photos only when the supplier defines the endpoints and the required condition.
Does “cable length” mean one thing?
Ask what is being measured. Exposed wire, housing length and complete assembly length describe different things. Keep measurement units explicit using the NIST reference on metric length.
- Confirm the component being measured.
- Show the endpoints and unit.
| Check | What to look for |
|---|---|
| Housing | Outer casing span |
| Assembly | Supplier-defined endpoints |
Key Takeaway: A length without endpoints can match the wrong part.
What if two assemblies look almost identical?
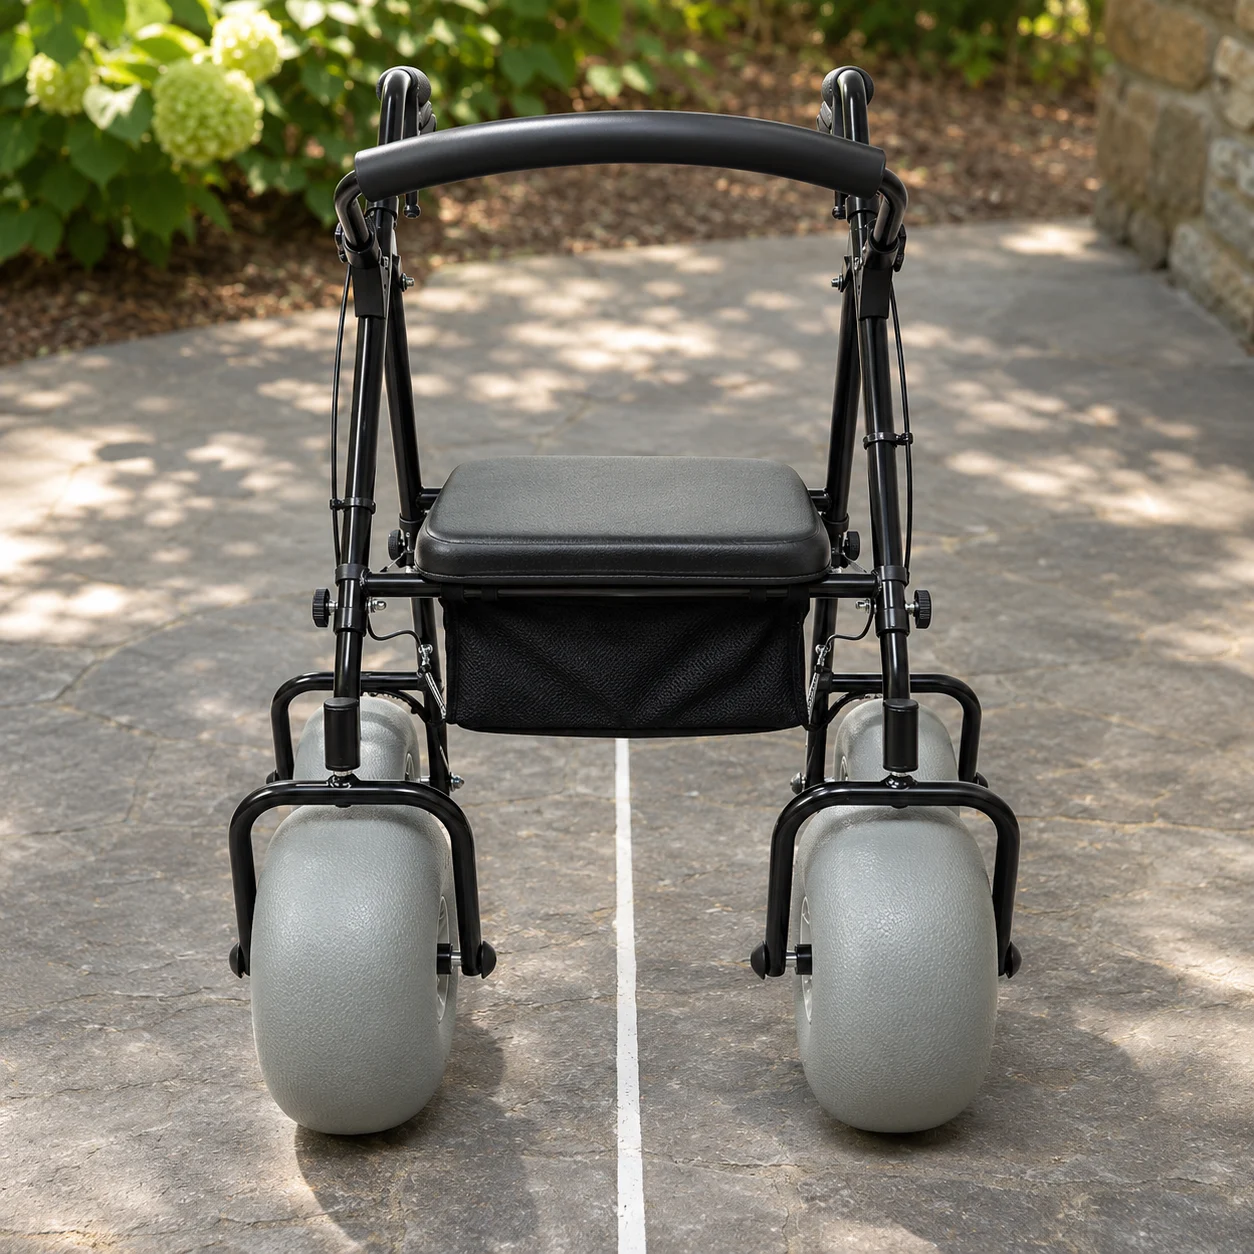
Use the unit revision and the rollator brake cable photos to request an approved part reference.
Can you compare the opposite side?
The other side can clarify a missing view. Keep its identity explicit since a mirrored routing or fitting can change the order. Name the model from the beach range in your parts request.
- Label any comparison image.
- Ask whether the replacement is side-specific.
| Check | What to look for |
|---|---|
| Affected side | Part required |
| Other side | Comparison only |
Key Takeaway: The quote should identify the part and the side it fits.
Who should clear the repaired walker for use?
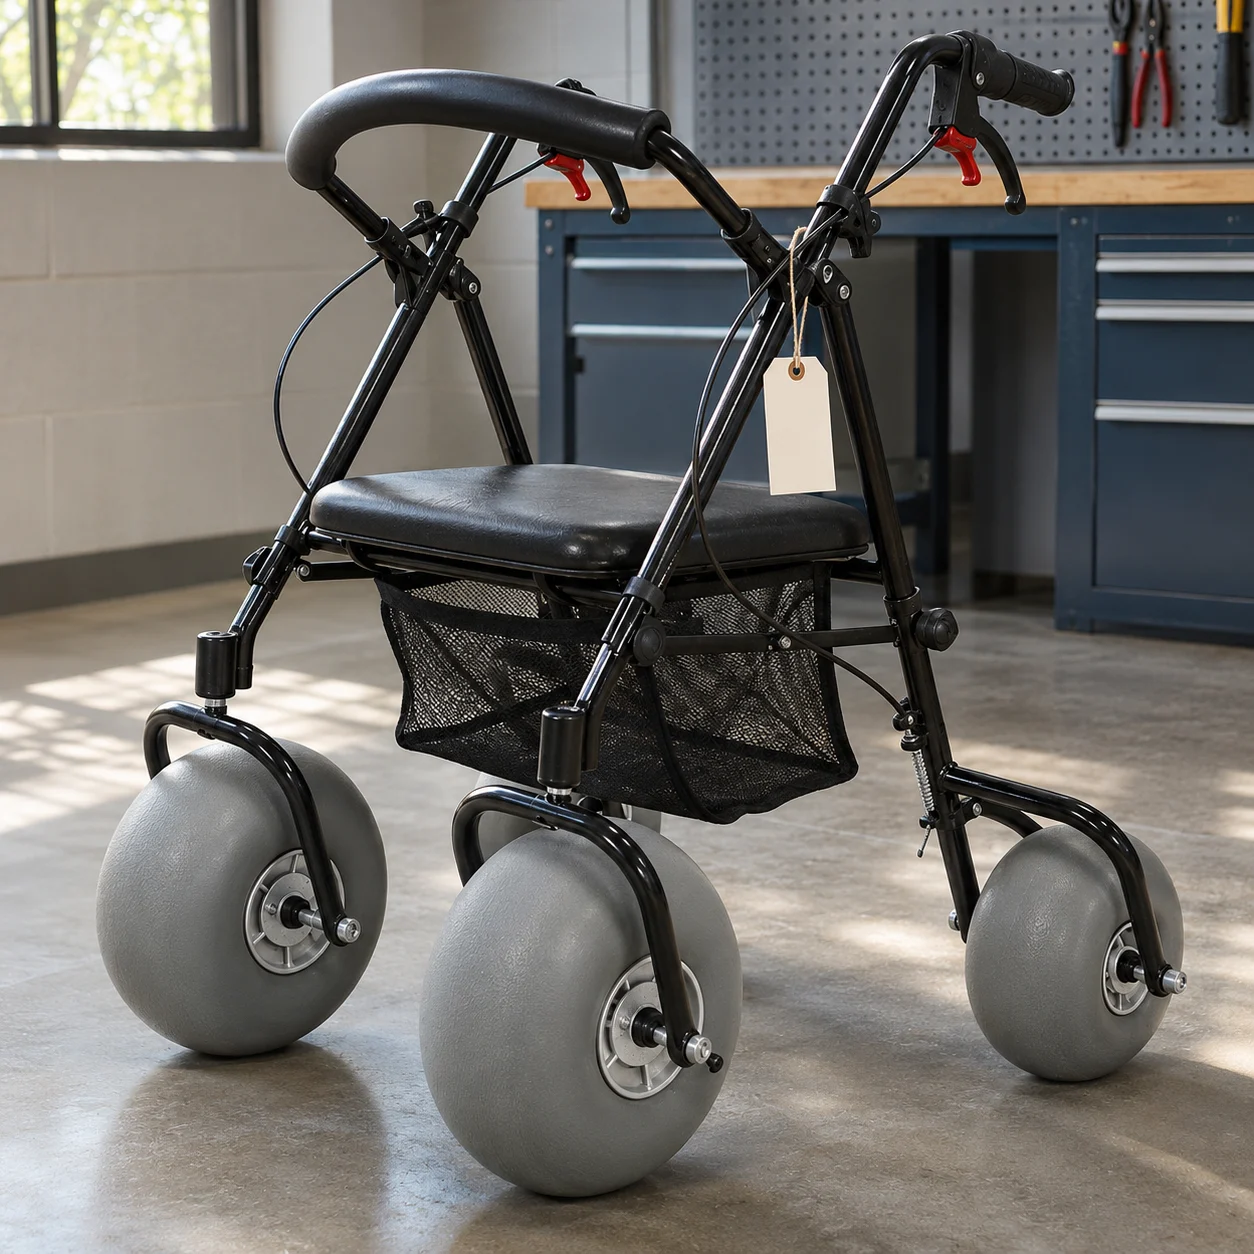
Have the designated service person follow the approved procedure after reviewing the rollator brake cable photos and parts match.
What evidence closes the ticket?
Record the release decision. A photograph of a new cable says little about correct function after installation.
- Keep the fitted part reference.
- Record the required checks and sign-off.
| Check | What to look for |
|---|---|
| Repair | Work completed |
| Release | Authorized functional check |
Key Takeaway: The hire desk needs a clear release decision before it issues the walker.
What should go in the message to the supplier?
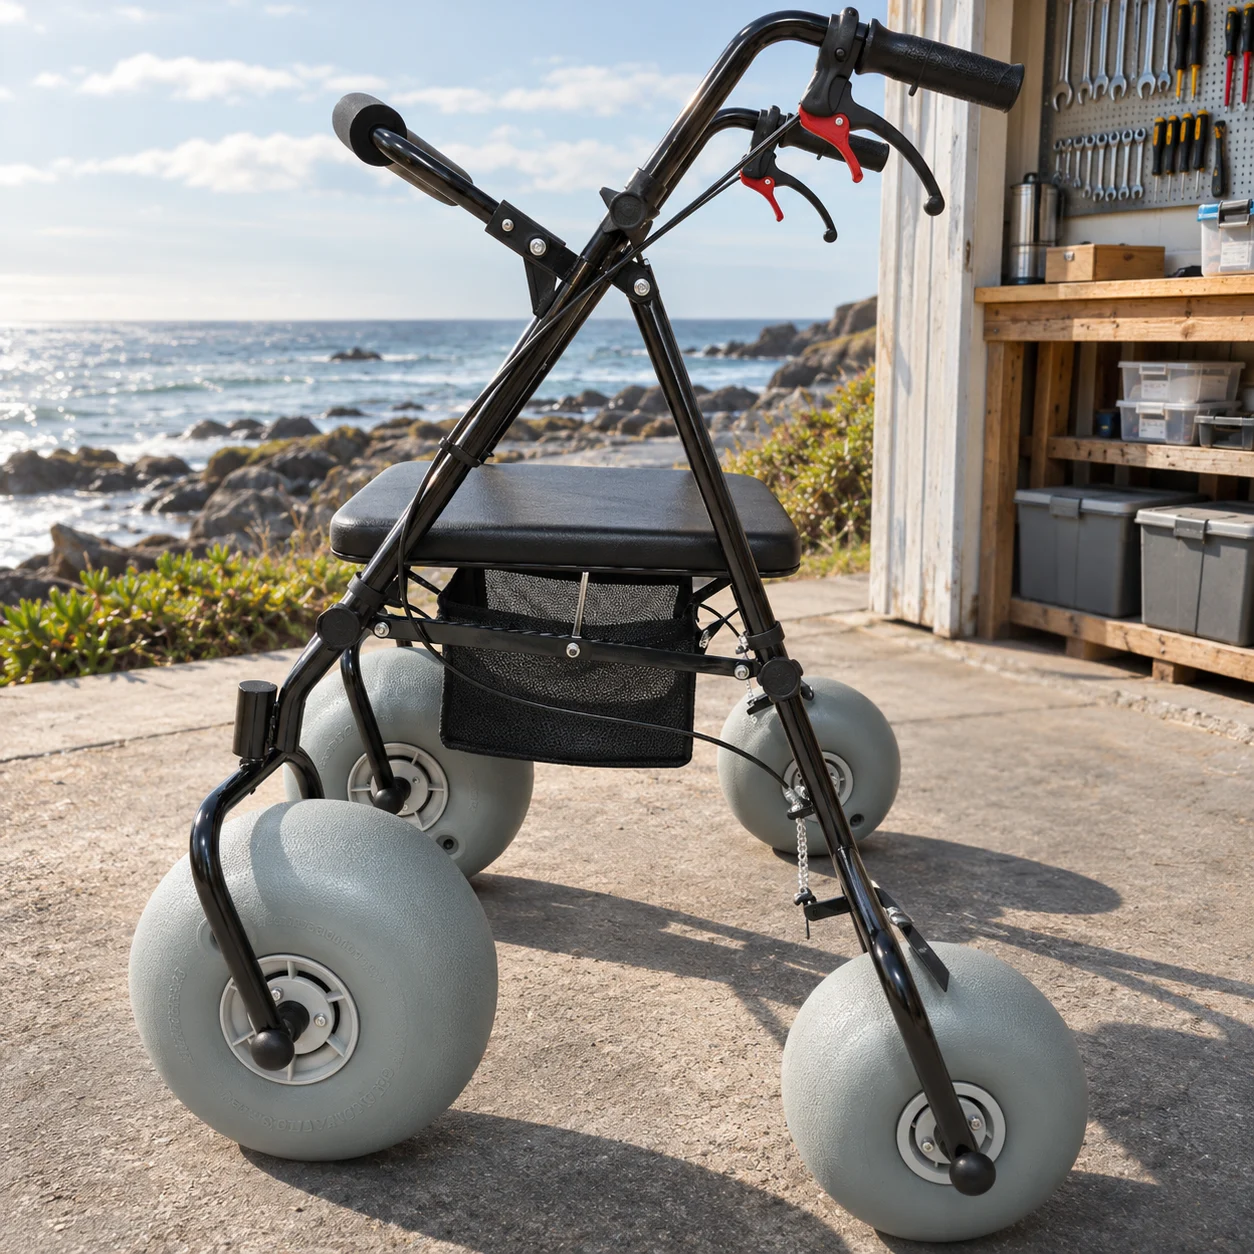
Send the unit identity, symptom, side and rollator brake cable photos together with the service question.
How specific should the request be?
Ask for a concrete answer. “Please confirm the approved left-side assembly and service document for this revision” is easier to act on than “send cable.”
- Attach overview and close-ups.
- Ask what is supplied in the kit.
| Check | What to look for |
|---|---|
| Order line | Part and quantity |
| Service document | Exact assembly procedure |
Key Takeaway: A named part and matching instructions let you plan the repair and release. Contact us with the walker model and the question your service team needs answered. A service team deserves a parts answer it can trace to the walker in front of it.
Frequently asked questions
Q1: Can I identify a cable from its colour?
No. Match the lever, routing, termination and unit reference.
Q2: Do I need to dismantle the lever for a photograph?
Usually start with visible details. Any disassembly should follow the instructions and service authorization for the unit.
Q3: Can I quote the length of the outer housing?
Yes, if that is what the supplier requests. State the endpoints and units.
Q4: How do I know whether to order both sides?
Ask the supplier for the approved scope for your unit and the reported condition.
Q5: Can I put the walker back after taking pictures?
Only the responsible team can release it after the appropriate assessment and checks.